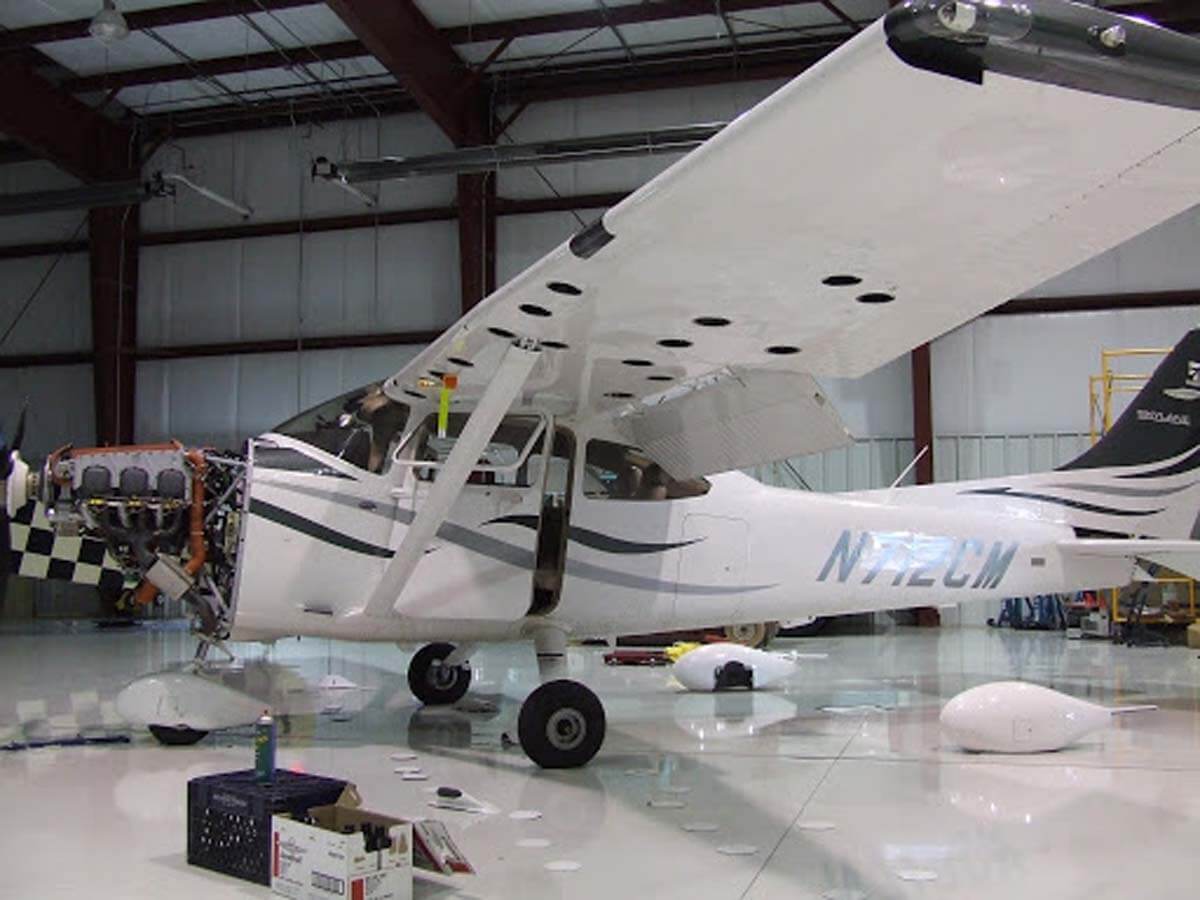
Courtesy of Century Aviation
This article brings me full circle. In March of 2013, I decided to semi-retire at age 62 from avionics sales at APG Avionics. Not because I had a bundle of money, but I had reached a point when going to work was not “pleasant” anymore.
I started in 1997 at Eastern Avionics, the dominant general avionics company in the U.S. (and beyond) at the time, a result of being the first avionics company on the internet in 1995. Frankly, we had more potential customers than we could handle! New owners bought Eastern in late 2007 and by 2008, we had a new name, a pretty new website (that failed to make the phone ring), and a new direction toward the corporate aviation market — to the demise of our GA pedigree. Five years later, my commissions were about half of what I made in 2007.
So, I started marketing myself by interfacing with online avionics forums, offering my advice. I realized there was something there. Legacy aircraft owners without unlimited budgets were being left behind in the “advice” department. That is when I decided to try and fill the void and AvionixHelp.com was created. The Cessna Owner Organization was one of the first forums I got involved with and I received positive feedback from the forum’s moderator, so I started looking closer at their magazine. What I found was little focus on avionics. An article in the May issue on an “owner-assisted annual” caught my eye because it had no mention of any avionics-related maintenance that could (or should) be done at annual, especially an owner-assisted one. So, in the spring of 2013, unsolicited, I sat down and wrote an article and sent it in. It was entitled “Annual Time? Don’t forget the avionics!” and was published in June 2013. It was my first article and, with encouragement from the editor to “keep ’em coming,” I did — and that’s how I became your avionics writer.
So, let’s revisit the topic. Your annual is an excellent time to tackle avionics maintenance because your airplane is wide open, but if your airplane has been a “shut-in” for the last four months due to winter weather or any other extenuating circumstance and it is about to come out of hibernation, this is a good time also to take a look at little issues that can be addressed. When I was taking 15 calls a day at Eastern from pilots with avionics issues, many of the conversations pointed to possible maintenance issues and I, always the consultant versus the salesperson, was ready to suggest things that could be done to solve the problem versus throwing it away and replacing what might be a viable unit.
In my original article, I pointed to four areas of concern that still apply today. They are: antennas, cabling, the avionics, and circuit breakers.
Antennas
While antennas are pretty affordable, they can make or break an otherwise good radio installation. Visually inspect antennas and the seals around their bases for deterioration. Cracked antennas or poor seals allow moisture in while ultimately letting performance out. Replacement at annual will save you money. Purchase and provide the replacement antenna (if your mechanic will allow) for further savings. Do not forget about belly antennas and the effect that a coating of engine oil can have on them. Transponder antennas are often placed on the belly right in the engine exhaust stream. If you’re wondering where that engine oil went, check your transponder and all belly-mounted antennas, and remove the oil. Depending on how often you fly, this should be more of a preflight item than an annual event.

Cabling
RG-58, the black stuff, was commonly used for antenna cables and has since been shown to break down over time. Most good shops stopped using RG-58 a long time ago. The dielectric qualities of the cable diminish and no longer provide an efficient signal to the antenna, which reduces range and performance. If you can, replace RG-58 with a double-shielded cable like RG-40 or 400.
Cable connectors are prone to corrosion, particularly at the antenna end. If your cable is good, clean the TNC or BNC connector with electrical contact cleaner or replace the connector if it looks really bad.
If you have access, take a close look at cable runs — especially if the aircraft is new to you and you are seeing the inside for the first time. The goal is to keep antenna runs away from any power cables (like strobe or battery cables), as these can interfere with performance. If you can get under the panel, check cables at that end. I’ve seen the worst, ranging from old cables from removed equipment to cables that were butt-spliced by an amateur that actually interfered with the control movements! Remove old cables and make sure cables are bundled correctly. Antenna and power cables should not be bundled together, but rather bundled separately and safely away from the full movement of your controls.
Avionics
Remove the avionics from their mounting trays and visually inspect them. Be careful removing them as they can be damaged if you do not understand how the locking mechanism works.
Most radios have a small cam at the bottom of the radio that drops down into a slot in the mounting tray. You need only to turn the screw (often with an Allen wrench) one or two turns until the tension on the cam is released. With a little tug, the radio will come out. Do not tug by the knobs! Grab the sides of the radio and jiggle. If the radio does not come out, use a flashlight to confirm that the cam is free. With this type of locking mechanism, further turning of the screw will usually not help. If you still have the old KX-170 or 175B, resist the temptation to keep turning the screw. You’ll destroy the radio as the cam penetrates an electrical board. I sold a lot of replacement KX-170Bs that way!

Some radios have a long screw that runs the full length of the radio and into the back plate. You’ll recognize these because turning the screw actually pushes the radio out of the tray. Turn until it releases. Narco radios have a release mechanism on the sides of the radio. You will see small holes on both sides of the face plate. Insert a rod (like a coat hanger) 2-3 inches into both holes and push them in. The radio should release.
Once the radios are removed, visually inspect the connectors on the back of the radio and in the back of the tray. Use electrical contact cleaner on both and gently re-install the radios. Do not force them. If the connectors are aligned properly, they should position fine and tightening the lockdown screw will set them fully. Gently push on the radio as you tighten and once done, grab the radio and tug. There should be little movement. If the radio comes out, the cam or something did not lock. It’s best to find this out now rather than on a bumpy IFR flight! Some radios require a cooling fan. Make sure the fan is working when you turn on your master switch or avionics master. While cooling is no longer mandated for most radios, it is always a good idea and can extend the life of your expensive avionics.
Circuit breakers
We often take circuit breakers for granted, but we should not! A circuit breaker is a switch that needs to work when it is time. The fact is, sometimes they don’t work when they’re supposed to and that can result in expensive damage to avionics and other electrical equipment. The newer style breakers are designed to be pulled, not only to isolate equipment but also so that they can be cycled. If you have this style of breaker, cycle them at annual time and they’ll likely do their job when needed. Unfortunately, the older style of breakers, often used on early Pipers, are not this style and will only open when the load surpasses the breaker’s rating. My advice for an aircraft owner with this style of breakers is to replace them starting with the most expensive or most important avionics and working from there. Certainly, new radio installations should get new breakers!
New style breakers typically cost less than $25 each, but they could be protecting a $15,000 piece of avionics! That is a worthwhile investment and cheap “insurance.”
Conclusion
I’ve mentioned this survey before. I don’t even remember who did it, but they asked this question: If you had the money to spend on your aircraft, where would you invest it? More than half (57%) of respondents said avionics, 25% said engine, and, surprisingly, only 15% said paint and interior. Pilots recognize that the avionics are very important in order to maximize the utility of the aircraft. Yet I still see aircraft owners focused on engines and mechanics at annual time and potential aircraft owners doing pre-purchase inspections with the same focus.
I’ve added a feature on my website I call a “Virtual Avionics Pre-Purchase.” When you buy an airplane, it’s not only important that the radios are working but that they will fit your mission! Will they be reliable and supported for the length of ownership that you have in mind or will you need to budget for upgrades in the near future? What avionics are needed to meet that mission? How much will you need to spend to upgrade the panel to be able to fly your mission safely? You need to know this before you buy. We can often accomplish this in a simple one-hour phone call. So, if you’re buying, getting ready for flying season, or about to tackle an annual, do not forget the avionics! A little bit of maintenance on your avionics can go a long way whether at annual time or at the beginning of flying season, and a closer look at the avionics before you buy can save you thousands or keep you from buying the wrong airplane!
Thanks for reading! Until next time … safe and happy flying!

