Zen and the Art of Flap Bearing Replacement
By John A. Bradley
Special tools are often needed when working on our airplanes. Recently, while re-assembling a C172M that had been taken apart for painting, I ran into such a “situation” when attempting to re-install the flap roller assemblies.
There are two sets of rollers on each side (4 per side) that run in a track attached to the wing structure. Each roller set consists of a heat-treated steel roller, an inner bearing, and several hardened washers. The washers are used to set the clearance to allow the flap to operate smoothly. The outboard roller assembly has a nylon thrust washer which absorbs the thrust when the flap is deployed.
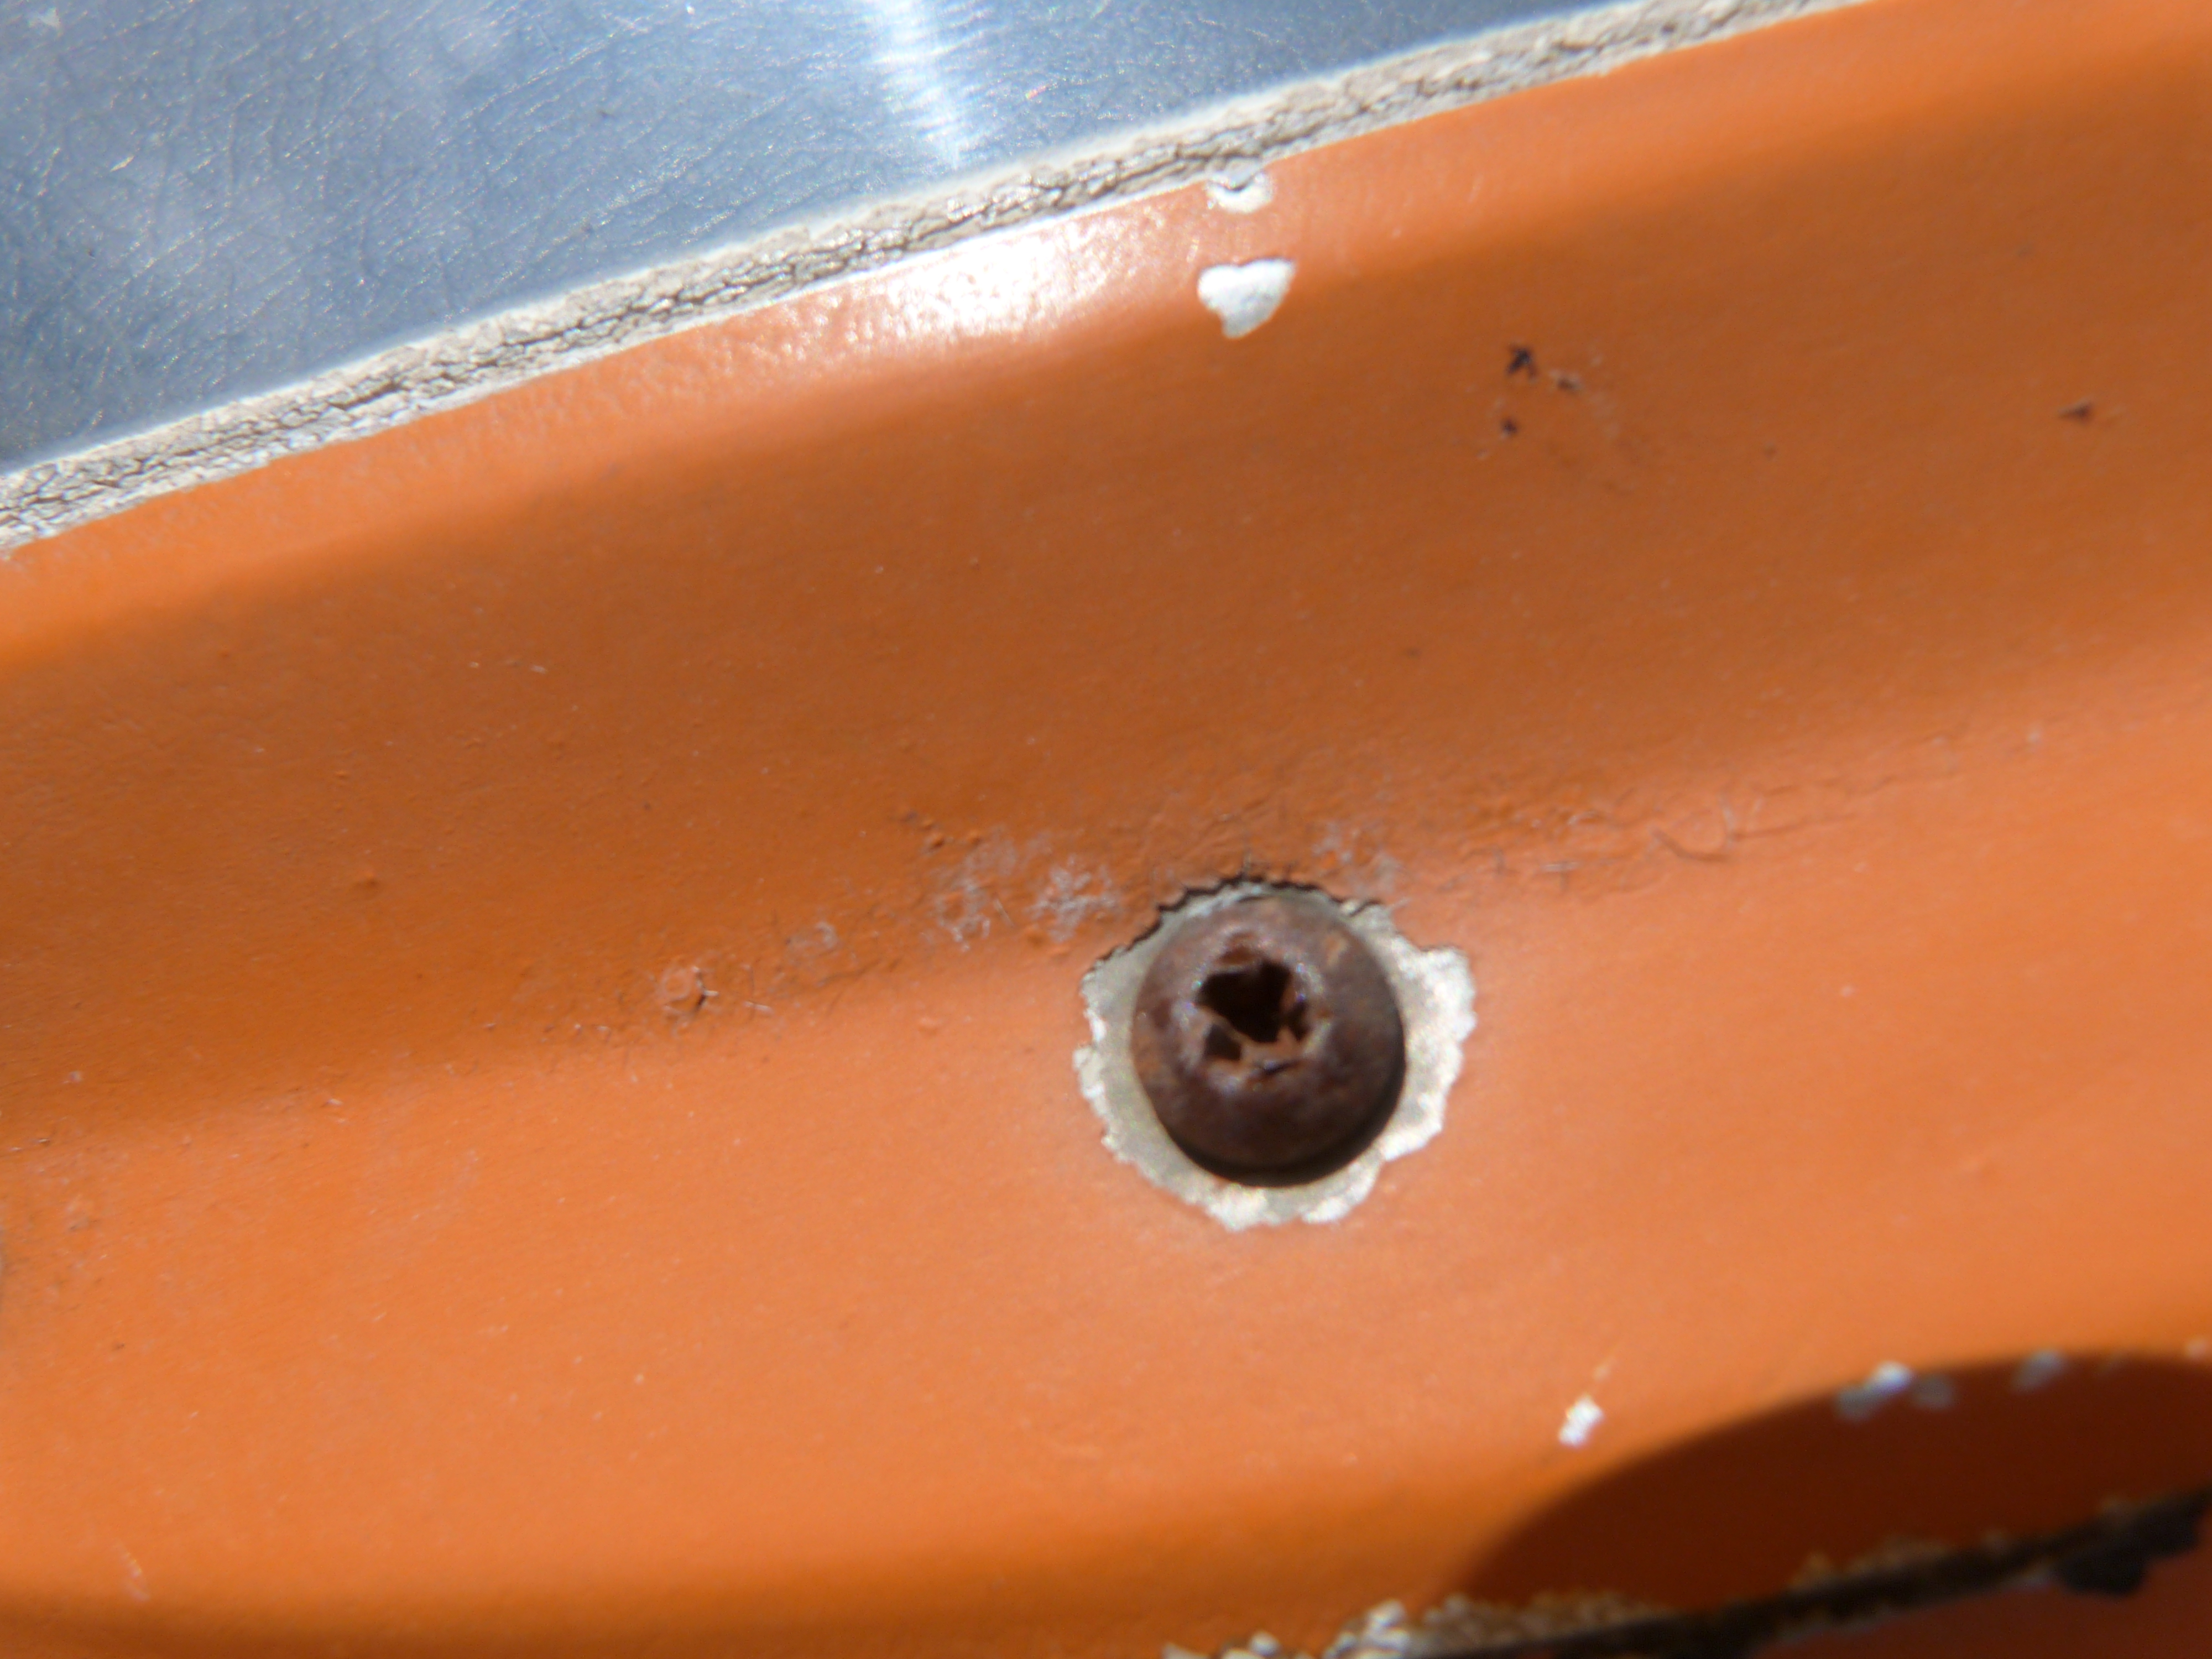
Each roller assembly is held in place with an AN3 (3/16”) bolt, an AN96010 washer on each side, and an MS21044N3 fiber lock nut. The bolts, washers, and nuts are only accessible through two, 2-inch inspection plates on the upper edge of the flap.
The aforementioned “situation” was how to get the roller and spacers lined up so that the bolts, washers, and nuts could be installed; then, to figure out how to successfully tighten the bolt and nut. In other words, getting the bolts out, the rollers in, and then re-installing the bolts is a real bugger that requires a steady hand, patience, and, sometimes, a lot of choice words!
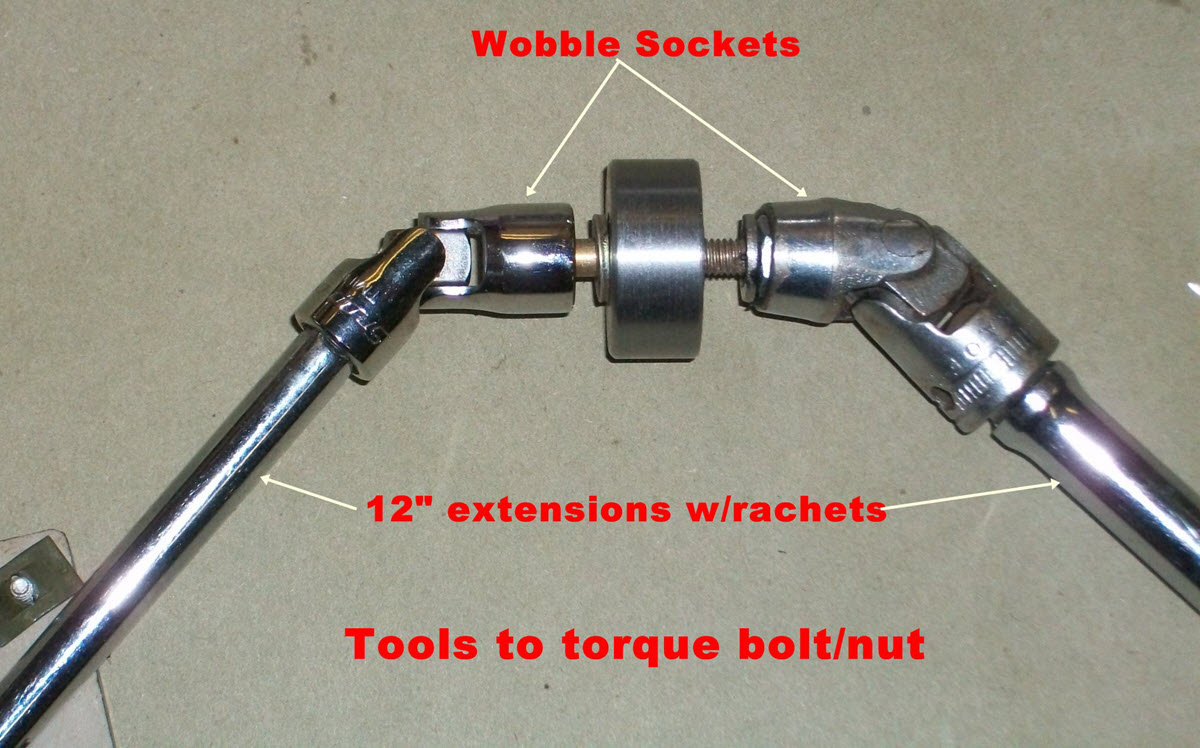
I discovered this task required the invention and fabrication of two special “tools” along with two wobble sockets, ratchets, extensions, two flash lights, and two “Hombres” (or one “Hombre” and one “able assistant”) to get the job done.
Below are some quick suggestions/tips on the procedure and use of the special tools that I used, but first, some obligatory information—ONLY AN A&P CAN PERFORM THIS OPERATION.
Also, as with any project, ALWAYS consult the aircraft’s parts and maintenance manual to get a good understanding of the parts and procedures BEFORE proceeding. In the true spirit of achieving Zen with your aircraft, I encourage EVERY owner to become one with his aircraft manuals!
With that out of the way, here’s what I did:
- Glue the AN960 washers to the MS nuts using 3M weather-stripping cement. Either yellow or black cement is OK. If this is not done, the washers are almost impossible to get on the protruding bolt.
- Grease the roller, inner bearing, and shims together using very sticky grease. I use waterproof red automotive chassis grease. Aircraft wheel bearing grease also works well.
- Insert the inner bearing into the roller and stick the shims on each side as needed. The Cessna parts manual shows the parts in relation to each other, as well as the orientation of the bolts.
- Insert the roller assembly into the track and shove it up into position. The roller bolt hole can be seen through the access panel. Have your able assistant (with his handy flashlight) holler when he can see the roller bolt hole.
- Align the roller bolt hole using Handy Dandy tool #1. If you used enough grease, the grease will hold the roller positioned in the flap track. The tool is made from 3/16” rod and bent to shape to get into the holes in the flap structure. TIP: Grind a sharp point on the rod before bending it to shape.
- Insert the bolt and washer into your mechanical fingers. A solid-shafted mechanical finger is recommended. A flexible finger model will probably not work because you need to use a little force to get the bolt to go through the roller. The bolt fit in the wing structure and the roller must be very tight in order to control the slack in the flaps when operated.
- Insert the bolt and washer through the flap structure and roller assembly. Some force is required to get it through the roller so the nut and washer can be started on the other side.
- Insert the nut and glued washer into Handy Dandy tool #2. This tool is made from 3/16” diameter rod with a short piece of ¼ inch key stock silver soldered to the end of the rod. Now, a 1/4-inch drive, 3/8-inch hex socket can be installed on the ¼-inch key stock. TIP: Tape the socket to the rod to make sure it doesn’t end up down in the flap structure!
- Apply masking tape over the end of the socket and press the nut and washer into the socket. The tape will hold the nut in place during use.
- Align the nut with the bolt. Some mashing of teeth may be necessary here as the nut has to be perfectly aligned with the bolt before it will engage. You will be able to feel when the nut starts.
- Have your able assistant – with his ratchet, extension, and wobble socket in hand – slowly turn the bolt on the opposite side. You will be able to feel the bolt when it enters the nylon insert in the nut. TIP: The tool should ONLY be used to start the nut, NOT to torque it.
- Seat the nut while holding the bolt head and torque the nut to 20-25 inch pounds. The bolt prevents the inner bearing from rotating with the roller and elongating the holes in the flap structure during use.
Again, only an A&P can perform the operation described above. However, it is the owner who is ultimately responsible for the airworthiness of the aircraft.
I’ve found that mechanics (and surely owners) often overlook lubricating the flap bearings. Remember, there are no seals to prevent moisture from getting into these bearings. Instead, there are only bushings that are supposed to be held in place by bolts to prevent rotation. The flap roller itself is supposed to roll on the bushings. If the bearings run dry, the roller seizes the flap roller and will soon create a big mess.
At minimum, an owner should walk around the aircraft and inspect all areas to ensure that the airplane has been lubricated according to the official Aircraft Maintenance Manual.
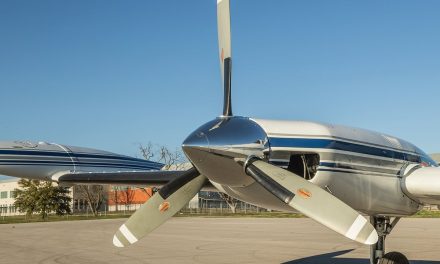
John A. Bradley is a retired mechanical engineer with 34 years experience designing oil field pressure equipment and subsea pressure vessels. He is an instrument rated private pilot and owns a restored 1968 C172I.
