By Eugene McCabe
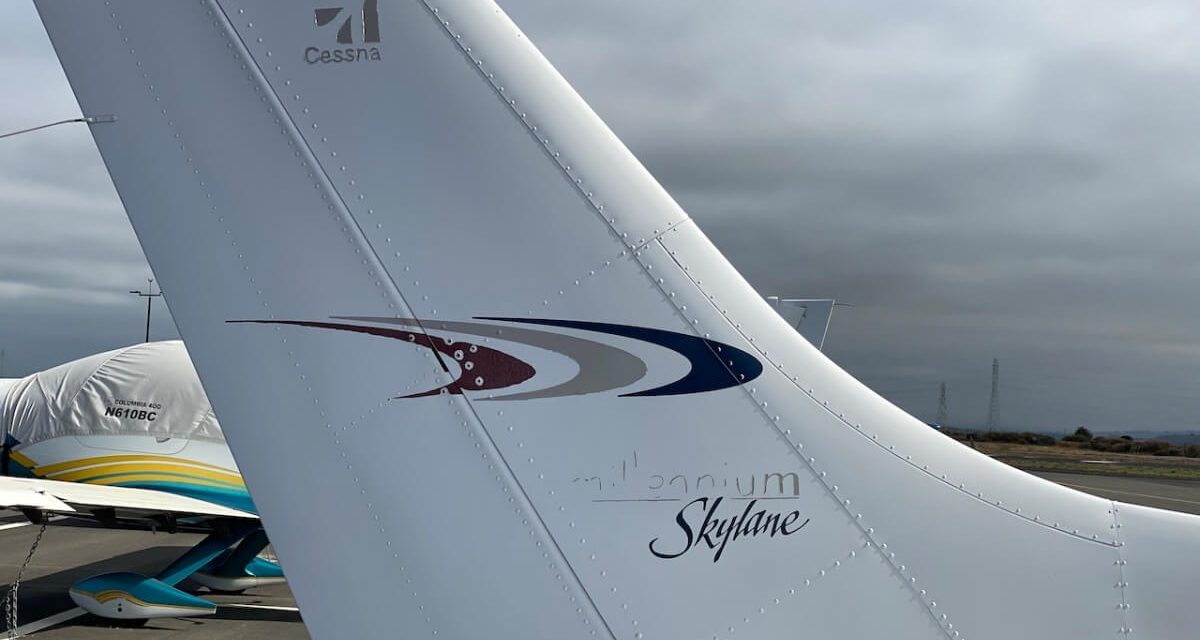
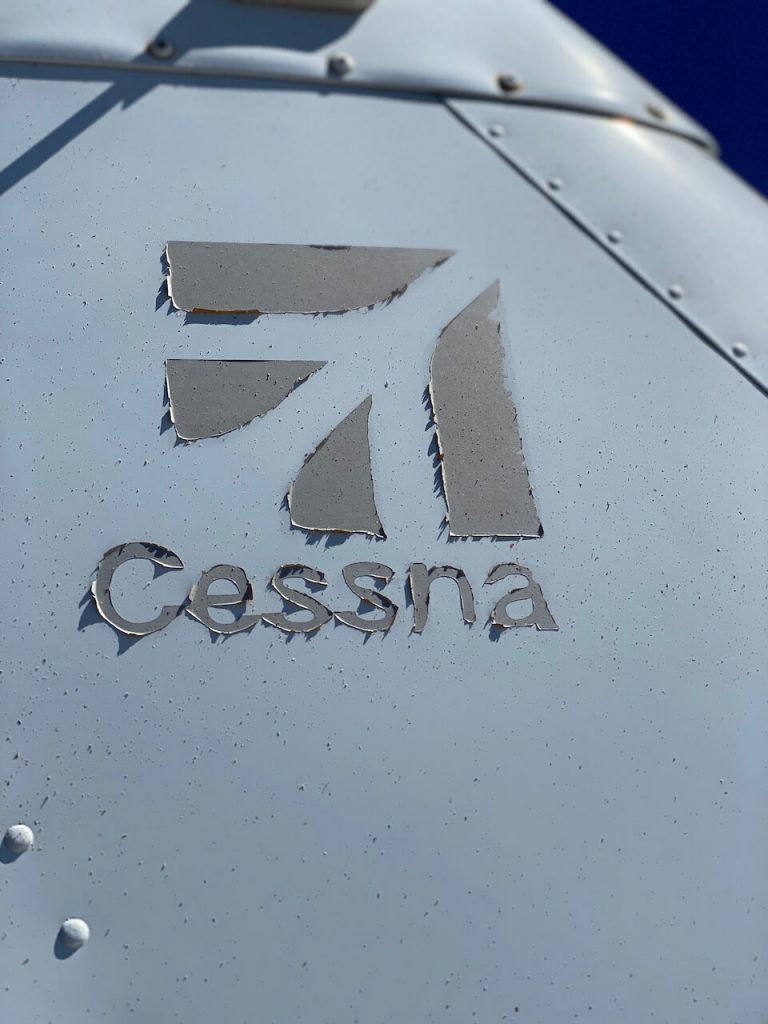
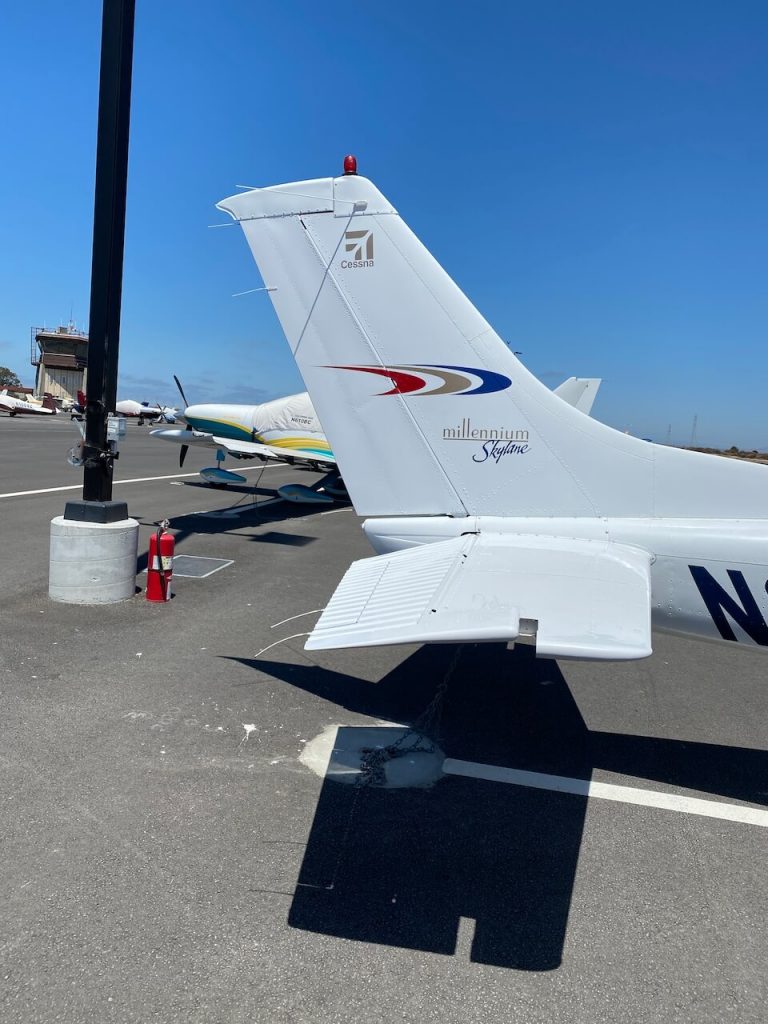
The decals on my 2000 Cessna 182 were getting badly degraded by sunlight so I decided to replace them.
I found replacements at AeroGraphics. The PDF proof I received was an exact match to the original, but the actual decal is not. They are close, but the red color is off by the most. If you want an exact color match you should probably discuss that. I actually like the new red color, so I have no complaints. James at AeroGraphics was very helpful and adjusted the size to get closer to what was on the plane.
There were two recommendations on decal removal:
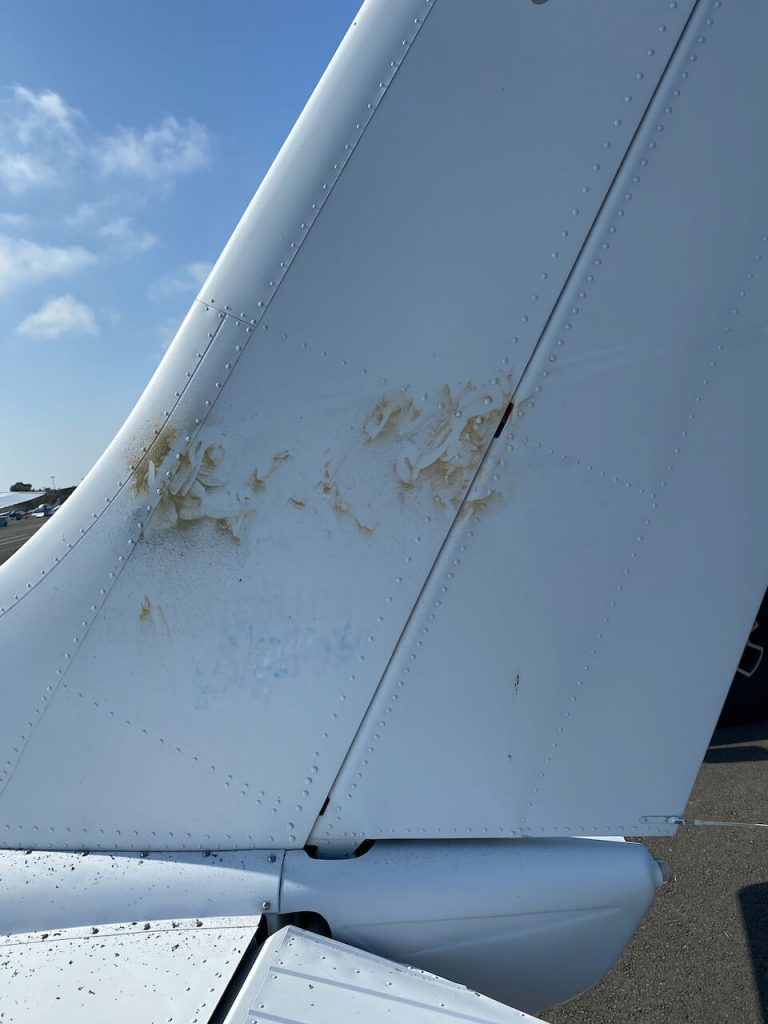
A heat gun — I found that this did remove the decal but left a lot of glue behind.
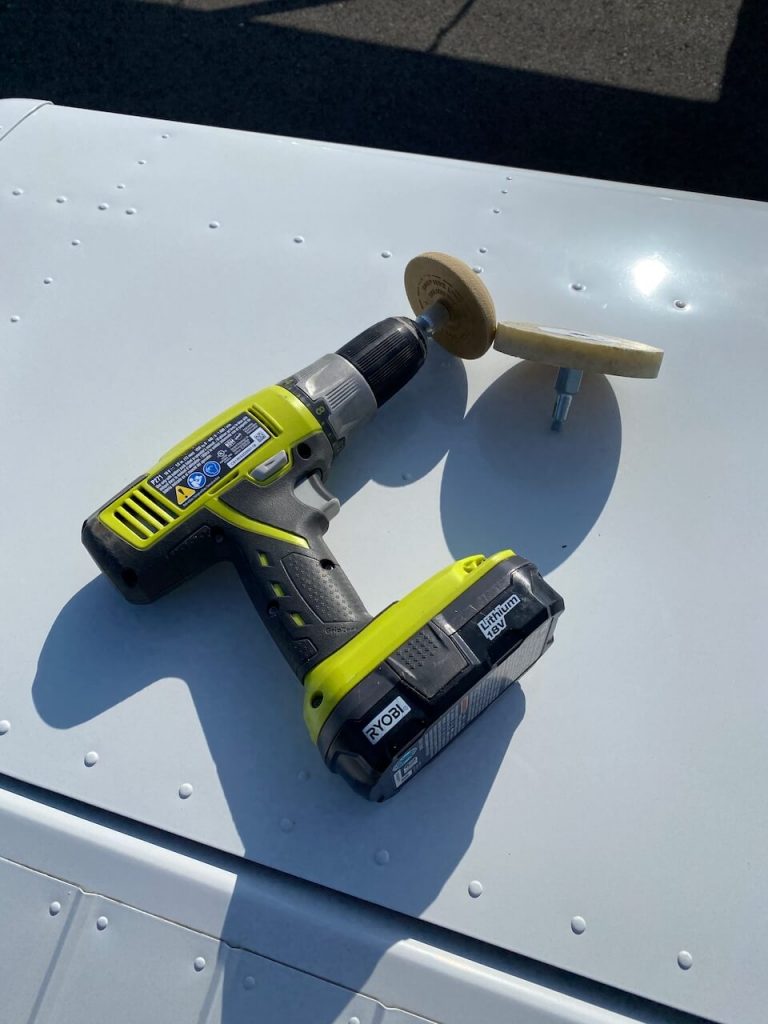
Rubber eraser — The eraser does a good job and takes everything with it. It did leave some residue, but paint solvent got rid of that. I tried a genuine 3M eraser and an Amazon knock off.
The 3M has a larger diameter and I found it harder to control. The Amazon eraser came with two wheels; I found the smaller one easier to use.
Be very careful on parts of the plane that are not metal, like the wing tips: The paint will quickly heat up and bubble. I found a slower drill speed worked very well and avoided staying in one place too long.
Removing the decals is a lot of work. My prep sequence was:
- Remove the decals.
- Use paint solvent to clean up.
- Use rubbing compound to get rid of stains and imperfections.
- Use polishing compound.
- Use alcohol to clean the surface.
- Apply the decals and let dry.
- Finish with RejeX. I chose RejeX as it is supposed to have UV blocking.
Applying the decals is not as hard as I feared. I used the wet method as it is more forgiving.
Do not get water on the remaining backing tape. It leaves residue when you get to that side.
Rivets are a pain; the decal tents over them, which traps air. I discovered it is better to finish getting the decal on and letting it dry and then going back to let the air out of the rivet areas.
The end result is not perfect, but it is pretty good, and the imperfections are hard to spot.

