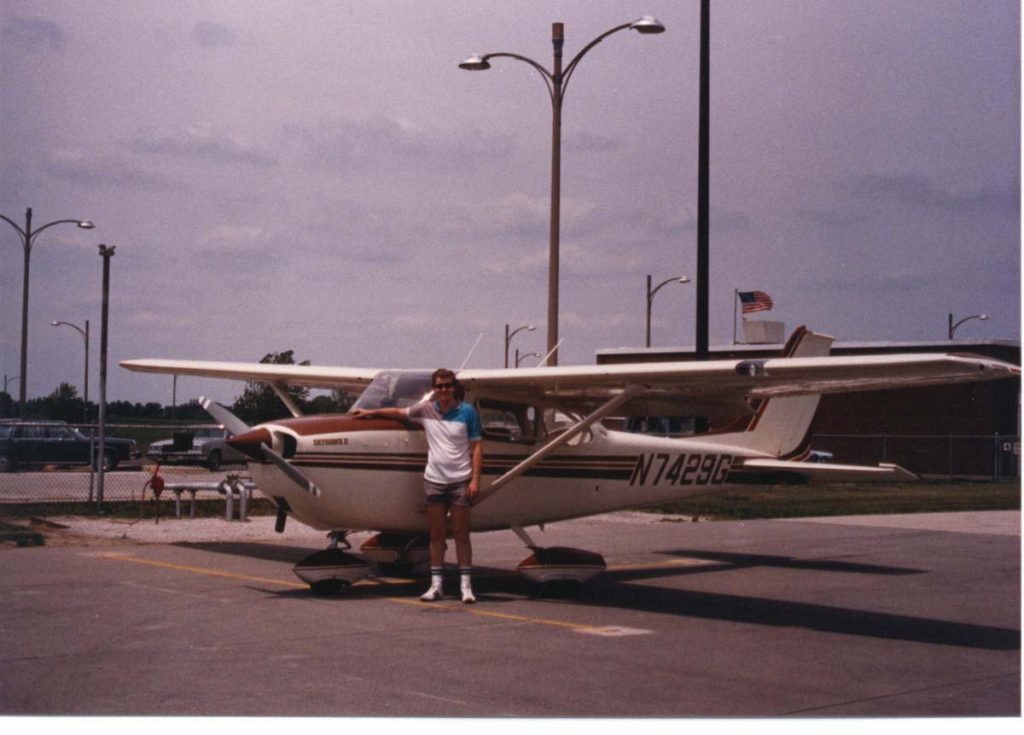
When Mike Fuesting bought N7429G in 1984, he knew it was going to need a few panel upgrades, but more than 30 years later as the 1970 Skyhawk was approaching its 50th birthday, Mike decided it was time for a more thorough restoration.
“The plane had kinda gotten pretty ratty. It was almost 50 years old and it had never been changed,” Mike said. “I started out with the interior first. I thought that was going to take me maybe a couple months or so. Well, that wound up being about six months. I started late in the fall and then went all through winter. And I about froze my keester off in the hangar.”
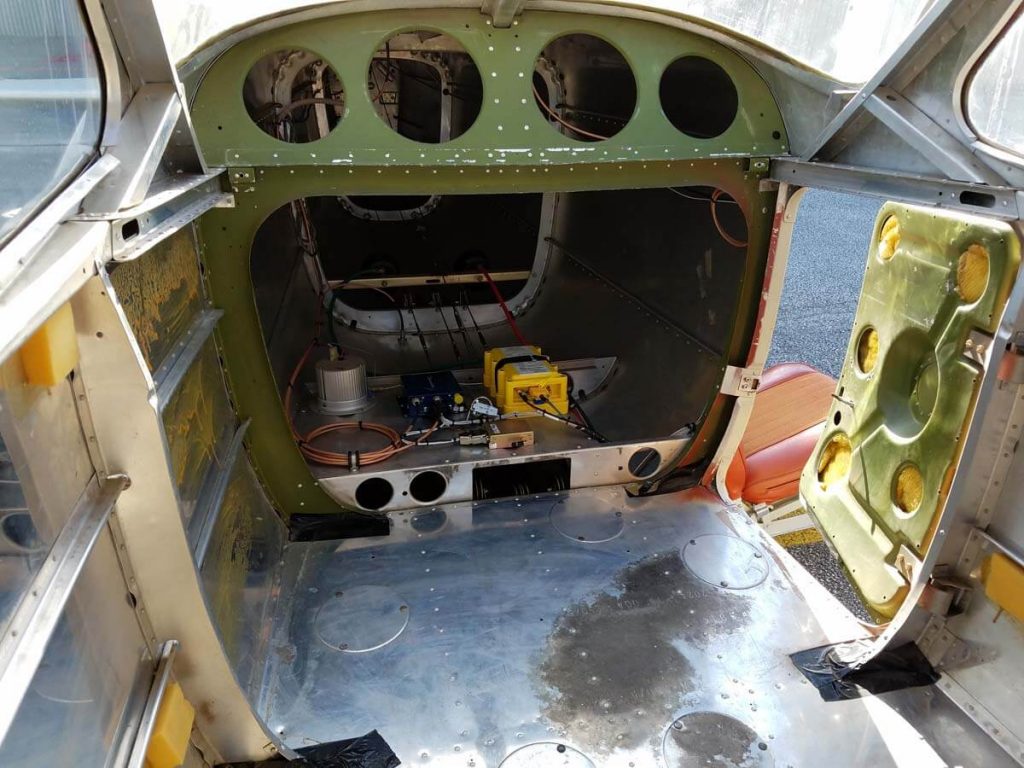
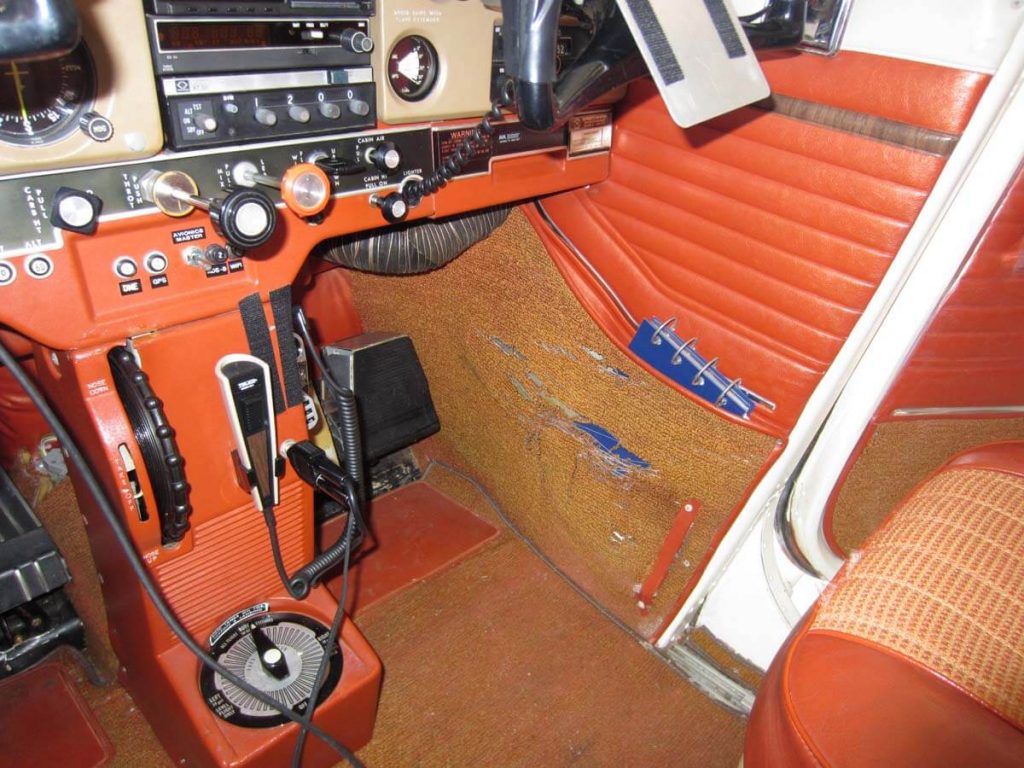
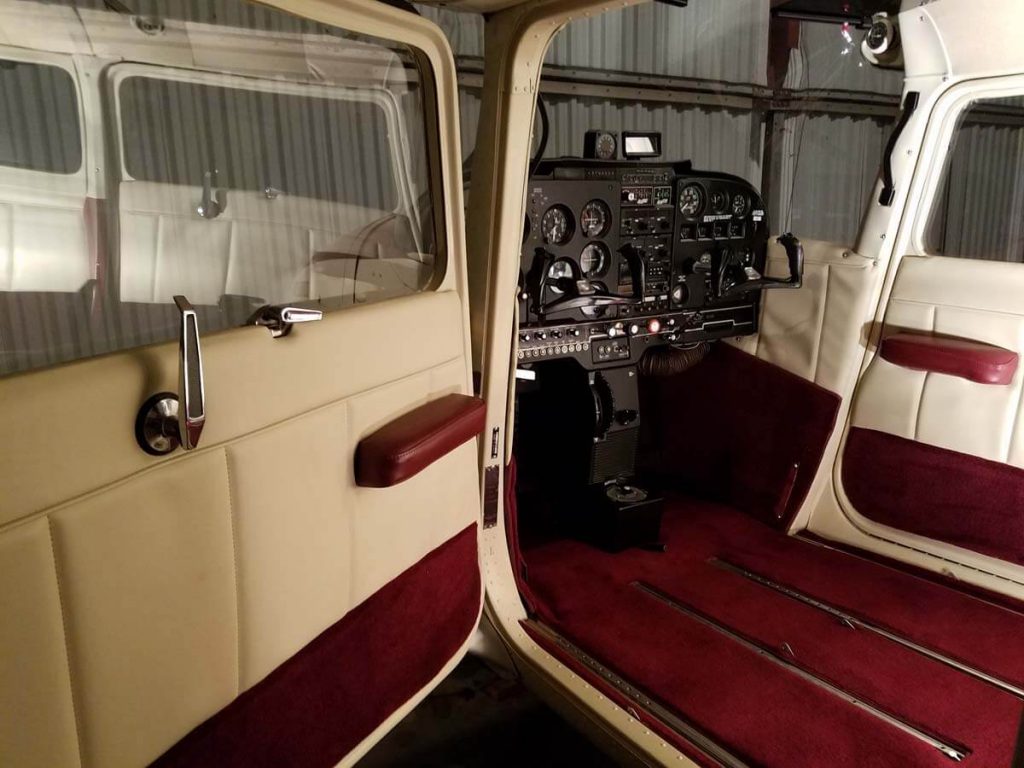
Mike updated the original interior from the 1960s-era burnt orange to a more modern burgundy and cream. This included the upholstery on the side panels and doors, the seat upholstery, headliner, and the carpet, which was a little worse for wear.
“I did run into places where the carpeting was just falling apart,” he said. “The side panels where you put your charts and stuff were just breaking down. So that was a big issue and that’s probably what motivated me to go forward. … After I helped with one of the annuals and put it back together, pieces were … it needed some Duct tape.”
Mike said the headliner was one of the most damaged parts of the interior. So, since he was tearing out the fabric anyway, Mike decided to add soundproofing insulation in the ceiling of the cockpit.
“I’m a dentist; my ears ring all the time,” Mike said explaining that the cockpit noise wasn’t particularly noticeable for him. “I fly with another guy each week and he has a Cessna that is three years newer than mine. He did some recordings on the inside and the sound level is probably only 1/3 in my airplane now of what it is in his plane. His is stock. It made a tremendous difference.”
Most of the interior plastics needed painting and Mike also sandblasted most of the metal parts in the interior to remove corrosion.
“The 1970 models have little rods or curtain rods that go in [the headliner]. Those things were rusted and stuff,” he said. “I pretty much sandblasted all of the metal that was in there and repainted them in anti-corrosion type paint. I did the ceiling and I did all the walls and I did the kickplates and I painted everything on the interior and the doors and I redid the doors as far as the seals and repainted them and put new upholstery on them.”
In all, the interior restoration took about six months with Mike spending whatever free time he had on it.
“I worked four 10-hour days in the office and then I would go out to the airport and work another three hours at nighttime,” he said. “On my days off I was out there pretty much all the time with the exception of when we had family things that I had to attend to. So, I put a lot of time into it. I put in probably 40 hours a week on that. I started out wanting to do one thing and then that led to another. You know when you do your kitchen and you say, ‘Well, I just want to do this’ and by the time you’re done there’s eight things that got included in it.”
While Mike said he did most of the work himself, he did have some help from his family in the interior including installing the new upholstery with help from his daughter, Melissa.
“My daughter came home over Christmas vacation from grad school and she did help me for a period of probably about a week when we were refinishing some of the things and then also putting the seats back together after we had stripped them all apart, sandblasted them, and painted them,” Mike said.
One of the hardest parts of the interior restoration, according to Mike, was removing the old webbing from the seats.
“It was all put in with [metal rings] that you have to have special pliers to crimp,” he said. “The newer stuff is all glued and that worked a whole lot better.”
The rest of this article can be seen only by paid members who are logged in.Have a website login already? Log in and start reading now.
Never created a website login before? Find your Customer Number (it’s on your mailing label) and register here.
Still have questions? Contact us here.


