After working through several different options for renting and flying clubs with less than stellar maintenance programs, we set out on a search to find our own aircraft for which we would know the upkeep and history.
I had my trusty A&P/IA perform a prebuy on an aircraft down in Houston, which was rough to say the least. Not wanting to ferry him all over the country doing prebuys we set out for something more local.
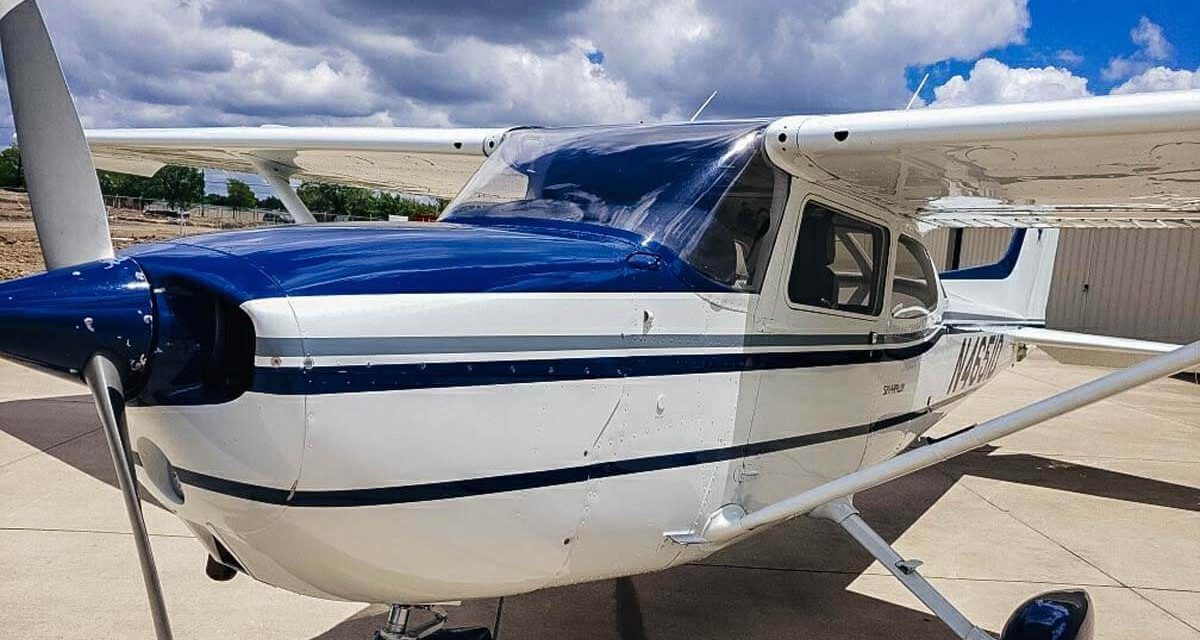
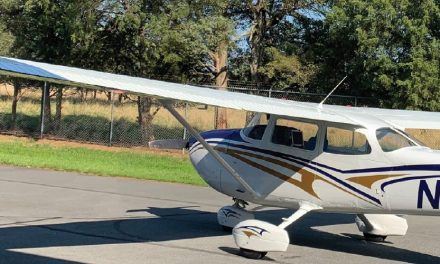
He had a friend in the Dallas-Fort Worth metroplex near our home that had a nice looking 1979 Cessna 172N for sale. I did all my private pilot training in a 172 and was very comfortable with the platform. Knowing that 90% or more of the mission would be for leisurely cross-country flying to visit family, we were not concerned too much with speed. And the expectation was that 99% would be just myself and my wife, Kathy, so the Skyhawk’s useful load was sufficient.
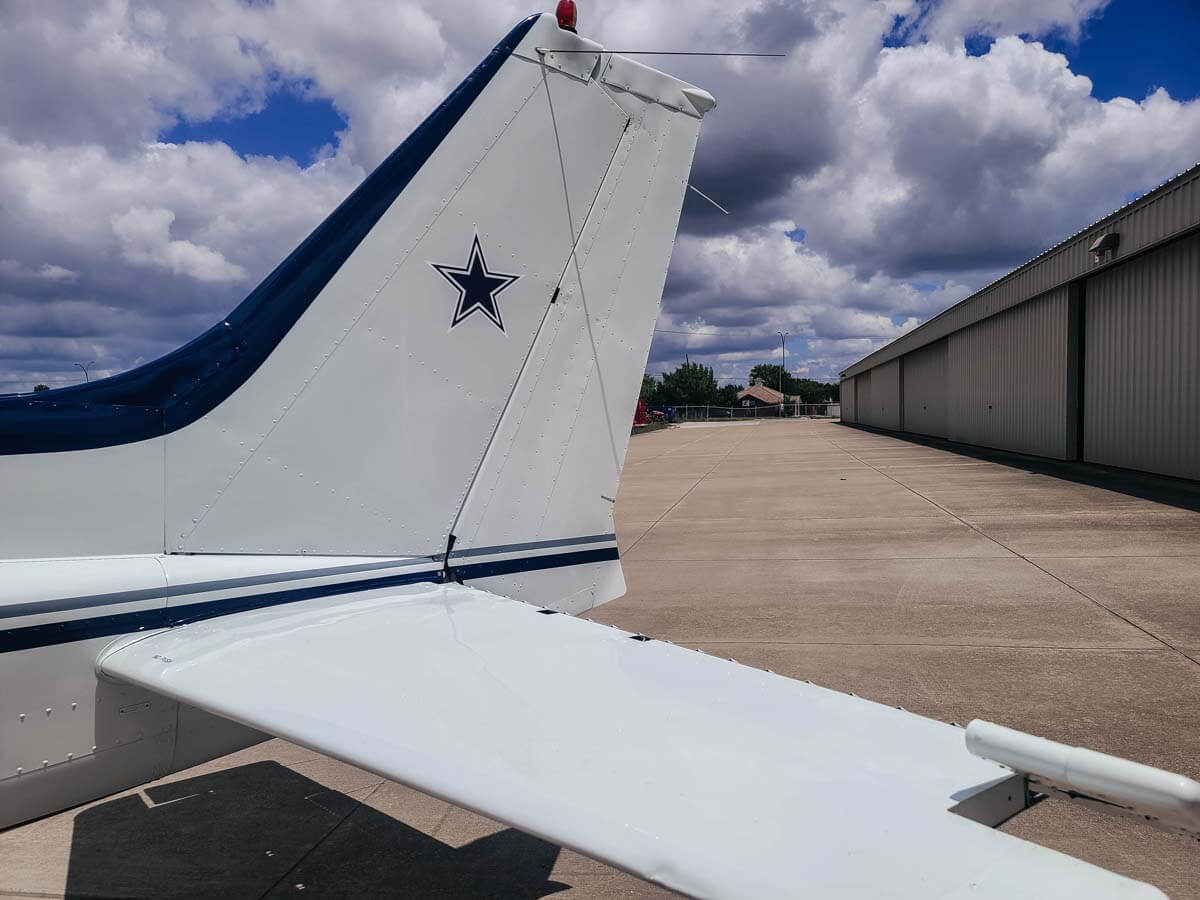
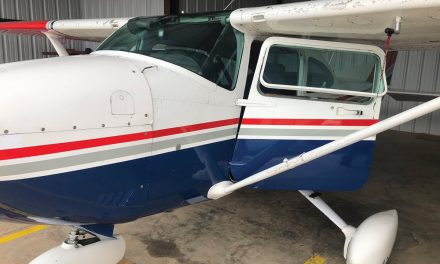
We visited his hangar to view it and were pleasantly surprised at how beautiful its exterior was. It had been painted by what I found out was a fairly well-known aircraft painter named Frank Poplawski. What struck us as Dallas Cowboys fans was the paint scheme was very much a match for their colors. Love at first sight!
The interior on the other hand was leaving a little to be desired. To say the interior plastic was a bit “long in the tooth” would be an understatement. Everywhere you looked there were cracked, broken, and missing parts.
We made a really good deal on the purchase and set out to undertake some renovations.
N4651D already had been blessed with an Air Plains 180-hp conversion and a Horton STOL kit. Useful load had been bumped up to 2,550 pounds. On a cool day it will climb practically to pattern altitude by the end of the runway.
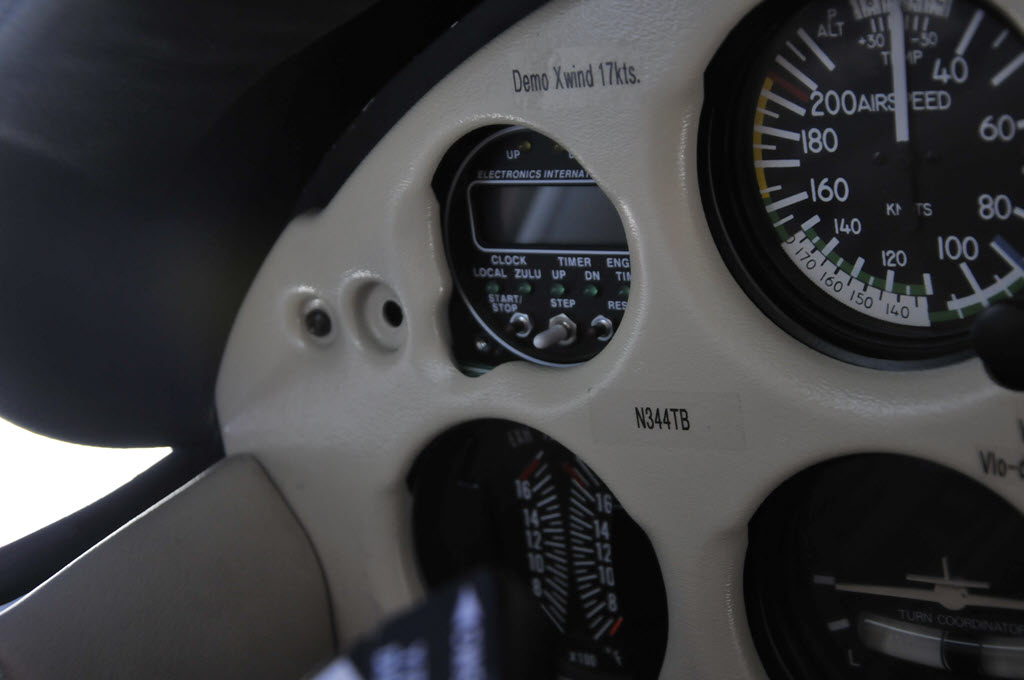
Panel upgrades

Panel before. 
Panel after.
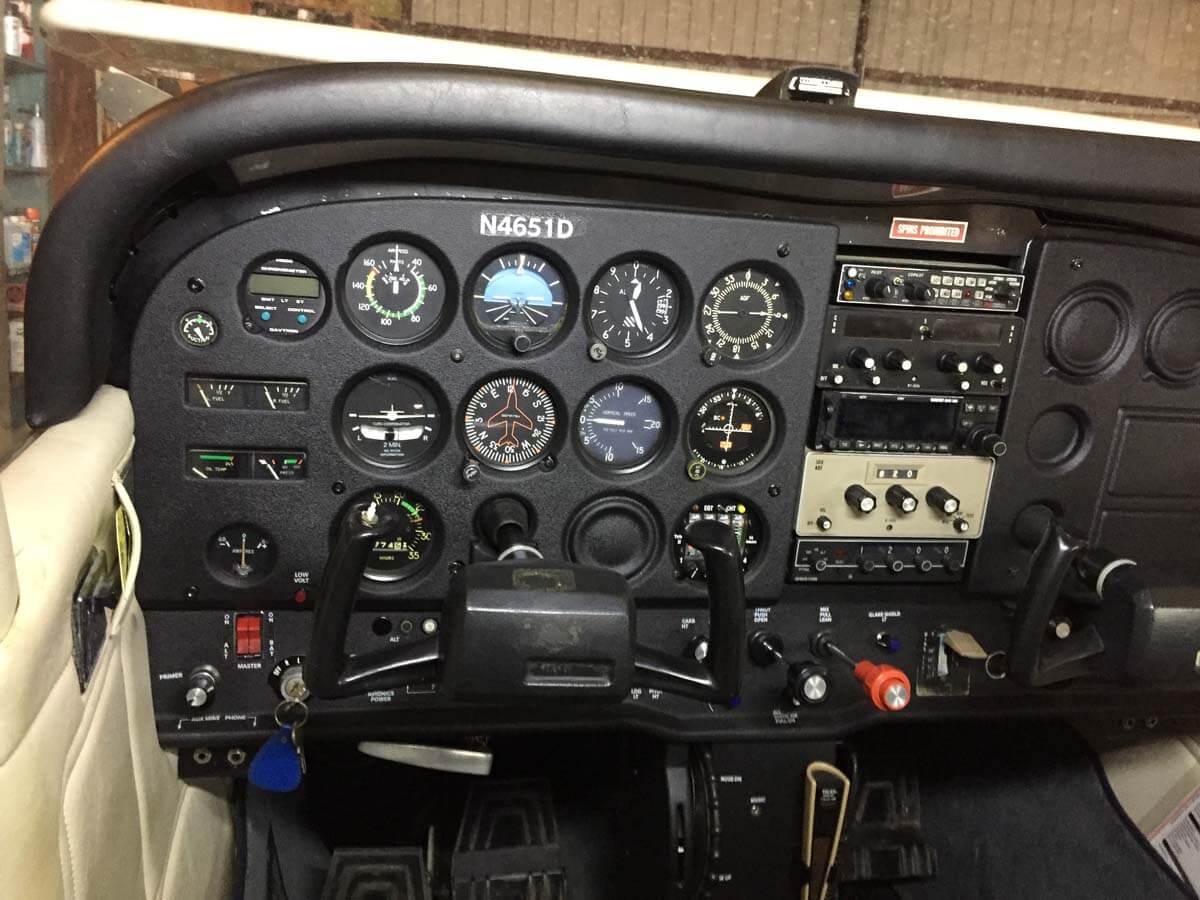

We started the interior conversion in September of 2019. I wanted to do away with the vacuum pump driven attitude indicator and the directional gyro. The DG had been getting hard to reset for precession and the concept of the electric dual G5s without a vacuum pump appealed to me.
The transponder had been acting up and it still was carrying an ADF receiver. Great for listening to AM radio, but not much else to us.
The Garmin GNC 250 and the ARC (Cessna) RT-385A nav/comm were still working well so we looked for complementing items without new radios.
I purchased dual Garmin G5s along with a GMU 11 magnetometer and a GAD 13 for outside air temperature (OAT), true airspeed (TAS), and winds aloft.
Next came the Garmin GNX 375 GPS, which satisfied the ADS-B mandate but also includes ADS-B In and Out. The GNX 375 also has a transponder. That took care of a couple of our issues and gives us much more functionality.
The avionics techs rearranged the panel for a very well-thought-out sequence and left some space for a future autopilot. Fate smiled on us and we found an avionics shop in New Braunfels, Texas, that gave us a really good price on installing a Garmin GFC 500 autopilot.
Plastics & upholstery refurb
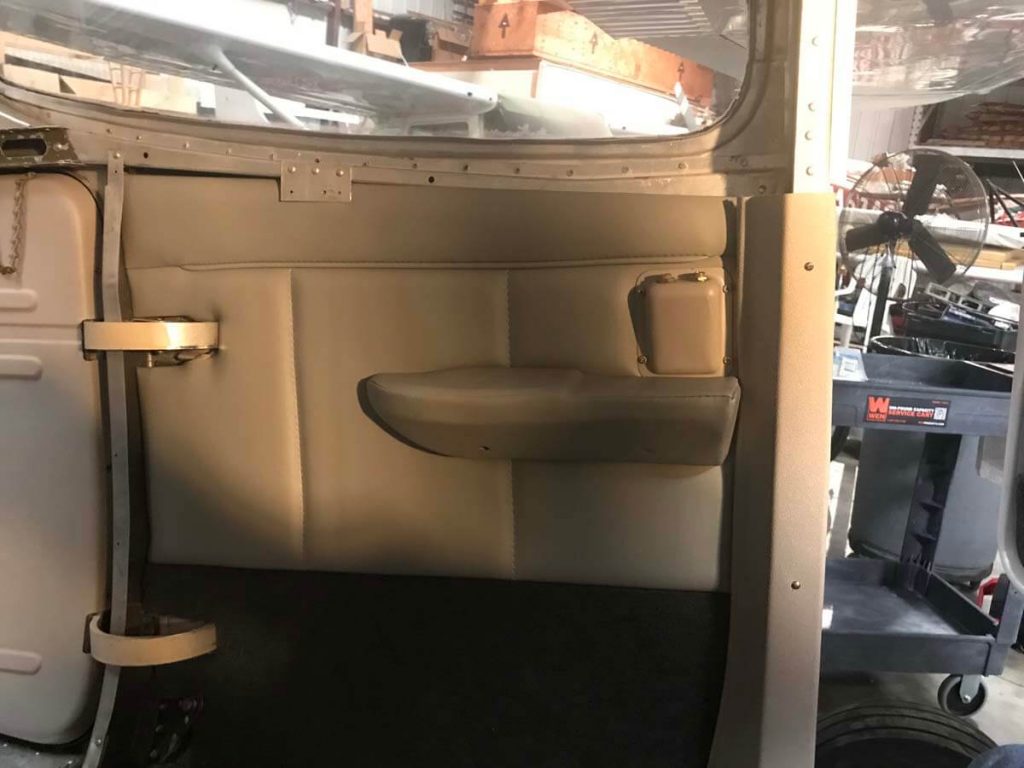
Door plastic before. 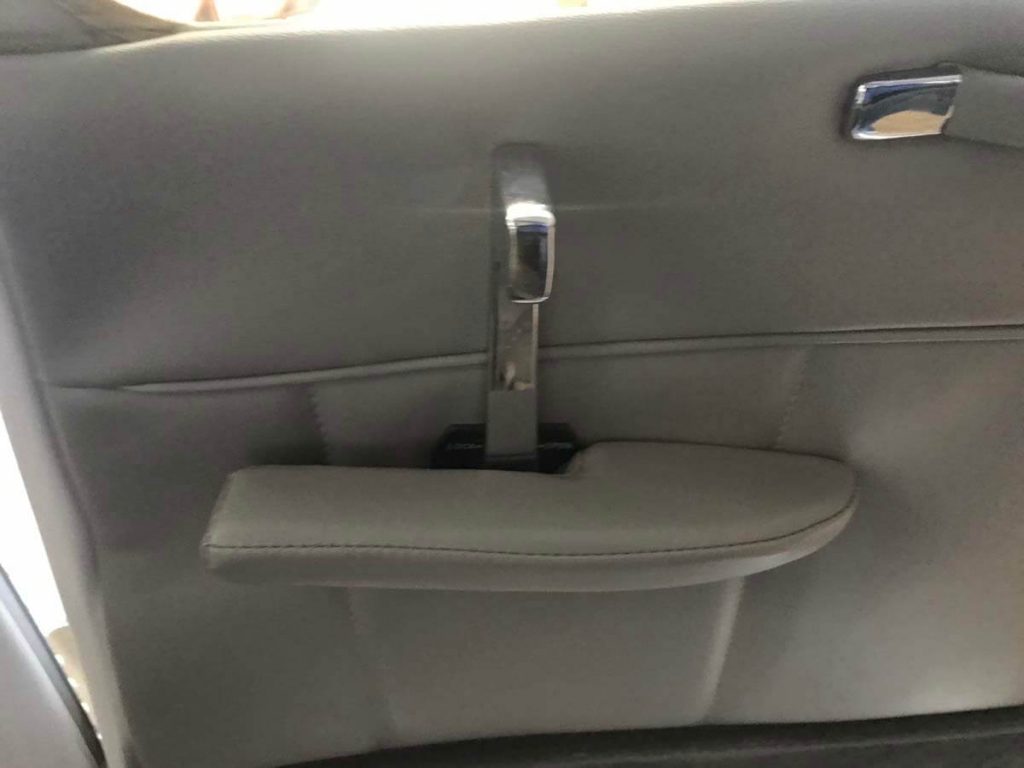
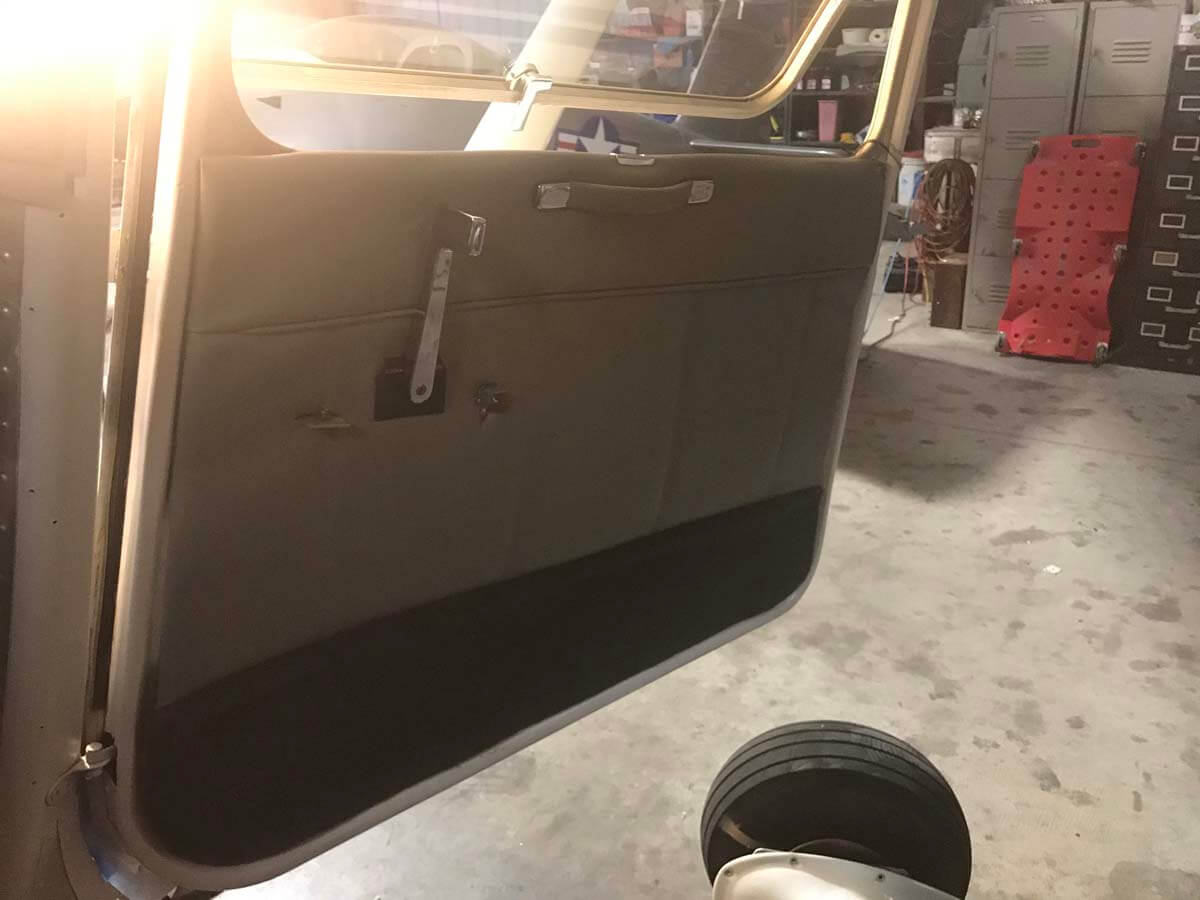
Door plastic after.

We took pictures of the interior to help with the order of the re-install. I cannot stress enough; take more pictures than you think you need. The littlest part can confound you if you don’t remember how it was installed.
The interior plastic came from Plane Plastics out of Oklahoma. Every piece is made larger than needed so patience is needed to painstakingly fit, trim, fit, trim, repeat, etc. to get the perfect fit. The headliner was in two pieces instead of one. Lightweight plastic clamps from Home Depot come in really handy to help hold things in place. All pieces were test fit first, then cleaned with SEM paint prep and finally painted a light titanium color.
While the headliner was out we took advantage and replaced the scat tubing for the air vents.
Then on to the upholstered interior. The original seats were thin and not made for very long trips. After consulting with Dodd at Airtex Interiors in Pennsylvania, we decided on vinyl and fabric seats with thicker foam with body enveloping wings and vinyl and carpet wall, door, and kick panels.
Airtex prides itself on helping people do it themselves and Dodd is a valuable resource when you need help. He goes out of his way to explain “how to.”
Every panel had to be stripped and its backing aluminum sanded down to remove old adhesive. Then the new covers have to be glued on and trimmed carefully to prevent seeing any cuts. Hint: Save your old covers as a guide.
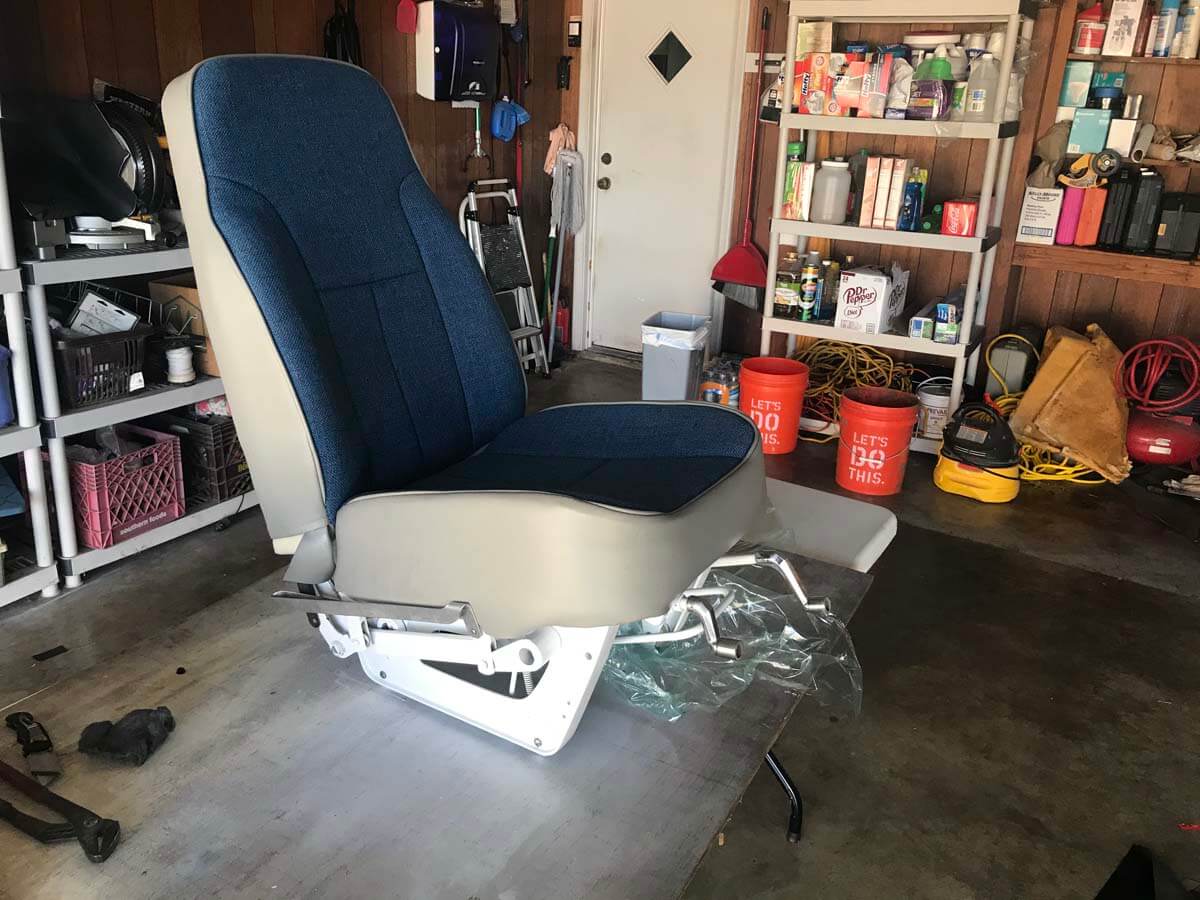
All the seats were removed and their frames were stripped and sanded down to bare metal. Then they got a nice coat of white paint. My mechanic tells me that white makes it easier to see if a crack develops.

Skyhawk rear bench seat before. 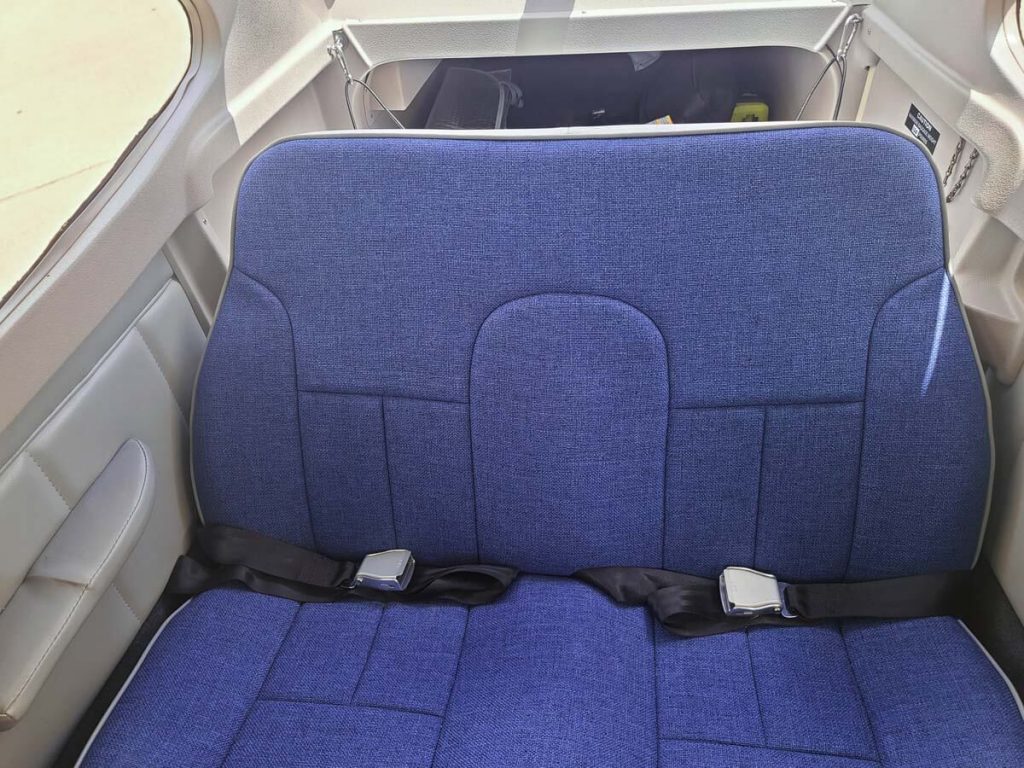
Rear bench seat after restoration.

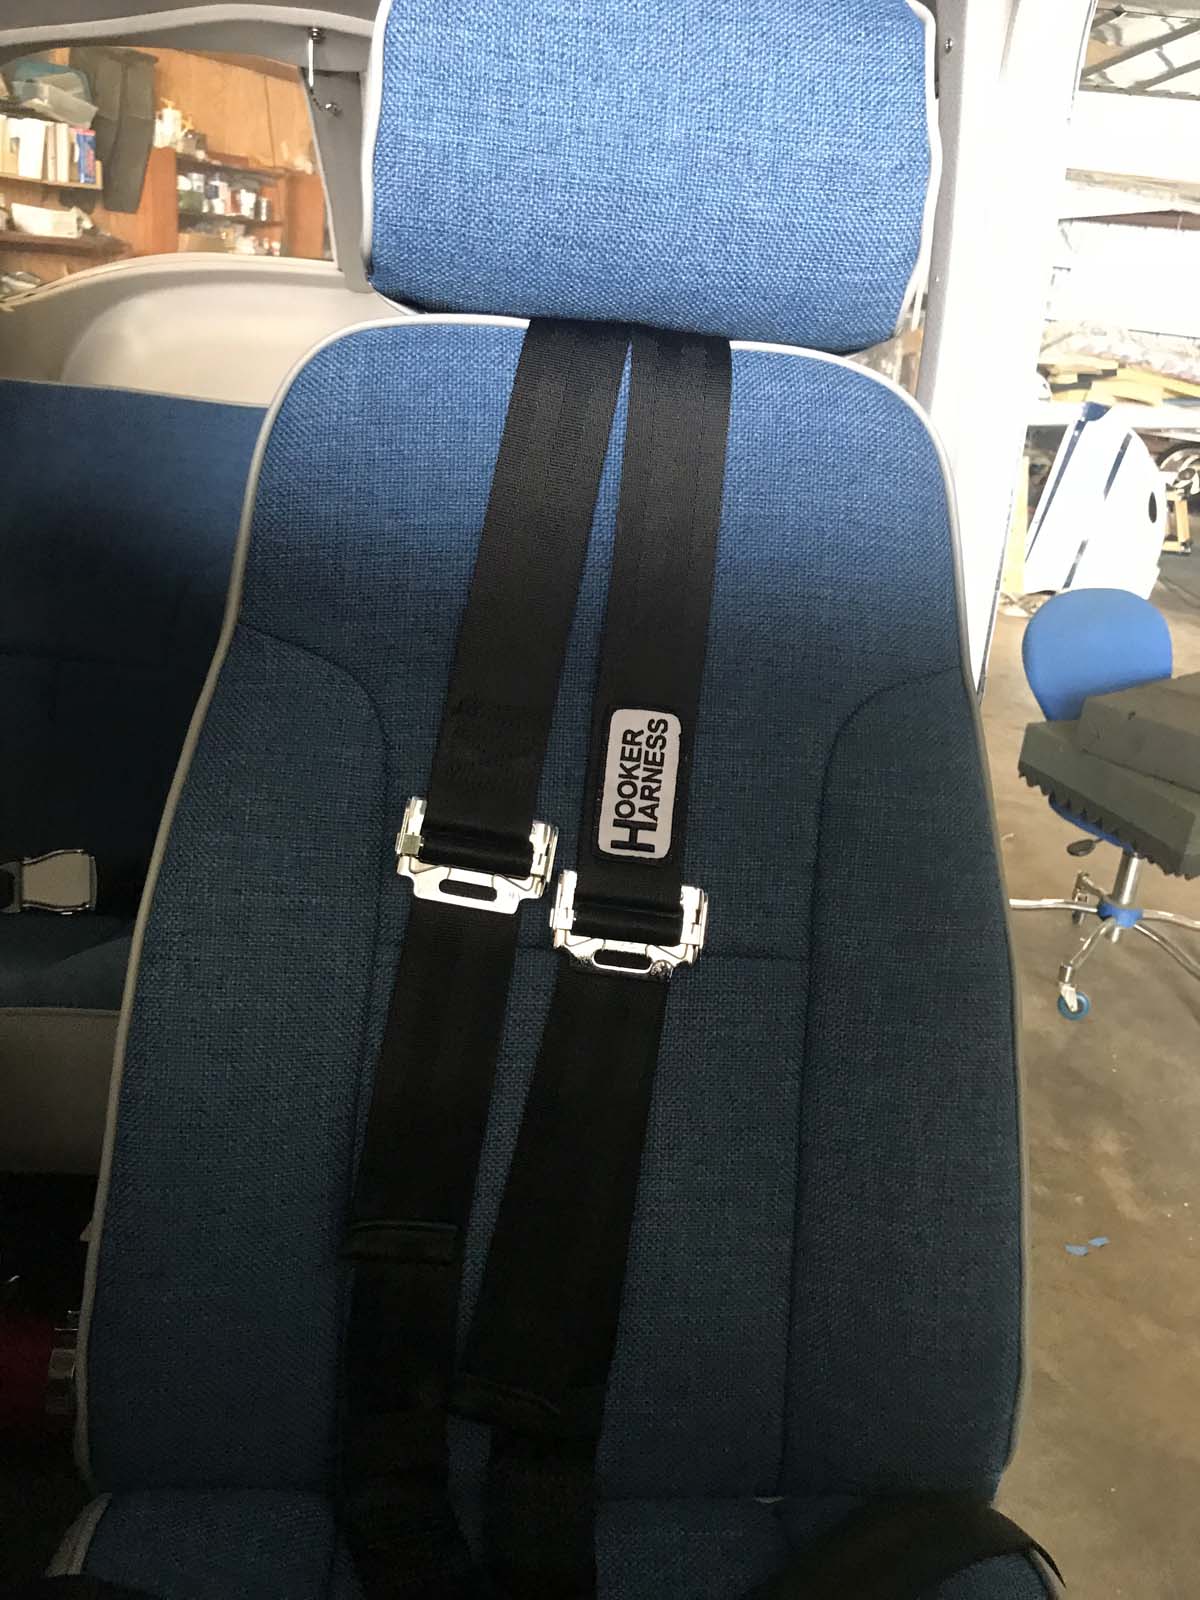
The seat covers were not terribly hard to install snugly after Dodd told me to roll them on inside out like a sock. I am very proud of how they turned out and how comfortable they are on long flights now.
Next the carpet was stripped out and the new one was installed with the Airtex three-piece system. This will make life easier during annuals.
We did send our armrests to Airtex for them to recover in vinyl at a very reasonable price. The old ones had ashtrays, the new ones do not.
Bits and pieces
The rear intercom hookups were moved from the floor between the passengers’ feet to the sidewalls by the armrests. The housing was purchased from Aircraft Spruce.
One of the most challenging aspects was trying to locate knobs for the missing silencer vent in the back seat. People must think those things are infused with gold for the prices they ask. Finally had to man up and buy one.
The exterior was, as mentioned, in really good shape except for one missing piece of the puzzle. We had to put a Dallas Cowboys star on the tail. You cannot imagine the comments, mostly positive, that we have received for the star, but mostly people comment on how beautiful this bird has become.
We put it back in the air in April 2020 with a fresh annual and just used it for a trip from Dallas to South Dakota to see our grandson and his parents. It flies so straight and true it is a joy to watch the scenery as much as you watch the instruments and the airspace. It has been a labor of love with more than 270 man-hours of my time alone working on this. Untold hours from my wife, son, mother-in-law, and my A&P all have contributed to what we hope will be a longtime member of our family. The only downside is our insurance agent suggested strongly that we more than double the hull insurance as the value has gone up significantly. That’s a good problem to have.
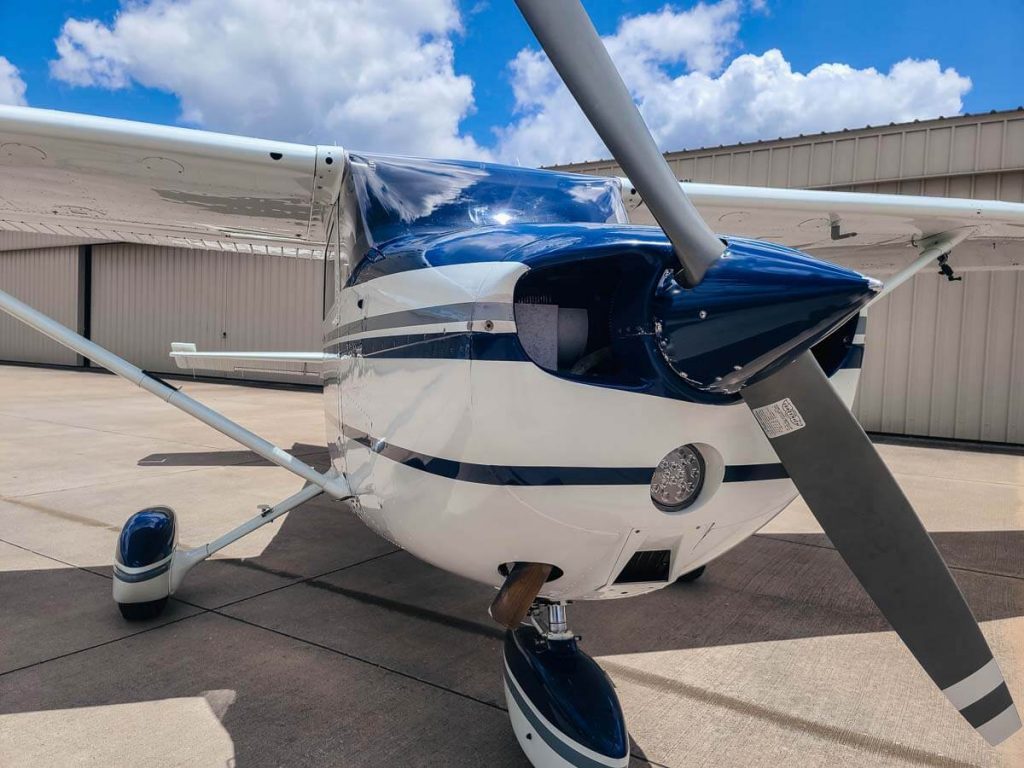
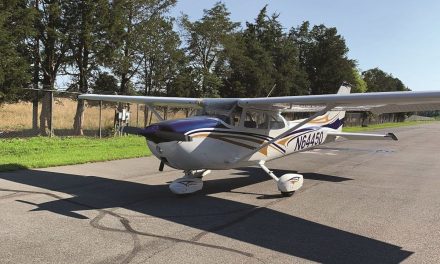
Robert’s Skyhawk. 
Bucket seat after restoration. 
Bucket seat with new cover and seatbelts. 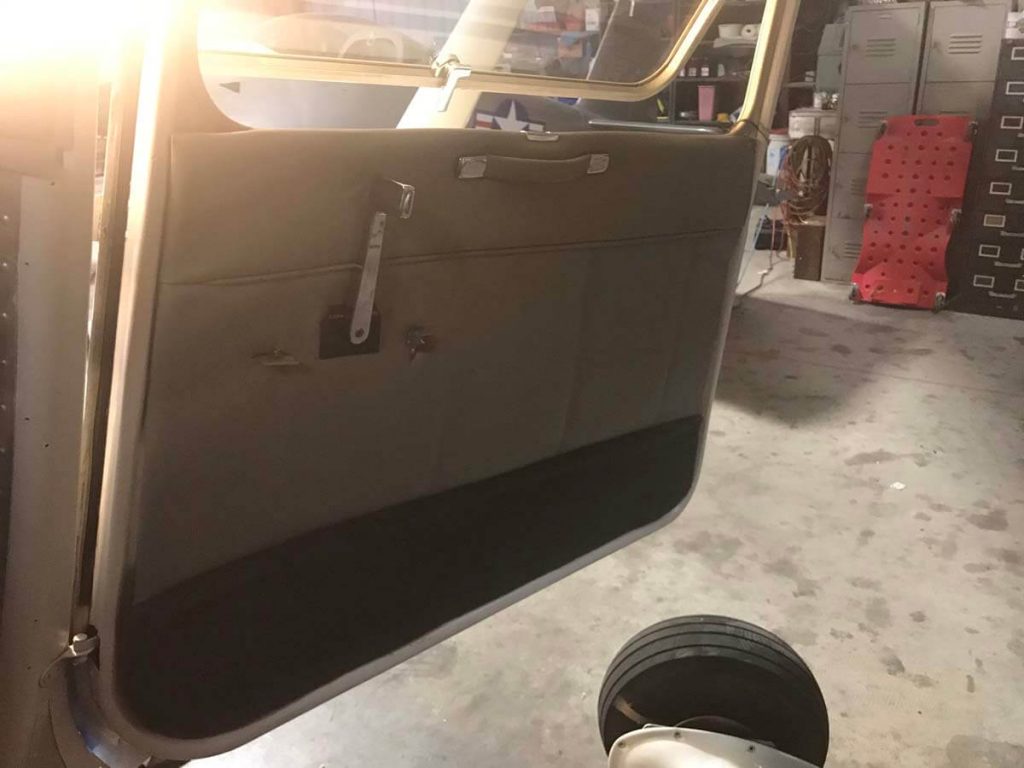
New plastic and upholstery on the door. 
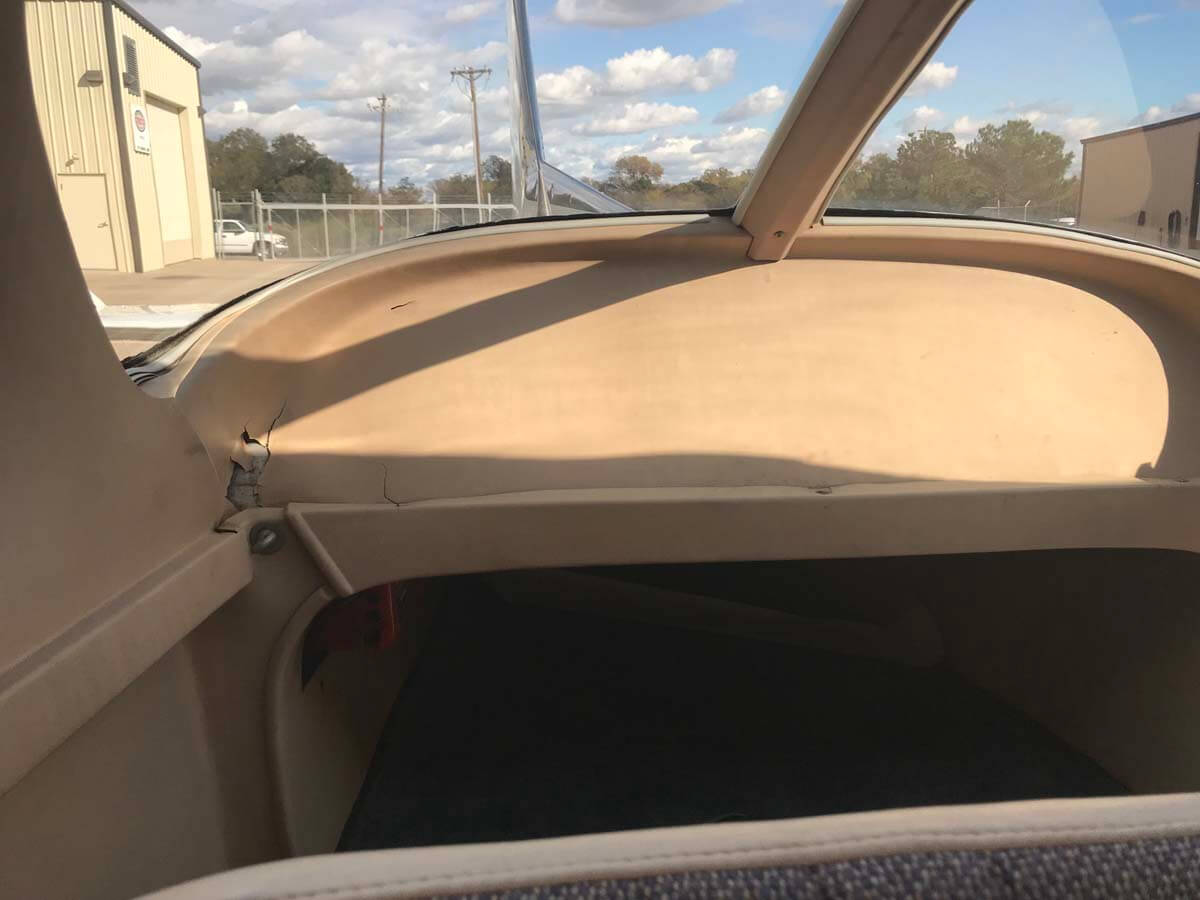
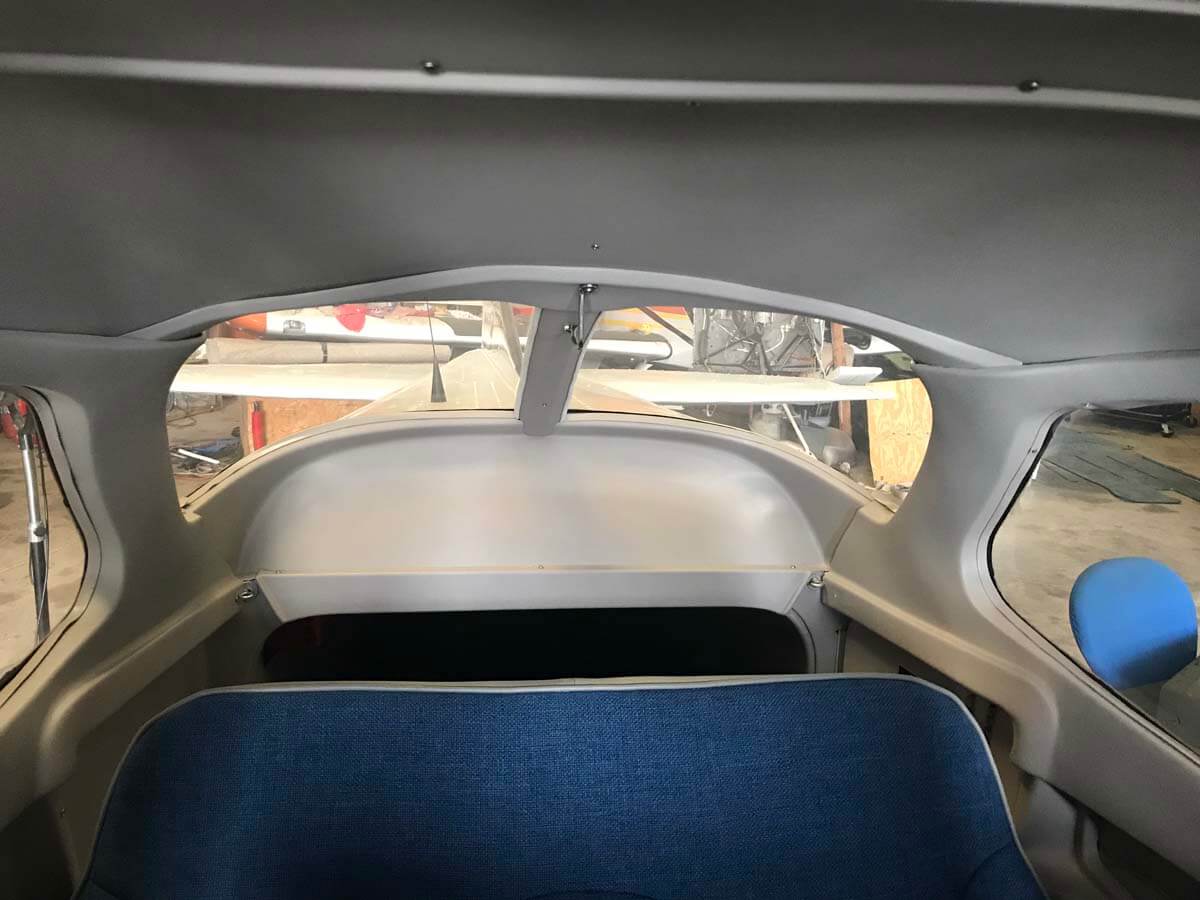
Baggage compartment plastic before restoration. 
New baggage compartment plastic.

