The wheels of fate began to turn in fall 2020 as three Pacific Northwest pilots came together in a team effort to bring some life back to an old airplane.
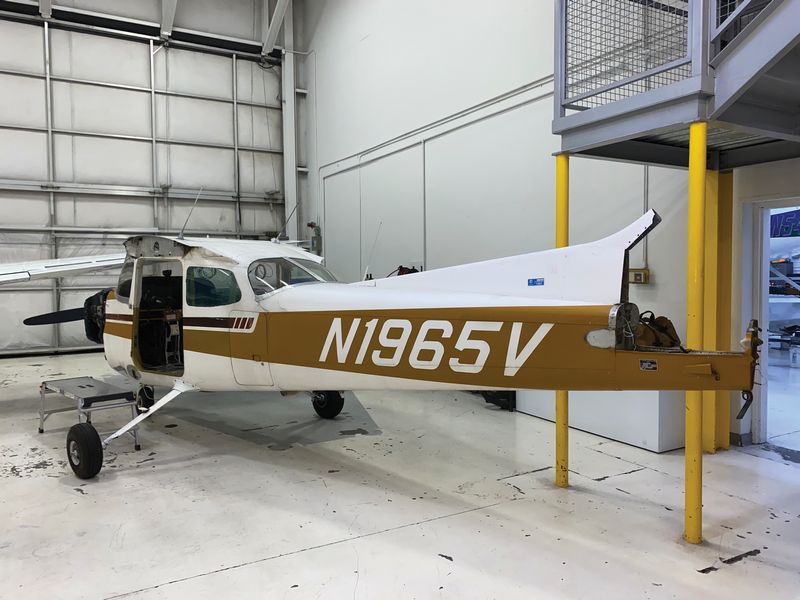
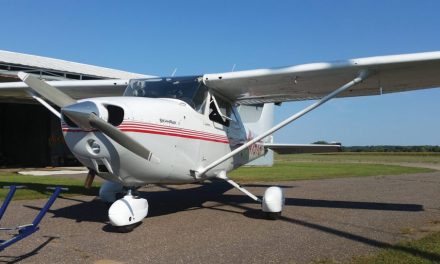
The airplane in question was then known as N1965V, a 1974 Cessna 172M. For much of the past few decades, 65V had been a staple at Bellingham International Airport and was listed in the logbooks of many local pilots. Then the flight school that owned the plane shut down after many years and it was sold to new owners.
As the airplane sat outside for quite some time, weather and time took a toll. Eventually, the then-owners knew they needed to get it flying again before it was too far gone. Some work was done at that time to make the plane airworthy so that it could pass a pre-buy as a flying aircraft and head to a new home.
Before being listed as for sale, the first of our three players knew the owners and was offered the opportunity to purchase the airplane as part of a package deal. Quentin Chambers purchased 65V and a hangar to put her in. The hangar was the biggest draw of the package, but he also saw the opportunity to breathe some new life into a little piece of local history. He knew that he could take the restoration a little further in the form of some cosmetic updates as well.
This article has been made free to all website visitors. The future installments will not be free. Join today.
Phase 2: A Panel Idea
Chambers brought the project to his friend Lyle Jansma, who also owns a 172 that he has thoroughly restored and flown for several years. His skill and knowledge of 172s would be a valuable asset to the project, and the timing was perfect. He was just getting ready to test a new idea for a stationary panel structure for legacy 172 planes, a design that would allow for installation of 10-inch glass cockpit displays without reducing structural integrity.
Chambers hoped to have the conversion done in his own 172M, which he was in the process of planning upgrades for. The purchase of 65V allowed for testing and a proof of concept before moving on to installing in his own airplane. It also meant that with the new stationary panel, 65V would have the ability to be upgraded to newer, more modern avionics for many years to come.
The project would be a huge undertaking, but with each of them possessing a unique skillset, they partnered with Command Aviation — the local maintenance shop — to complete the project under the supervision of their crew of A&P mechanics.
Starting With Paint
The original plan was to spruce her up with new paint, install the stationary panel upgrade, and get her flying again for an entry-level buyer. However, knowing that a potential buyer might want interior or avionics upgrades anyway, a quick Facebook post was made offering the opportunity for someone to buy into the project at an early stage.
The third player in our story, Steve Compton, was the first to respond. After decades of life getting in the way, Steve had rekindled his love of aviation only a few years earlier. After completing his instrument rating, he decided it was time for an aircraft of his own. Six months into his search, he spotted that post online.
Intrigued by the idea of inspecting the airplane before, during, and after restoration, as well as the opportunity to choose the finishes and upgrades, Steve, his wife Mary, and their A&P friend Dixon Smith made the trek from southeast Washington to northwest Washington to check out the project in the early stages.
“We were going to have a once-in-a-lifetime opportunity to get a practically new aircraft,” Steve said. “Not only that but we were in on the ground floor and could have a say on what goes back on during reassembly.”
Truly a one-in-a-lifetime opportunity, a deal was made, and the hard work began.
Recommended: On a computer, click on a photo for a popup slideshow. On a smaller mobile device, often the photos look better if you don’t click on them and just browse through.
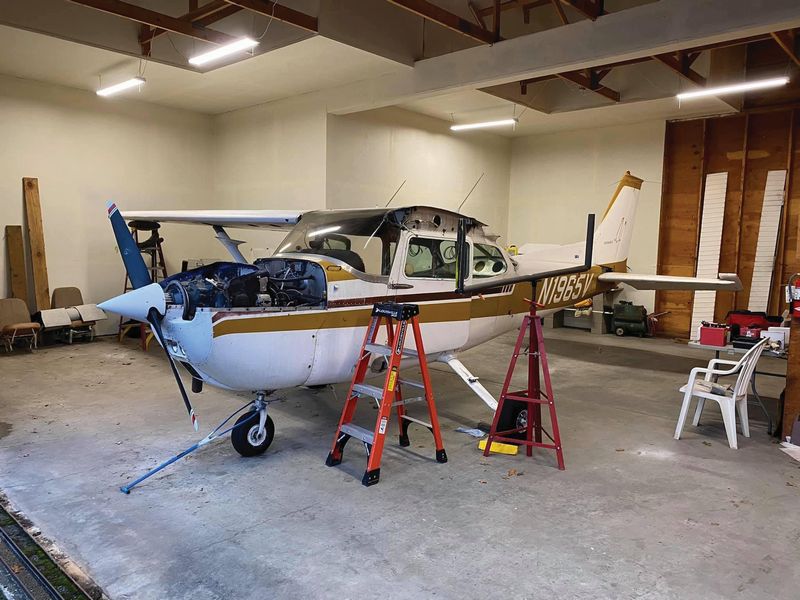
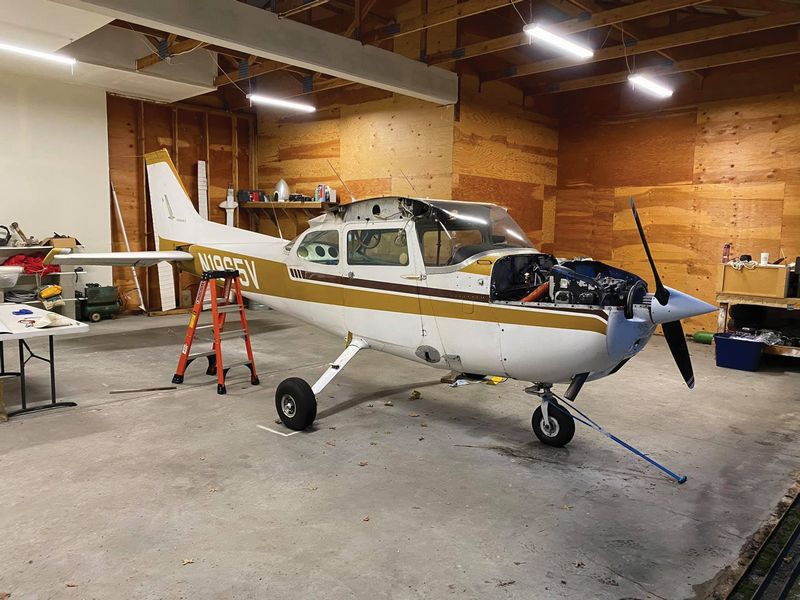
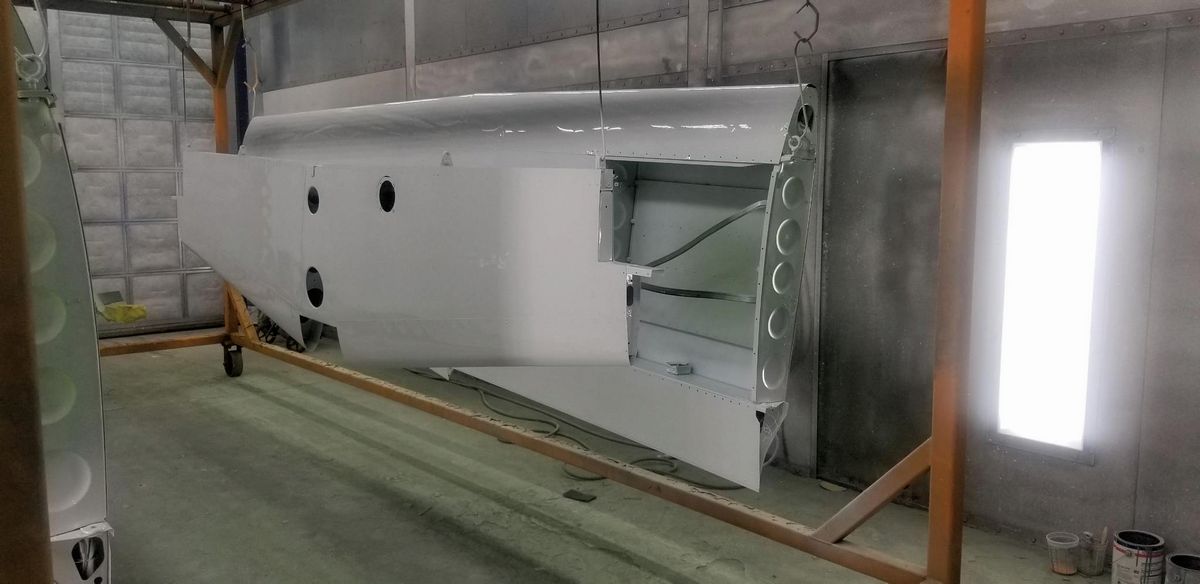
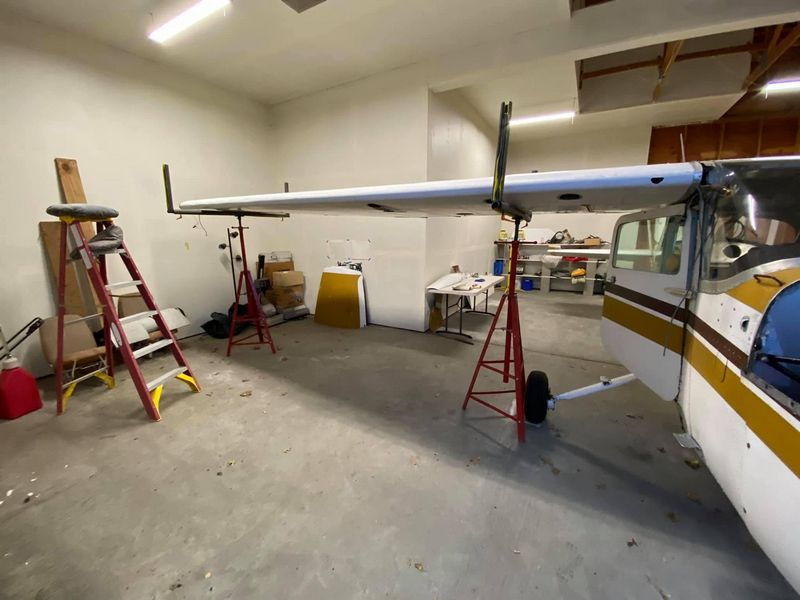
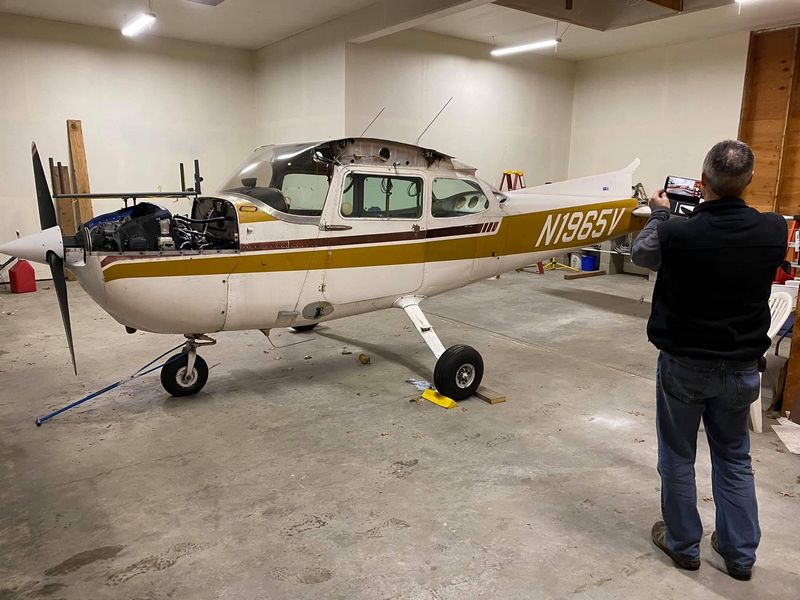
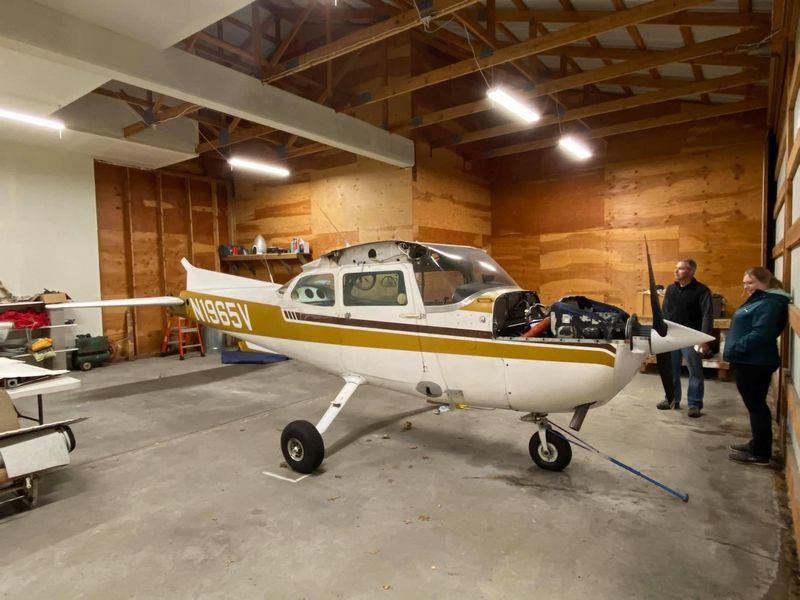
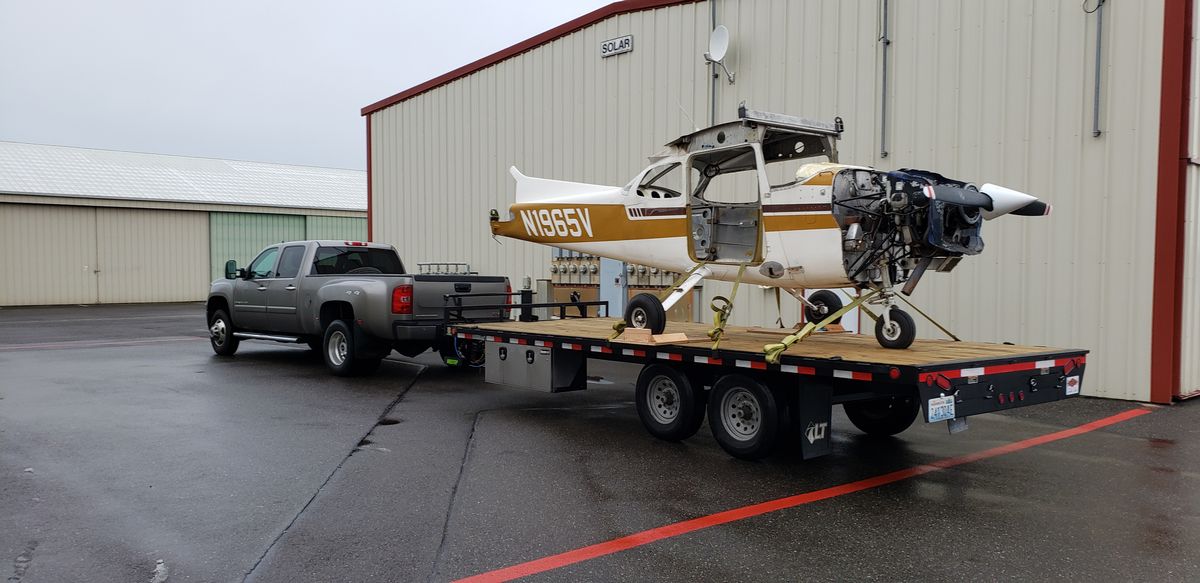
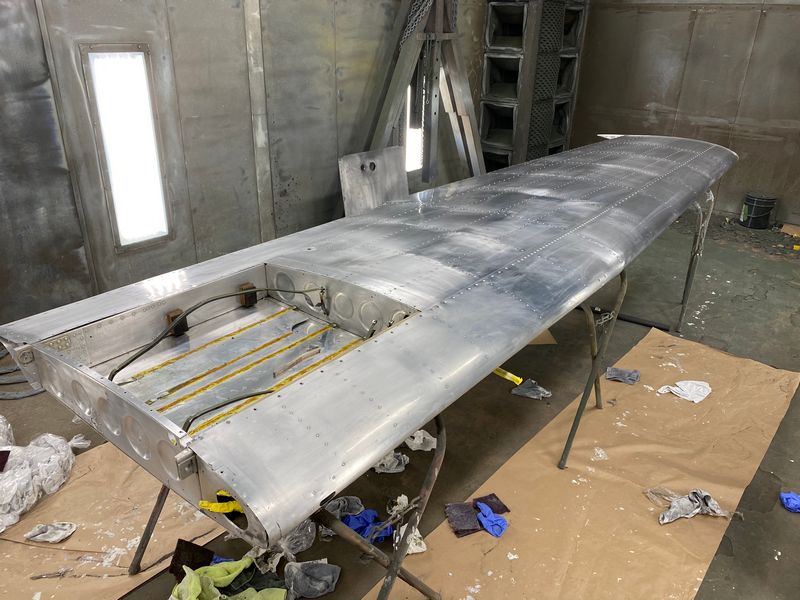
A Facebook post featuring this photo of 65V partially disassembled caught Steve Compton’s eye. The post read, “This one will be looking for a new owner come springtime. New paint, instrument panel, 160 hp engine, and the new owner can have a say in how the interior is finished and what avionics are installed.”The first step of the restoration of the aircraft formerly known as N1965V was disassembly. Quentin owns a powder-coating business with a paint booth large enough to fit the fuselage, so the plan was to truck the airplane and all the parts to his shop and have it painted by a local experienced aircraft painter. This also gave an excellent opportunity to open the aircraft for inspection and look in some areas that usually aren’t easily visible.It took three people a couple of hours to pull the wings off, made easier by cradle stands (see the ladder-and-goalpost device shown in the first photo above).These offered stability to the wings while struts and bolts were removed. Wings and fuselage were transported separately to the paint shop, along with all the remaining control surfaces.
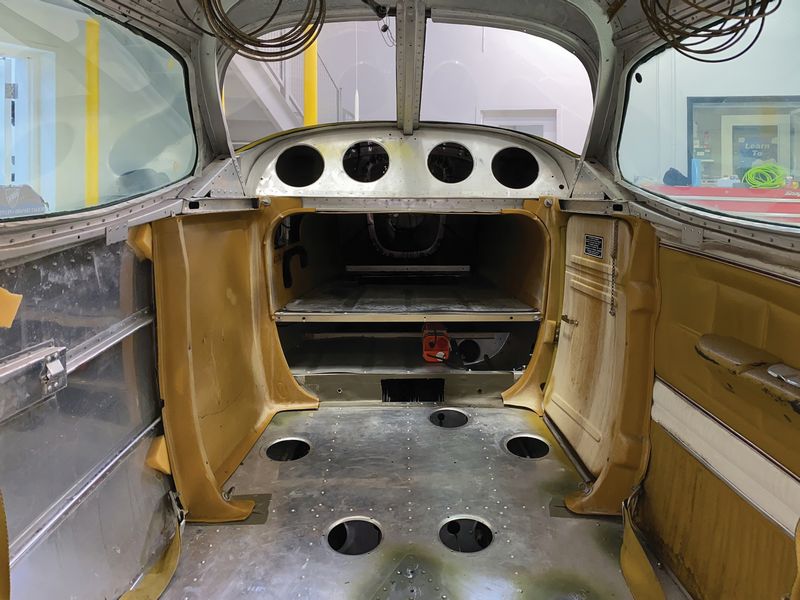
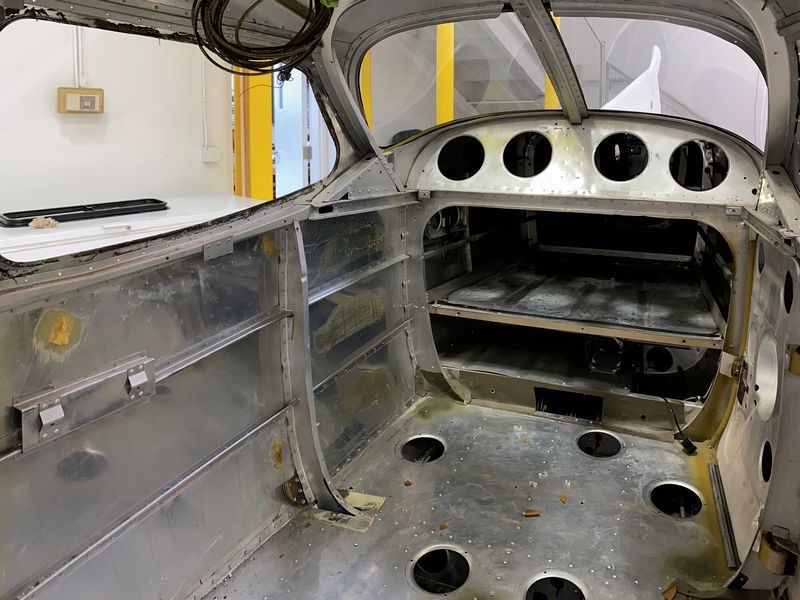
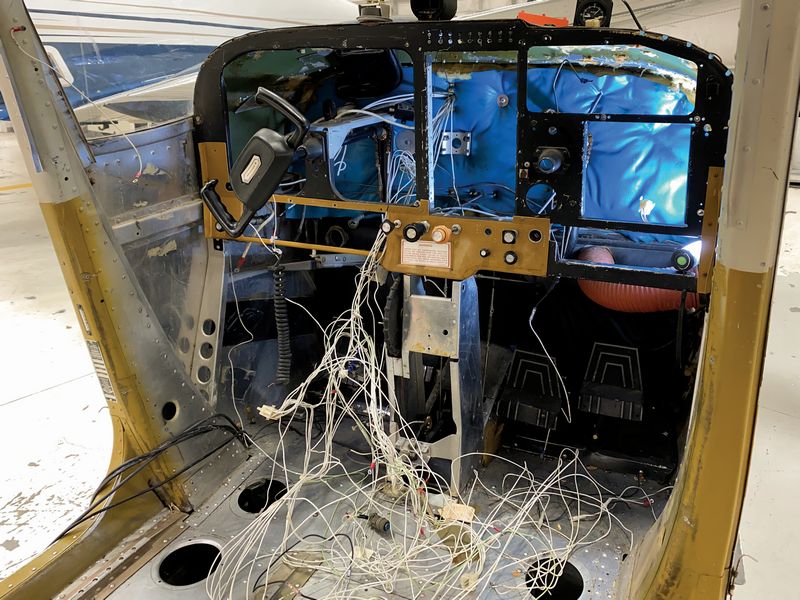
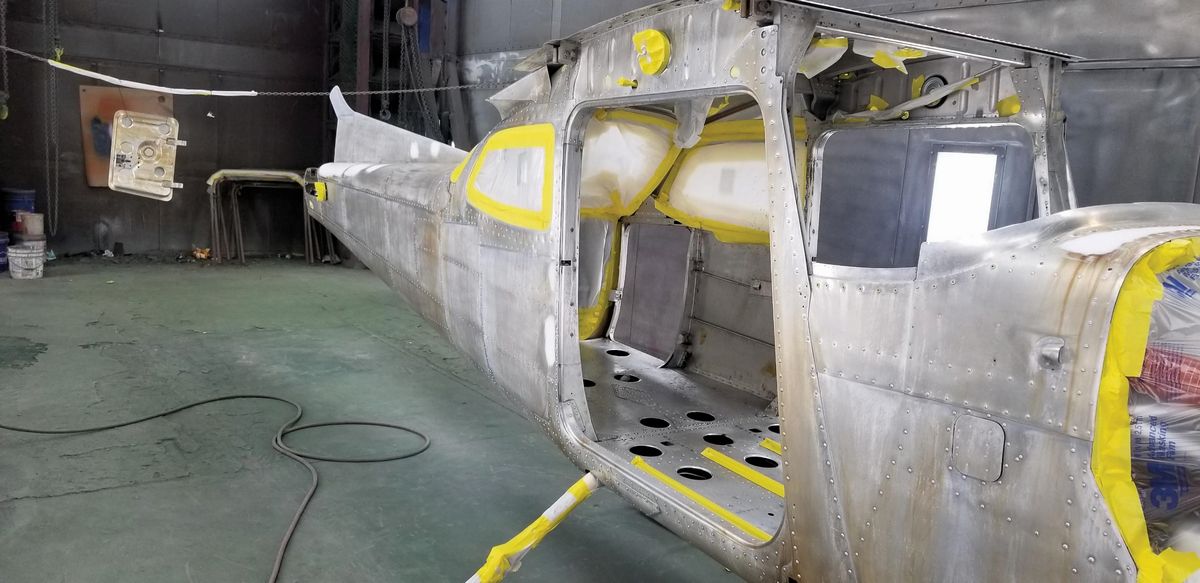
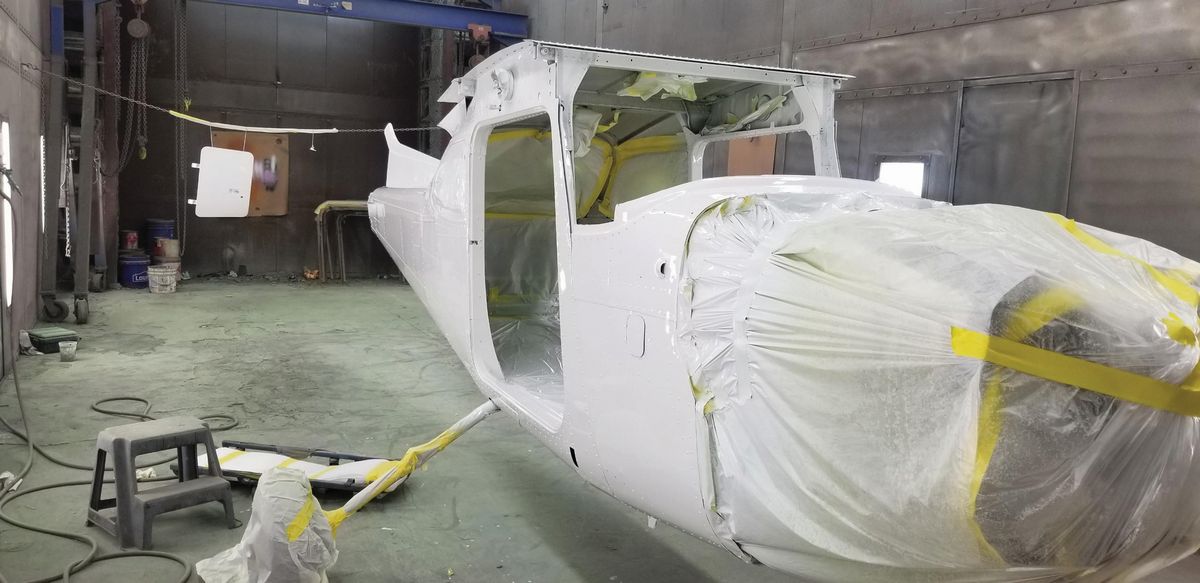
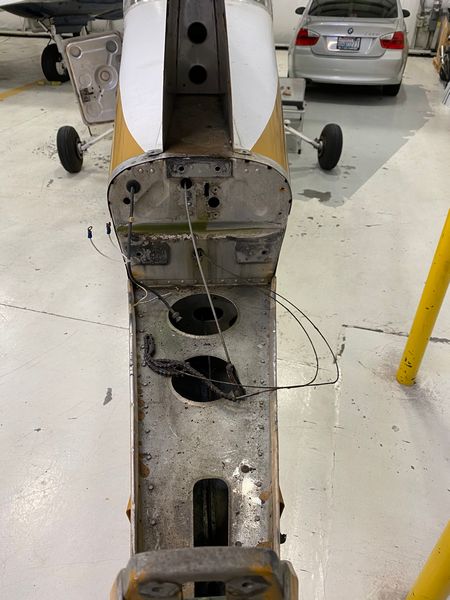
Before taking the fuselage to the paint shop, it went to Command Aviation for some preliminary work and a quick inspection before painting. The remainder of the original interior was removed. The plastics that were still installed were cracked and faded, and the interior fabric panels stained and worn. Everything would be replaced with a new interior of Steve’s choosing. Once the plastics and old insulation were removed, the interior looked clean for an aircraft of its age.
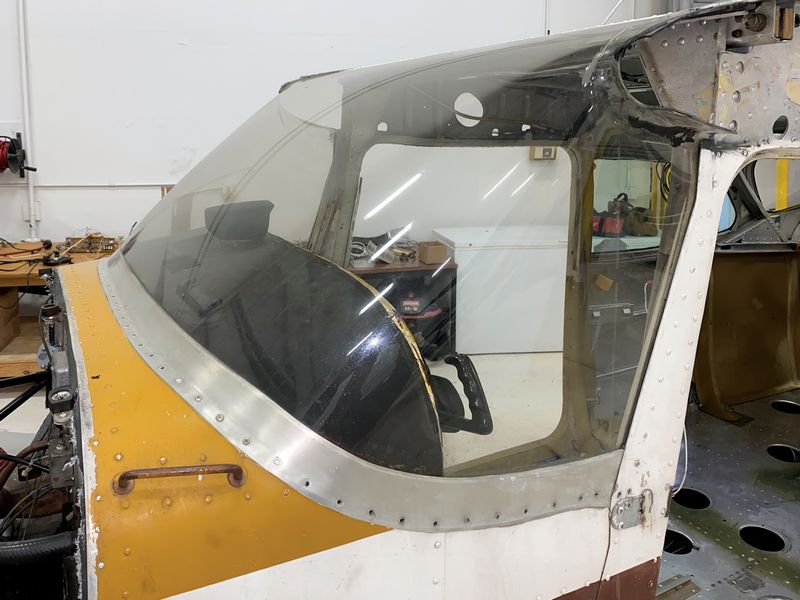
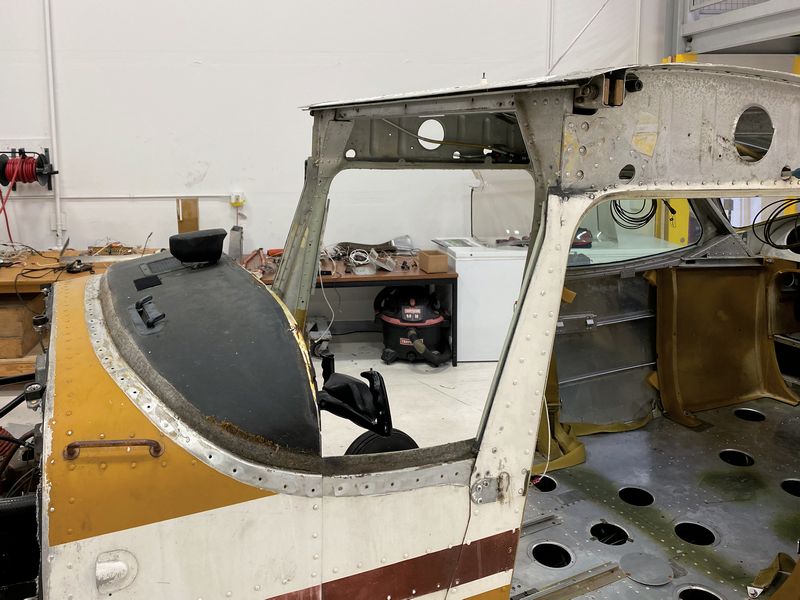
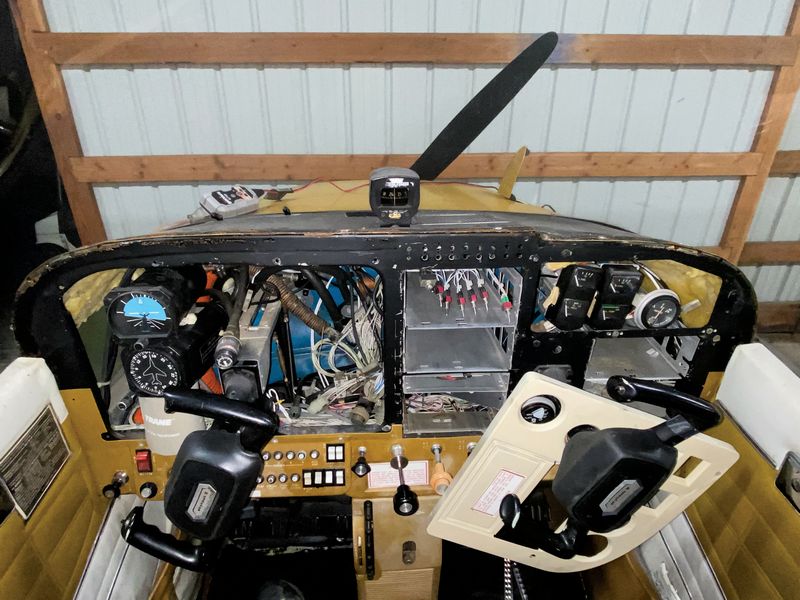
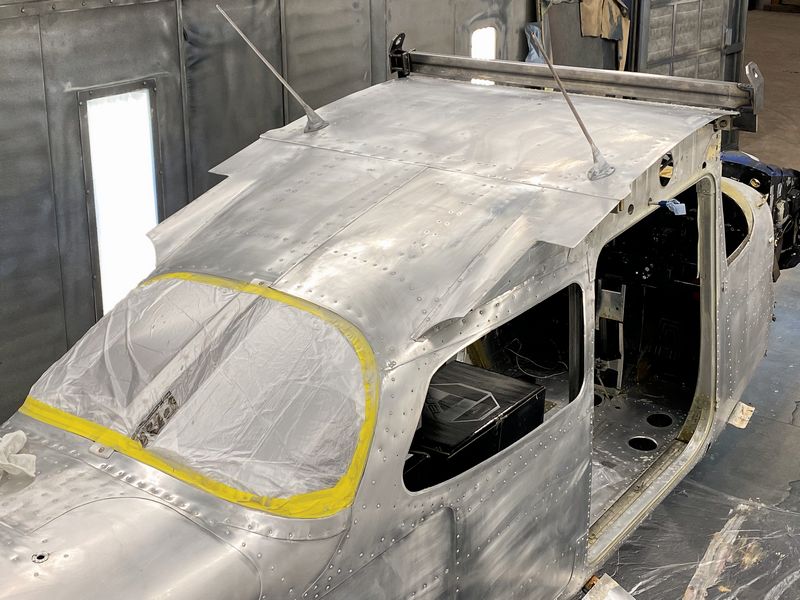
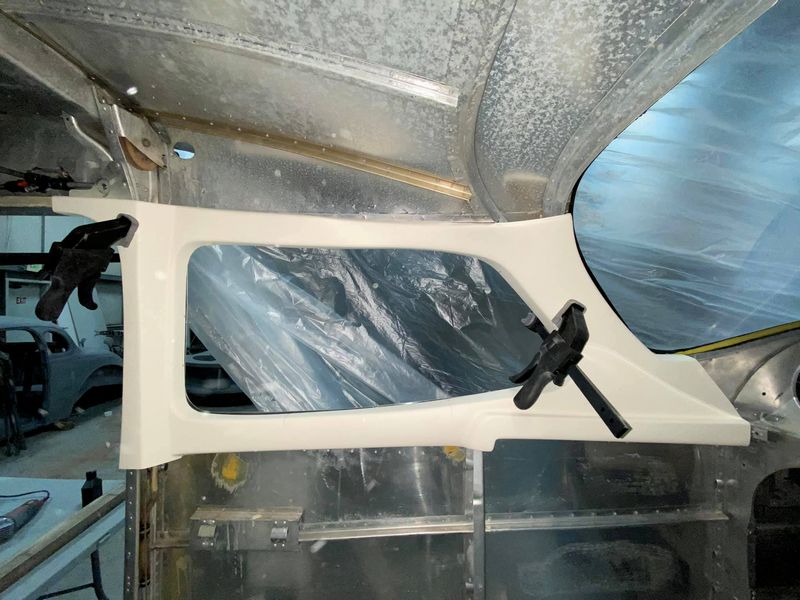
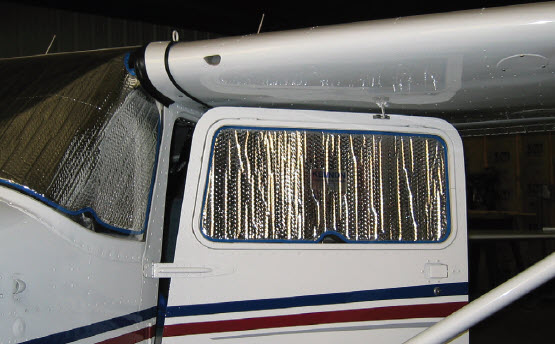
While at Command Aviation, Jansma removed the windshield, a necessary step for the installation of the new stationary panel structure. The windshield had been recently replaced with cherry max rivets, so each rivet had to be ground down and drilled out carefully. The windshield was removed and preserved for reinstallation later, as it was still in near-perfect condition.
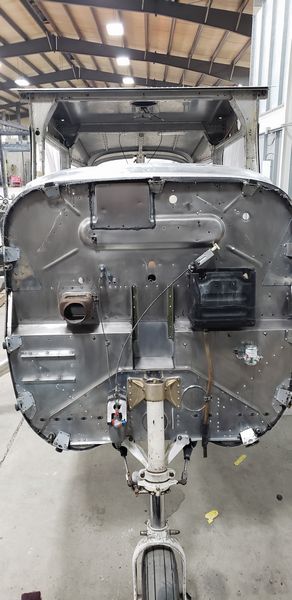
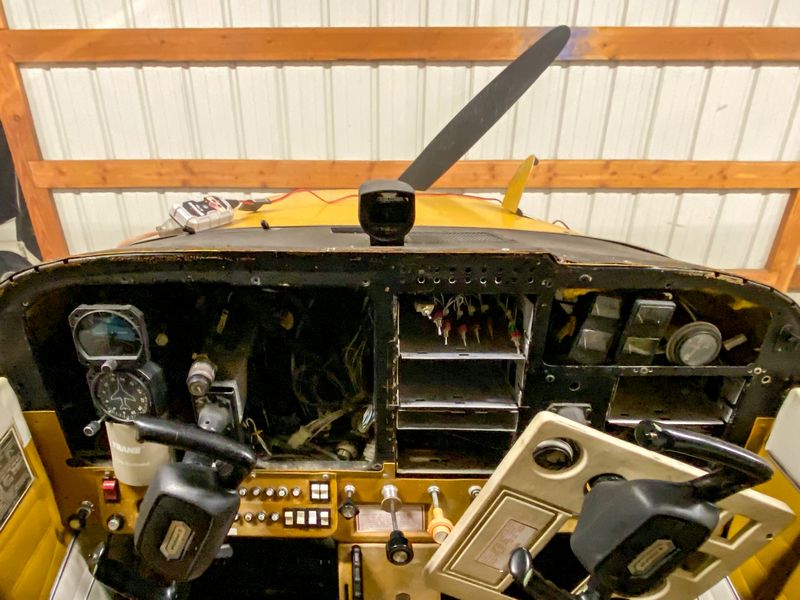
The original instruments and wiring were completely removed from the aircraft. As the instruments started to come out, most of what was hidden behind the panel was completely original. Every piece of wire in the airplane would be completely replaced, so it all had to come out.
They were given the OK to move the plane to the paint shop in late December 2020. It was loaded on a trailer and trucked across town. It took several trips to get all the components transported safely. Once there, Quentin would put his skills to use to prep the fuselage, wings, and control surfaces for paint.Stripping the original paint off the fuselage, wings, and control surfaces took many hours to make sure that every inch was prepped properly for paint. It was around this time that Steve officially met his new airplane for the first time. “In January 2021, Mary and I, along with my CFII and A&P buddy Dixon Smith, made a trip up to Bellingham to look over the disassembled aircraft. By this time most of the components had been stripped of paint and we were able to see exactly what we were going to purchase. After a couple of hours inspecting with flashlights and mirrors, Dixon and I determined 65V was in great shape for a 46-year-old aircraft!”
Stripping the paint.
Stripping the paint.
Stripping the paint.
The rear window had been replaced along with the windshield, but the side windows still needed replacing, so those were removed prior to painting. When deciding on the new interior, Steve had particularly liked the look of the Selkirk Aviation fiberglass interior that Lyle had installed in his own 172. Planning based on his own experience, Lyle knew that the rear window panels would be much easier to fit, measure, and trim while the windows were removed. The interior was roughly trimmed to fit, and then the back windows were installed and riveted into place.
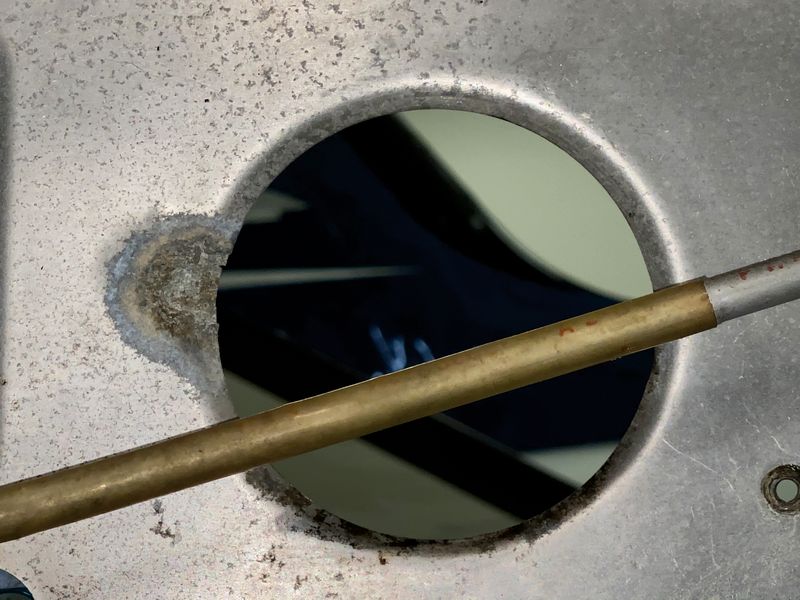
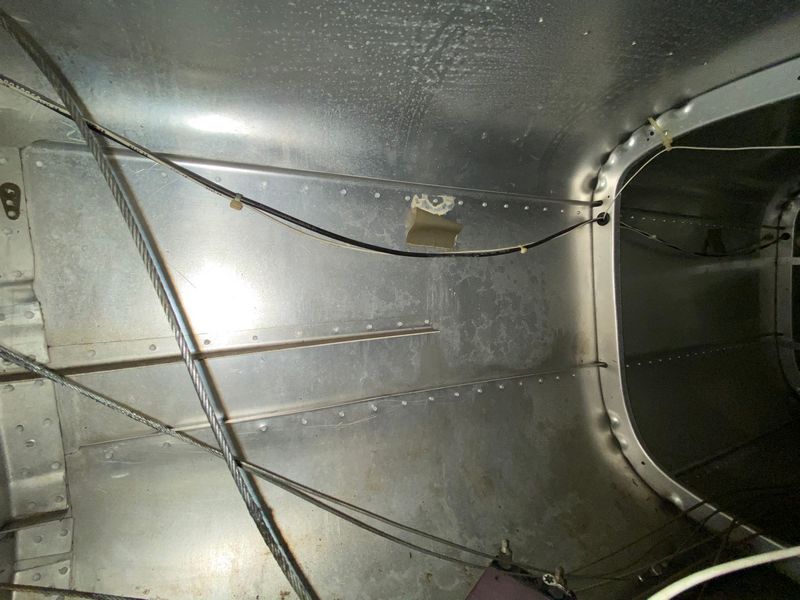
Once prep was complete, the aluminum was found to be clean, with very little corrosion. Only one spot of significant corrosion was spotted, around the hole on the upper fuselage rib. This is a common place to have corrosion, often caused by the routing of old CAT tubing for the rear cabin air vents. These old tubes would absorb and hold moisture, and their external steel wire would rub against the aluminum, introducing moisture and dissimilar metals.
The affected metal was completely removed and repaired with a patch cut from the same rib on an old fuselage that had come from a salvage yard.
The affected metal was completely removed and repaired with a patch cut from the same rib on an old fuselage that had come from a salvage yard.
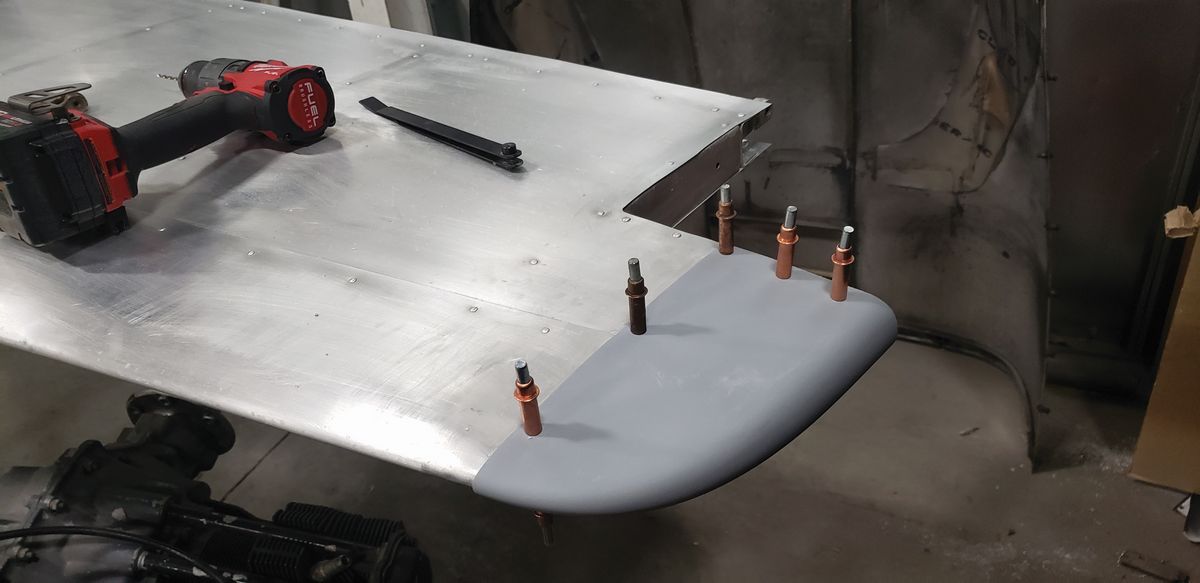
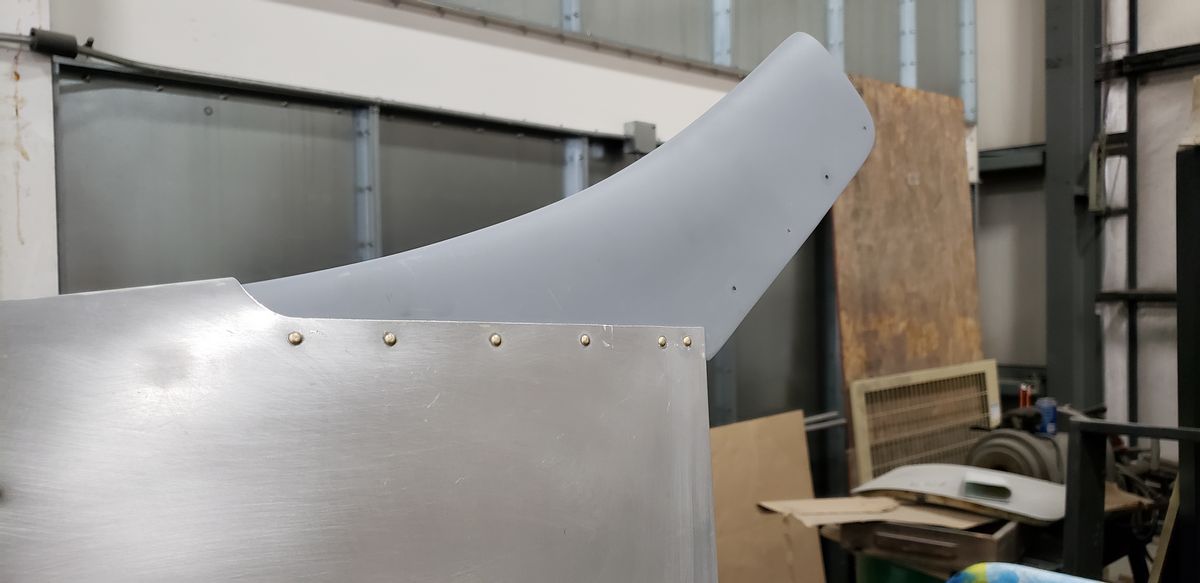
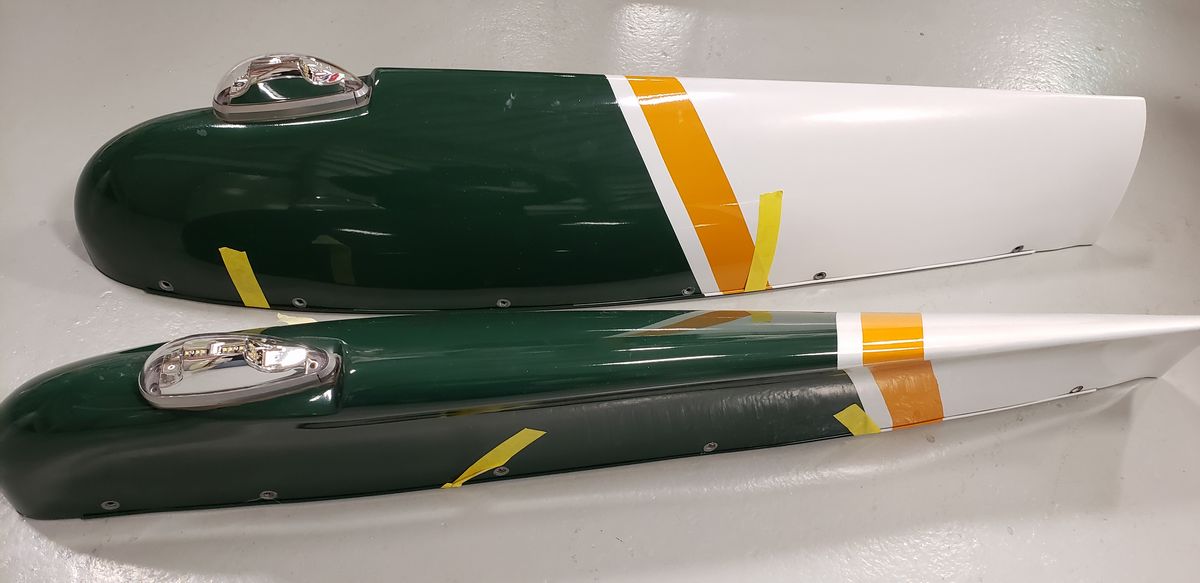
A few other details were added before painting. All the old plastics were removed and replaced with composite parts from Stene Aviation. Everything was replaced, including the dorsal tip and mid dorsal fairing, horizontal stabilizer and elevator tips, rudder bottom and top, strut cuffs, and vertical stabilizer top. All the pieces were fit and riveted into place ahead of painting.
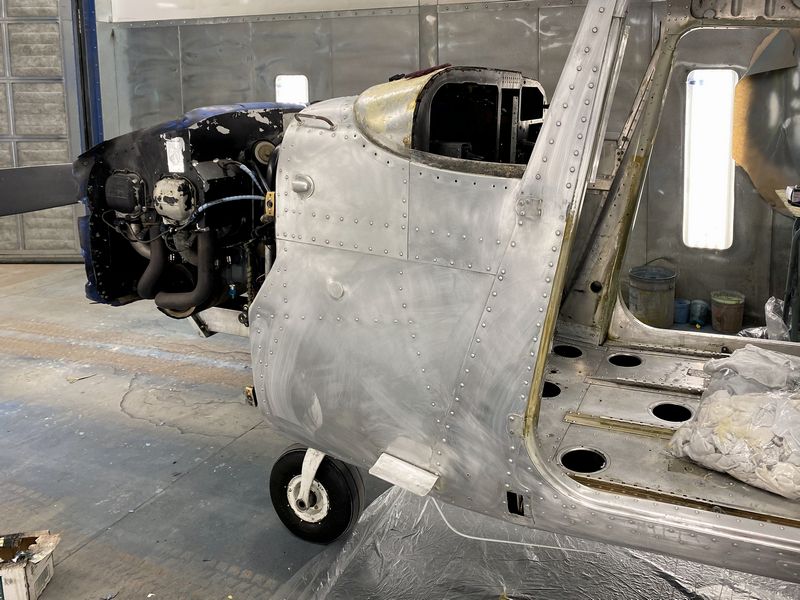
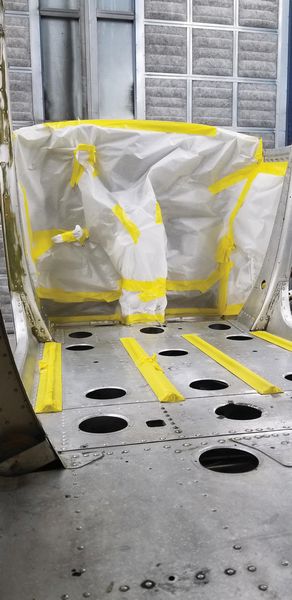
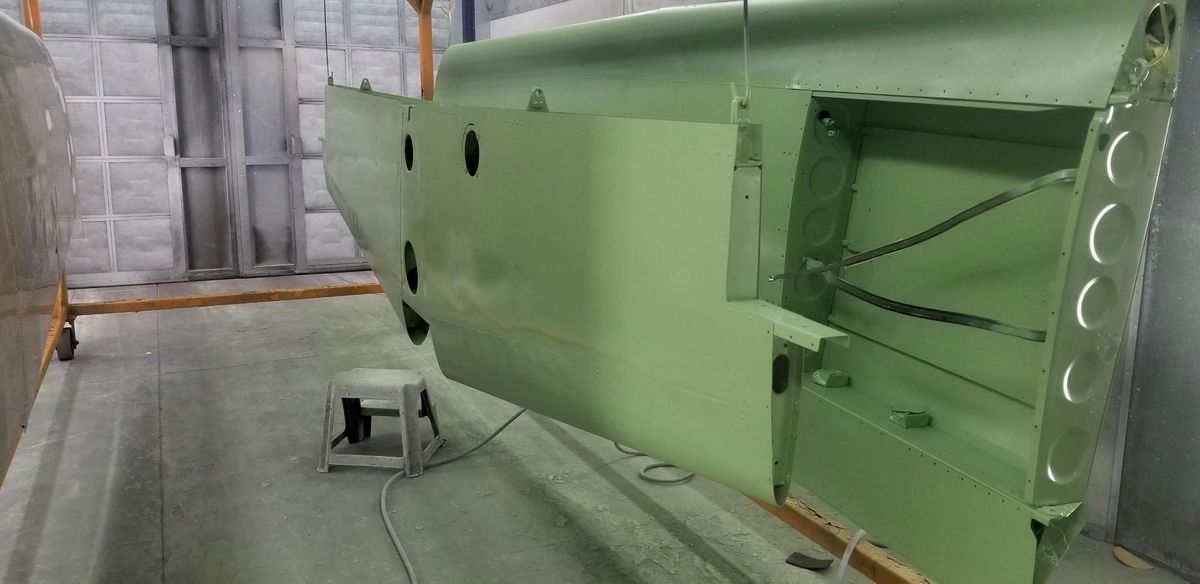
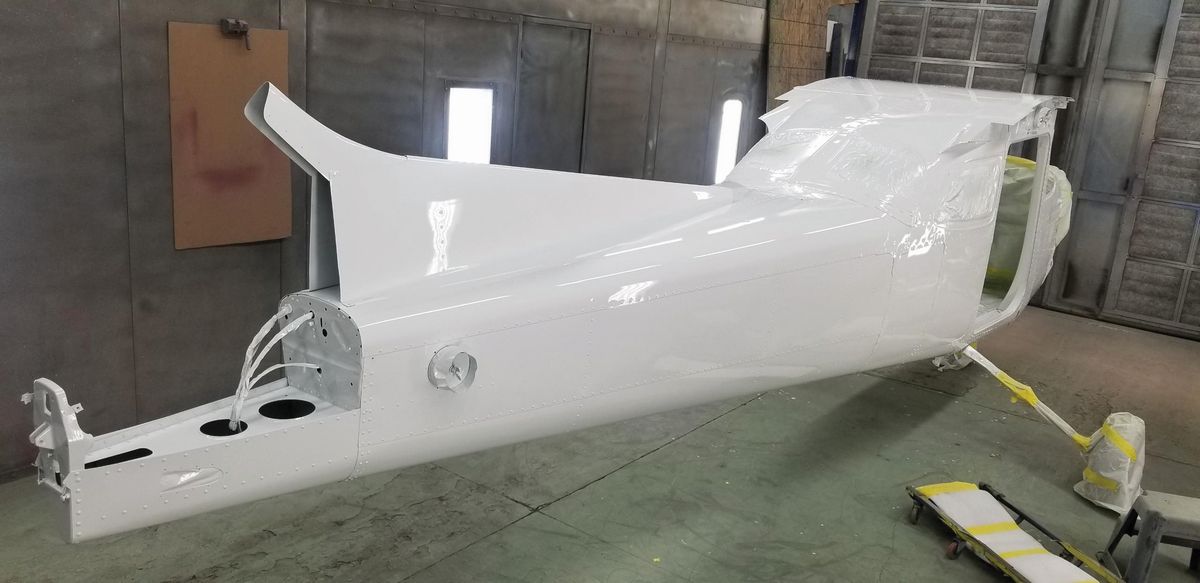
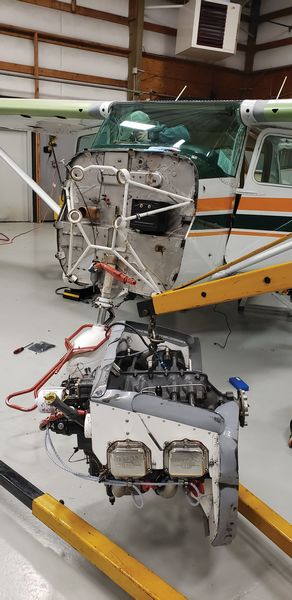
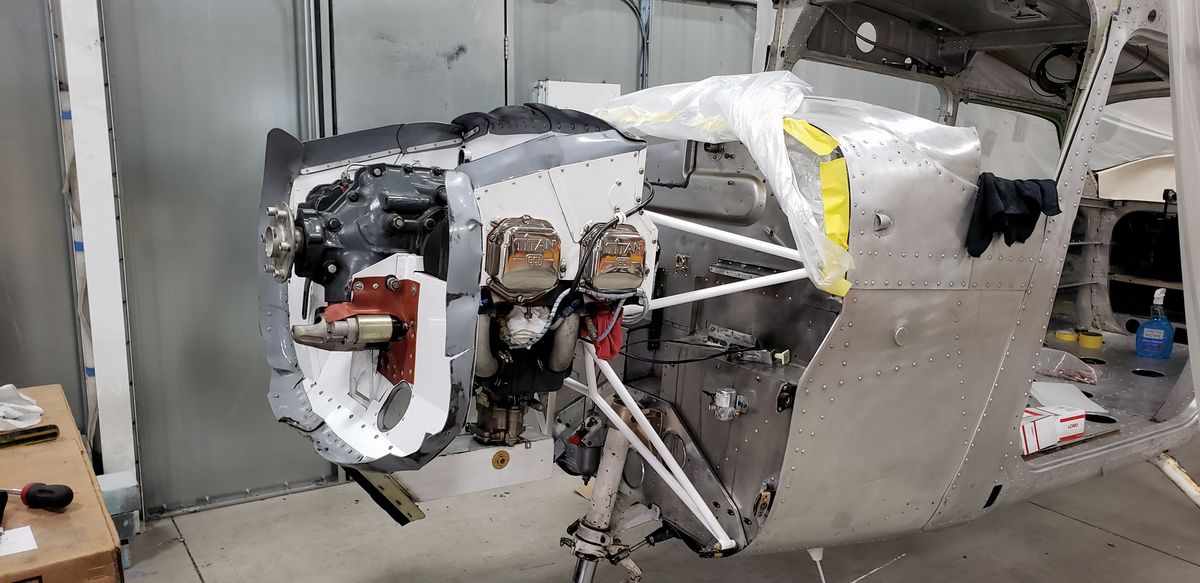
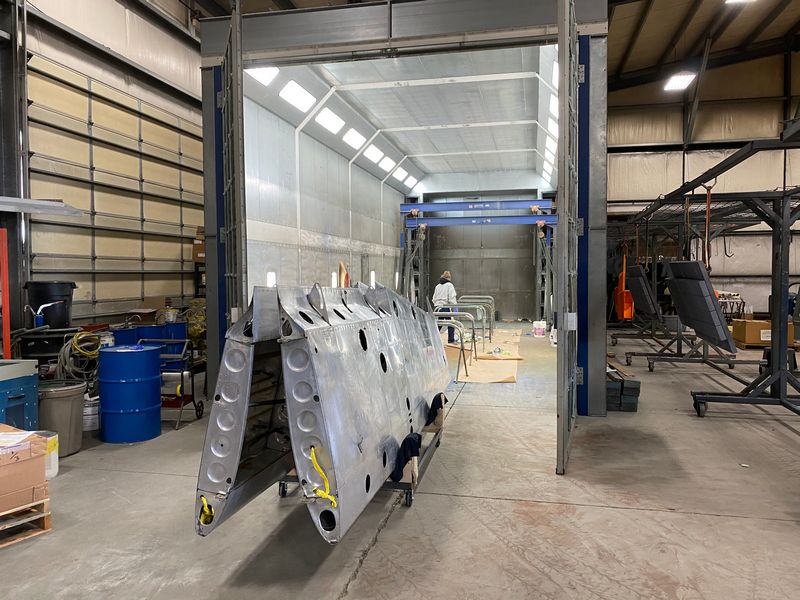
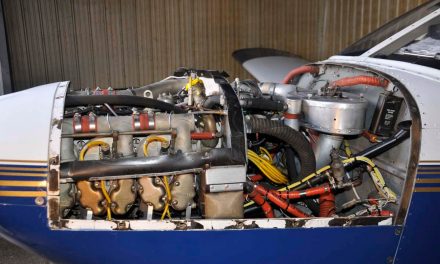
Strip, Alodyne, paint.Strip, Alodyne, paint.Strip, Alodyne, paint.Strip, Alodyne, paint.Strip, Alodyne, paint.Strip, Alodyne, paint.Special care was taken to mask the windows and portions of the interior that couldn’t be painted, including the seat rails. The entire fuselage was then treated with Alodine, which coats the aluminum in a special coating that prevents corrosion. Then it was painted first with an epoxy primer, both inside and out, for added corrosion protection. Imron aircraft paint was applied to the exterior in a simple coat of white. Compton, who had been involved for years with boat racing, knew at this point that the work on the airplane was going to be done right. “I was very familiar with Imron, not only what it was but the durability of it,” he said. “It holds up really, really well.” Custom vinyl N numbers and stripes would be applied later, once Compton finalized his design.The original engine from N1965V was close to TBO, after many years of sitting outside without being run. Some work had been done to some components firewall-forward to get the airplane running again, but the health of the internal components of the engine hadn’t been thoroughly inspected yet.Because Chambers was upgrading his own 172M to a 180 hp engine, the engine that had been installed on that airplane had only 1,200 hours on it, with 800 hours remaining until overhaul. This solution would save Compton money in the long run by installing a proven engine with many hours remaining over having to soon overhaul the engine that originally came with the plane.
The engine mount was stripped and inspected before a fresh white coating was applied. The white will help make it easier to see any cracks or damage that might occur from rubbing or wear. • During the engine swap, all components were removed from the firewall, which was then inspected and cleaned. As an added touch, the metal was polished, ready for the new engine to be installed.
The mount and engine were secured to the airframe. The engine’s history had been well- documented, all the logs were included, and the engine had been flying regularly up until it was removed to be installed on this airframe. The RAM 160 hp upgrade would add a huge improvement over the original 150 hp engine that was installed previously.
The above photos and captions were in the magazine. Below is a web-only batch of bonus photos. Like above, we recommend clicking on a photo to create a popup slideshow.
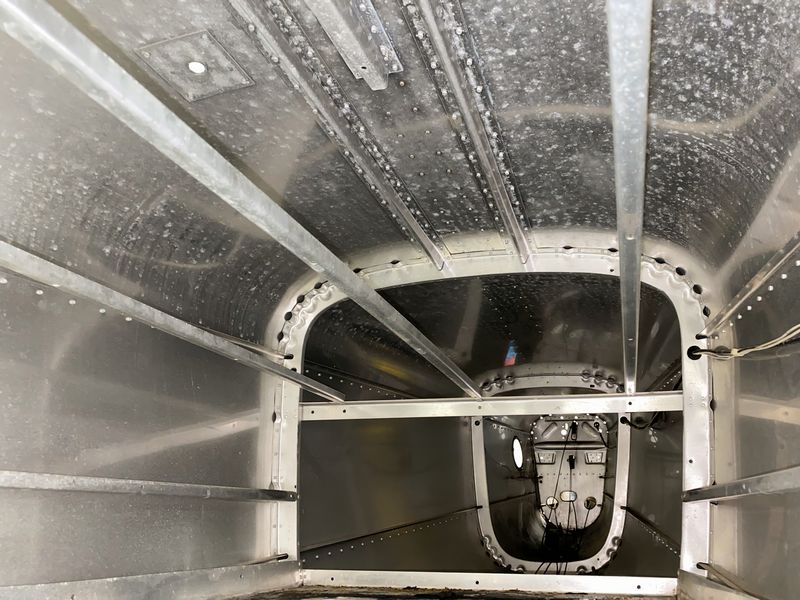
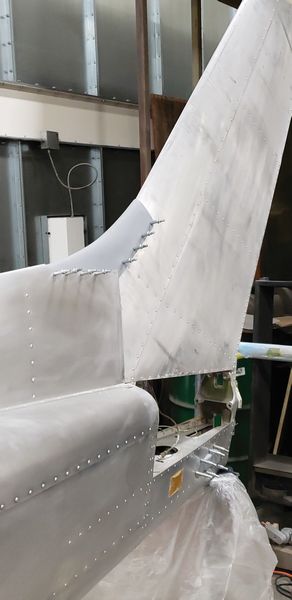
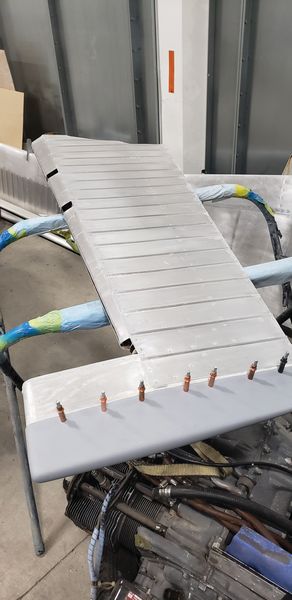
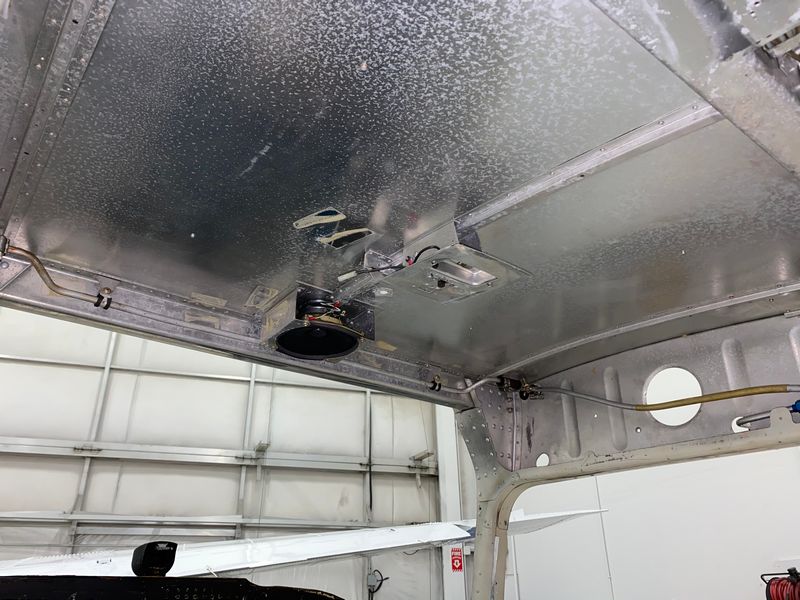
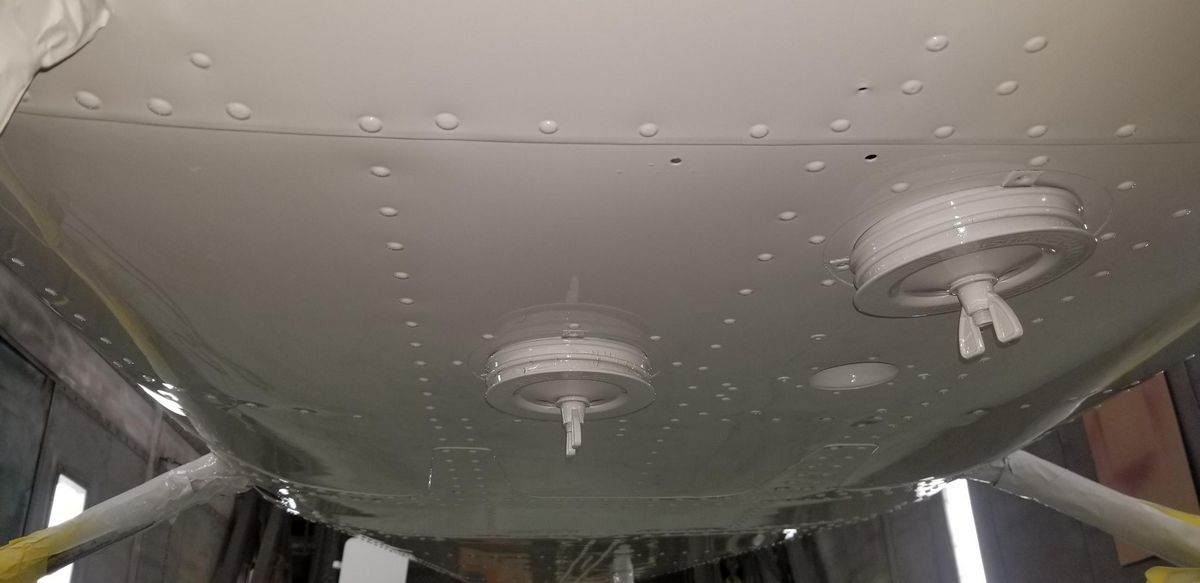
A closer look at the cradle that was built to help support the wing during removal. Two of these supported the wing at the end and inboard after the strut were removed, so as to enable removal of the wings with a crew of only two or three people. The disassembly of 65V continues, including the vertical and horizontal stabilizers, and elevators.The disassembly of 65V continues, including the vertical and horizontal stabilizers, and elevators.Additional shots of the interior after disassembly, during the initial inspections. Everything was found to be relatively clean and in good condition given that the airplane had been sitting outside for many years.Additional shots of the interior after disassembly.Additional shots of the interior after disassembly.Additional shots of the interior after disassembly.Additional shots of the interior after disassembly.Additional shots of the interior after disassembly.Another angle of the fuselage loaded onto a trailer to be taken to the shop for painting.A few more shots of the stripping and prepping process prior to painting.A few more shots of the stripping and prepping process prior to painting.A few more shots of the stripping and prepping process prior to painting.A few more shots of the stripping and prepping process prior to painting.A pair of wingtips donated from Quentin’s other project came with a set of LED lights. They were stripped and painted all white to go with the rest of the airplane, and the LED lights were a significant upgrade.The inspection plates were removed and painted separately so the holes were plugged on the fuselage to prevent overspray.Another look inside during removal of the instrument panel.The inner fuselage rib piece that was donated from the salvaged fuselage. The piece was cleaned and alodined prior to installation.
Coming next month, Restoration Part 2, Panel.
This article has been made free to all website visitors. The future installments will not be free. Join today.
Elizabeth Gibbs (writer) and Lyle Jansma (photographer) are private pilots and co-owners of a Cessna 172. When they’re not flying above the beautiful Pacific Northwest, they are working hard designing instrument panels for other Cessna owners. To learn more about upgrading your instrument panel, visit facebook.com/SixPackAero.


