By Gene Velazquez, One Mile Up
Thinking about upgrading your instruments? Before you dive in, take a moment to peek into the dizzying world of aircraft wiring. To understand what you’re getting into, it helps to start with a definition. The “Avotek Information Resources” book on aircraft wiring describes it as “runs of electric wire and cable broken at specific locations by junctions, to ease assembly and repair.” Those junctions might be connectors, junction boxes, buses, or more. Each wire must be carefully prepared before installation — cut to length, identified, and stripped. Insulated wire (usually just called “wire”) may contain multiple layers designed for dielectric insulation, thermal protection, abrasion resistance, and fluid resistance. In fact, the commonly used aircraft wires alone fill a table of 48 different types.
And that’s just the beginning. These wires connect everything, including your instruments, engines, sensors, and power sources. A single instrument may require as many as 216 wire connections. A typical general aviation aircraft might have anywhere from 6 to 50 instruments, not counting all the other connections throughout the system. To put it in perspective, the latest avionics upgrade for Air Force One involves 289 miles of wiring. Add to that the FAA’s strict installation requirements, which can ground an aircraft indefinitely if not met, and the reality sets in quickly. The documentation alone for instrument configuration reads like an encyclopedia… and it’s about that long, too.
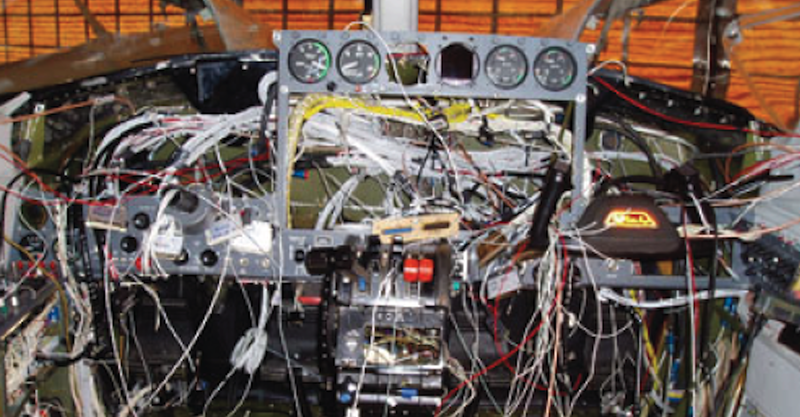
discovered. Photo courtesy of One Mile Up LLC.
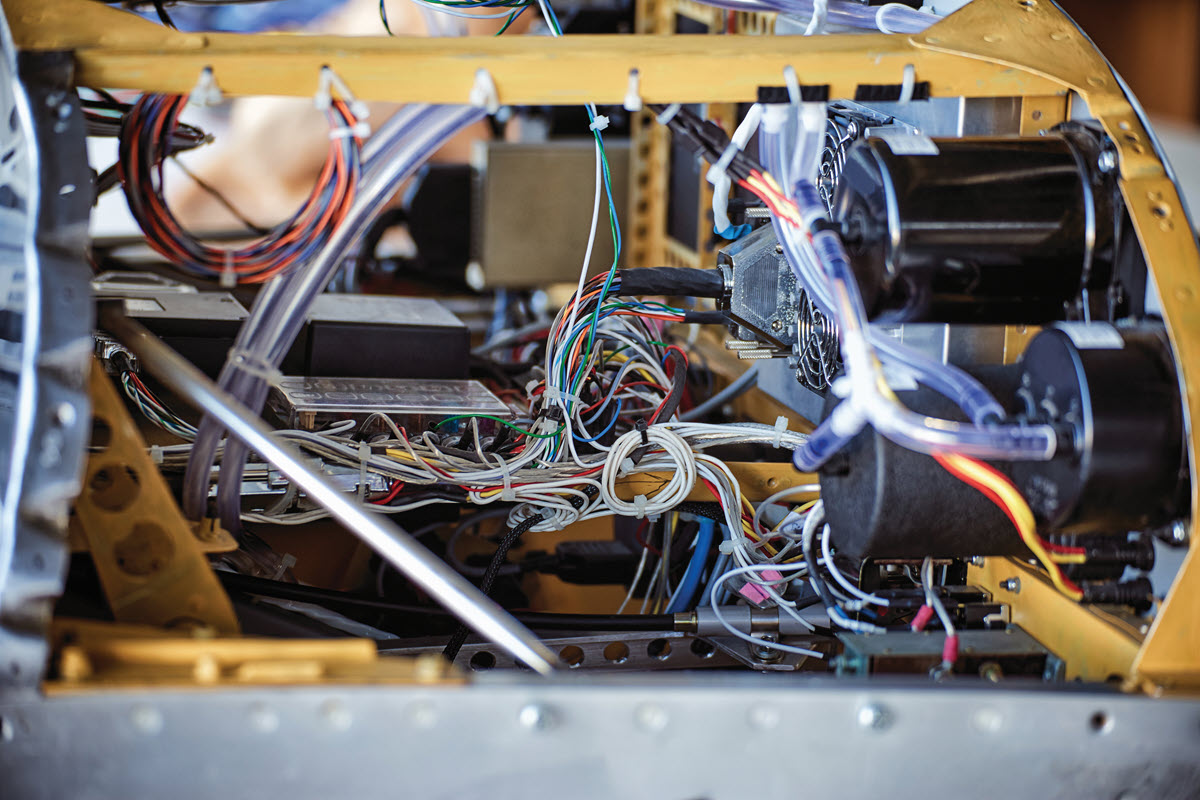
Photo credit: AdobeStock.
A Solvable Problem?
The complexity can feel overwhelming, but that’s the shop’s problem, right? As the song goes, “that ain’t necessarily so.” (George Gershwin, Porgy and Bess) The moment the panel comes out, the reality often tells a different story.
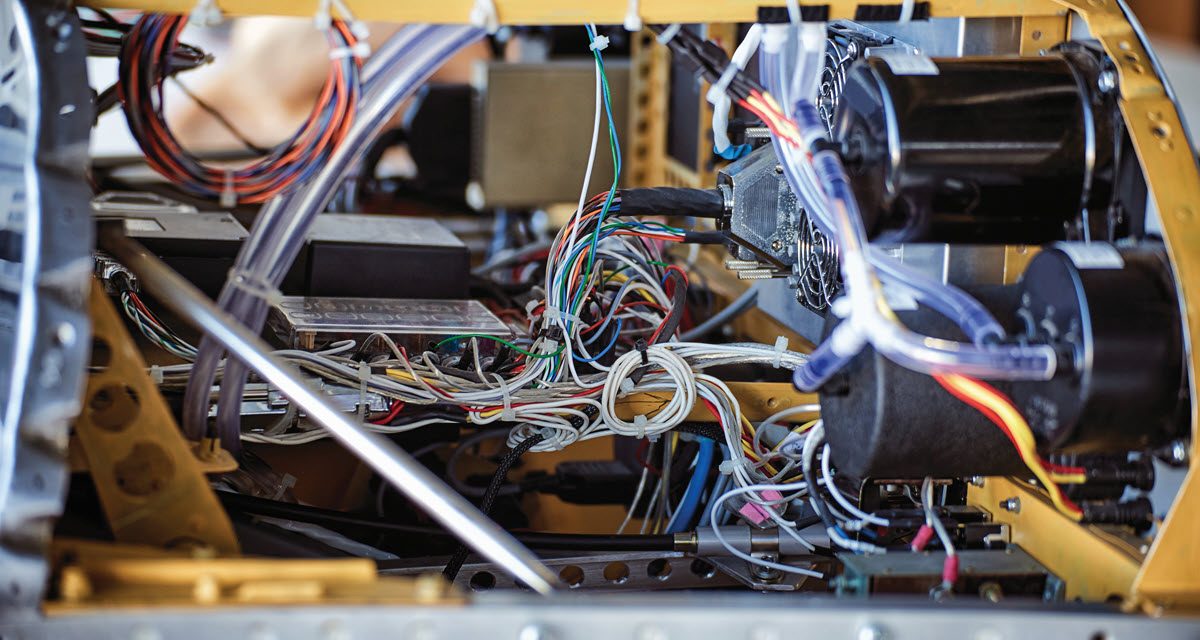
What looked straightforward quickly reveals itself as a tangled rat’s nest of unidentified wires and cables. Suddenly, it’s no longer a simple installation. The wiring may be decades old and unsuitable for modern avionics. Connectors don’t match. Wire bundles can’t be traced and are in the way of new equipment. One issue leads to another. Before long, the only real solution is to tear it all out and start fresh.
One Piper Cherokee owner learned this the hard way. The owner brought his aircraft to Tramper Avionics with a serious wiring project after he had started his upgrade at another avionics shop. After three months the original shop stopped the wiring work, returning the aircraft back to him unfinished. The result: three months lost and $18,000 gone, with the problem still unsolved.
Didn’t See That Coming
Throughout this article you will see the initials TRH, which stands for, “That Really Happened.” In the world of aircraft wiring, the nightmares come in many forms. A shop opens up a panel, realizes there is no bottom to the project, and sends the aircraft back (TRH). Mice move in and make a home of the wiring, chewing as they go (TRH). An amateur installs automotive wire where it has no business being (TRH). Or a new owner buys an older aircraft without ever inspecting the wiring, only to discover it is beyond saving (TRH).
Original Wiring
The aircraft manufacturer typically provides the original wiring specifications at delivery — that’s where it all begins. From there, things quickly become more involved. Each aircraft model has its own detailed documentation, along with manufacturer-specific requirements for installed instruments. Many of these fall under STCs (Supplemental Type Certificates), which must be located and purchased.
On top of that, there is FAA guidance, such as AC 43.13-1B, that spell out acceptable wiring inspection and repair methods to help meet certification standards. Every piece of equipment you plan to install also comes with its own wiring documentation from the manufacturer. From this mountain of information, you’re expected to develop schematics: detailed diagrams showing each instrument, the wire type, electrical signals, voltage, required wire gauge, insulation, and connector types. A sample is shown above. Now imagine trying to sort through all of this, figuring out what connects to what, without being an electrical engineer.
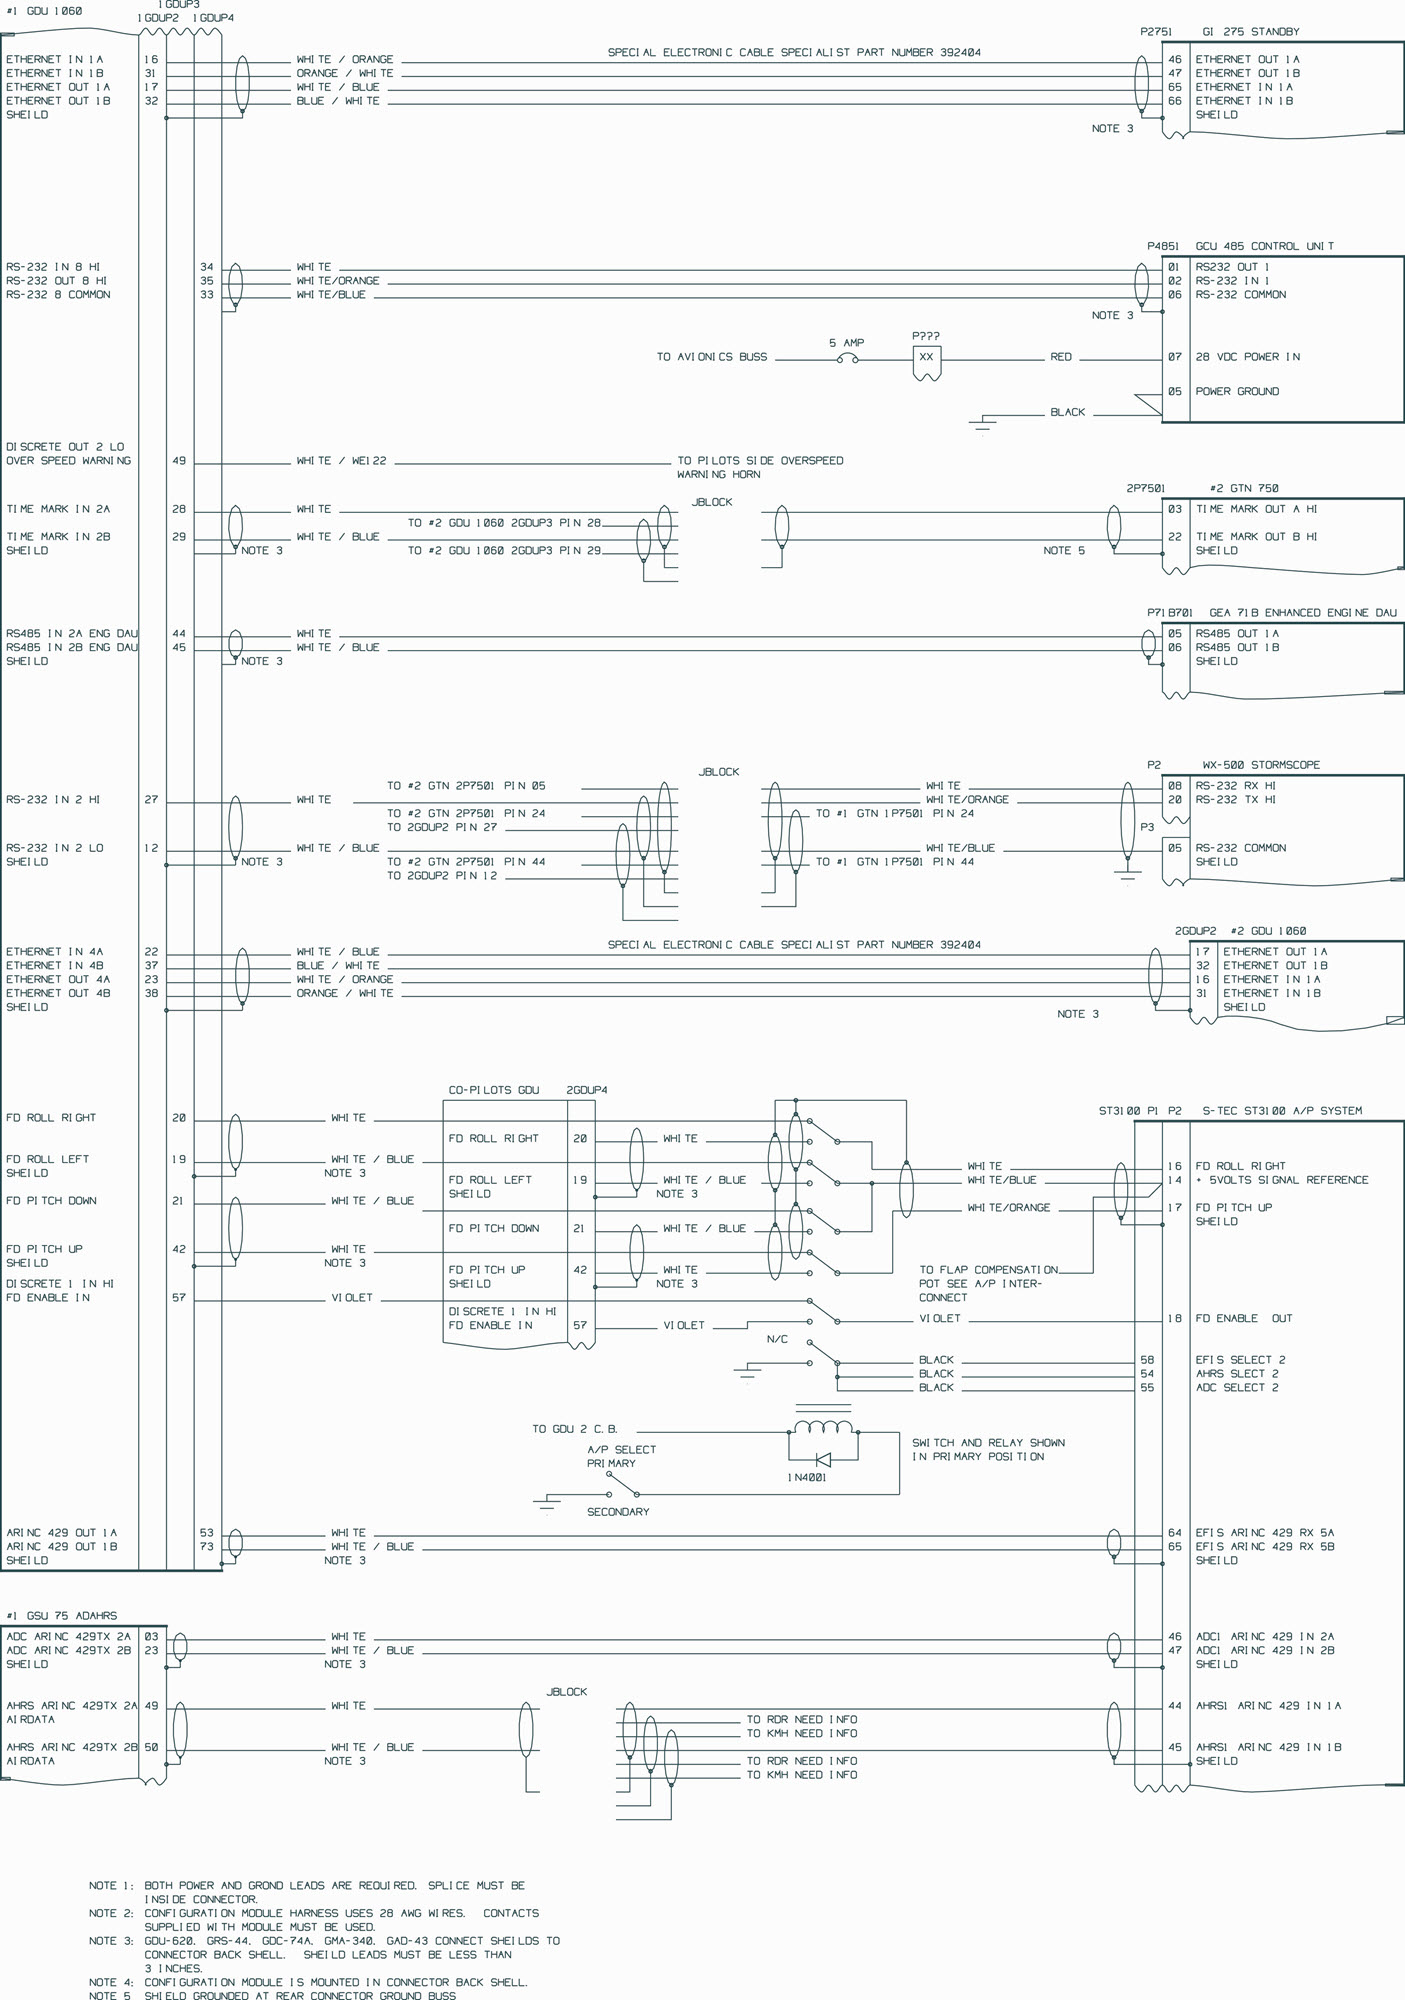
Photo courtesy of One Mile Up LLC.
Hands Dirty
Then comes the physical work of actually connecting a wire to an instrument. First, you need the correct wire, type, size, and color, and that exact combination might be backordered (TRH). Once you have it, you cut it, identify it, and begin the connection process. At the end of each wire is a connector and there are a dozen different types to choose from, each requiring the right tool and fit. Then come the instruments themselves, each with their own connector requirements.
With that sorted, you begin wiring the instruments, power, ground, and signal, testing every single connection as you go. During installation, you are expected to remember the exact pattern of the 200 wires you routed the day before. No days off, no vacations. It is like building a two-story house out of pickup sticks. The spaghetti mess of wiring follows you even when you close your eyes. Apply power at the wrong moment, or to the wrong wire, and you can destroy a $15,000 instrument instantly, with no recourse (TRH). If a connector comes loose and a test fails, you are in for a week-long hunt to find the problem (TRH).
And that is just the panel. Once that is complete, you start pulling wire through the aircraft itself, through tight corridors, over the engine, removing seats and interior panels, drilling access points where needed. You contort yourself like a circus performer, holding a light in one hand and wire in the other (TRH). Some instruments require antennas and their placement must be exact, off by a few inches and transmission suffers (TRH). In dim light, cramped spaces, and less-than-must be made to last the life of the aircraft (TRH).
Turn the Signal to Data
The instruments are installed and powered up. Now comes the configuration required to turn that hardware into usable information. Popular instruments come with instructions, but those manuals can run 700 pages, longer than the entire aircraft manual (TRH). When you mix instruments from different manufacturers, they must be configured to work together, each with their own procedures. In some cases, that even means writing code in a primitive computer language (TRH). An autopilot adds another layer, requiring hours of precise work in tight spaces, specialized tools, and its own extensive documentation (TRH).
The next phase is putting everything back together. Then comes the real question. Does it all work on the bench, during ground testing, and in the air? Does the installer have the knowledge and ability to test the full range of instrument function? If not, the aircraft cannot be returned with fully functional avionics (TRH).
Not Until the Paperwork is Done
Now comes testing, updating, and documenting every step of the work performed. That maze of wires needs to make sense. Could someone unfamiliar with the aircraft step in, understand it, and make repairs if needed? Did the installation follow the STC and the applicable AC guidance? Could a government inspector review it and sign off on the work?
Then comes the paperwork, followed by more paperwork. By the end, the stack looks like a college freshman’s first trip to the bookstore.
And what happens if an instrument has to be moved because of an unexpected interference? Does the work have to be redone? Who pays for that? Still thinking about getting into the avionics shop business?
Sorry to say that there is no absolute solution to solve this before it becomes a wiring nightmare and your problem.
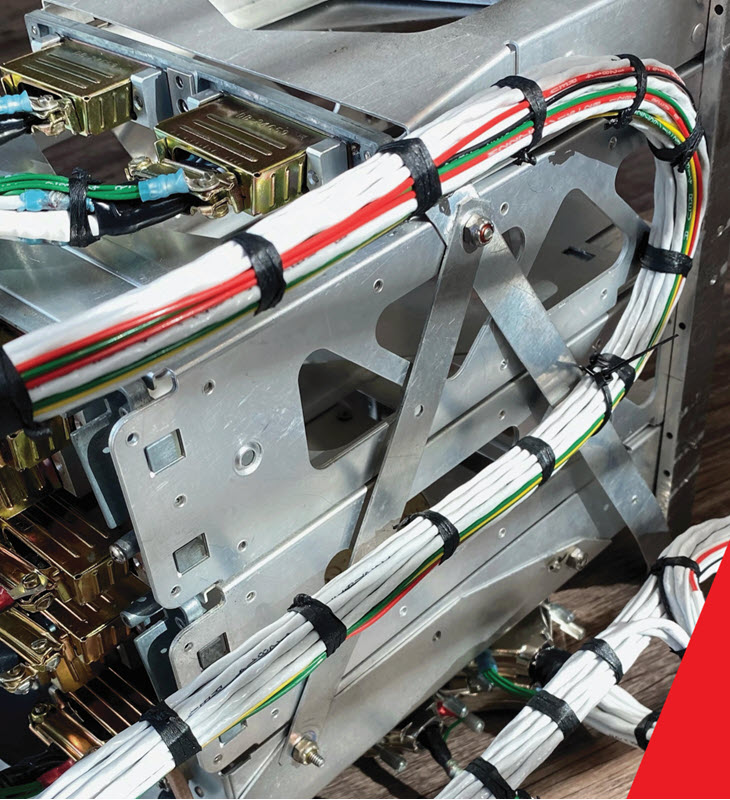
Tips and Tricks to Get it Right
- Plan to remove the panel early in the process. While a professional should handle the removal, you need to understand the true scope of the project as soon as possible. Talk with other owners of the same aircraft model through associations or type clubs and be sure to compare serial numbers so you are looking at aircraft from a similar production period. Today’s AI tools can generate pages of ideas and considerations before any real work begins. Take advantage of that.
- Document your logs with every wiring change and insist on updated schematics for each modification. It will cost more upfront, but the return is easily worth it. There are also software tools that can help. Wiring Planner at wiringplanner.com comes preconfigured with hundreds of modern avionics and can quickly generate schematics without spending hours digging through manufacturer documentation.
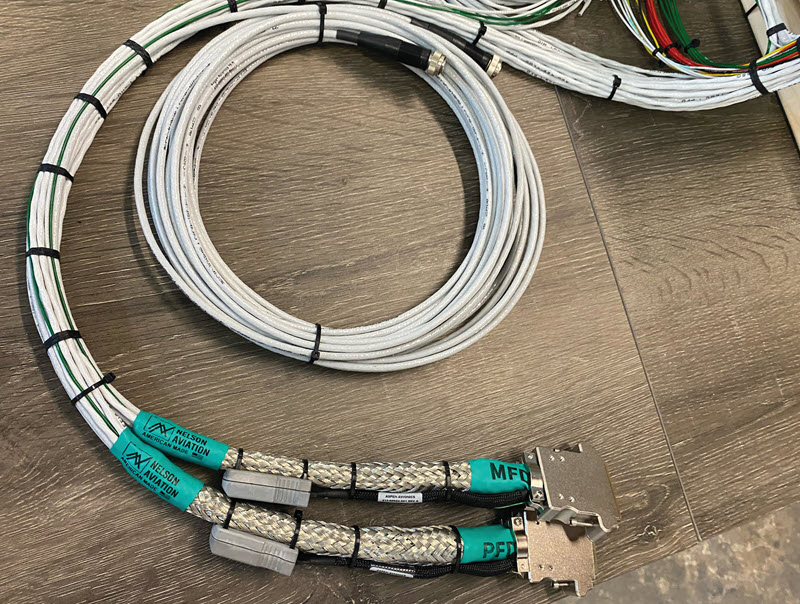
- There are wiring harnesses available with pin-to-pin connections already set. These allow you to plug a manufacturer’s female connector directly into the instrument’s male receptacle, avoiding days of building connections one wire at a time. Companies like Nelson Aviation and Approach Fast Stack offer these finished harnesses. For the experimental market, Aircraft Spruce is a well-known source for custom harnesses.
- There are many individuals and shops with experience in specific pieces of an installation, such as instrument configuration. These resources can often be found through organizations like Cessna Owner Organization, local EAA chapters or by watching for advertisements in aviation magazines.
- Redesigning a panel layout? Always start by cutting something inexpensive first. Check everything twice, then cut the aluminum once. Many panel fabricators will even provide a plastic replica for this exact purpose.
- Keep a complete copy of all submitted documentation. It will be bulky, but much of it will be needed for future installations. Many aircraft owners upgrade their instruments in phases, and having that documentation on hand becomes invaluable as each new step is taken.
- Get someone with experience involved from the very beginning through completion of the 337. Ideally, work with a shop that will stay with the project from start to finish, like William Tramper at Tramper Avionics, who has done exactly that for his customers. There are avionics shop associations that can help you find the right fit. Make sure the shop you choose has experience with your specific aircraft model. It also helps to have an expert who has flown the same instruments you are installing, someone who can guide you both on the ground and during the first flights.
About the Author
Gene Velazquez is the founder of One Mile Up, a company he launched in 1988 that has become a valuable resource for pilots, designers, and aviation professionals. One Mile Up specializes in detailed aircraft graphics and powerful planning tools, including Panel Planner software for designing instrument panels to exact specifications. With additional interior, exterior, and hangar planning solutions, the company helps pilots and operators visualize, customize, and efficiently manage their aircraft with precision and confidence. Visit 1mileup.com for more information.