 What to Know BEFORE You Go
Sponsored by AirMart, Inc. – www.AirMart.com
“Cover your Six” with Maintenance, AD Compliance, and Secondary Seat Stops!
I hate it when my seat slides back during takeoff. On two different occasions I’ve had my seat slide all the way back during the takeoff roll. The first time I was an IFR student in a ‘70s-model Cessna 172 with an instructor in the right seat. Right as I rotated for takeoff, the seat just let loose and slid all the way back. Fortunately, even in my state of panicked surprise, I still had enough clarity of thought to let go of the control yoke. The instructor took over control and we averted disaster.
The second time I was in a TU206G and again, it let loose just before the takeoff rotation. However, this time there was a cargo tie-down ring clamped to the seat track. It had been placed there for this very reason, so the seat just moved a short distance. Needless to say, now when I pull my seat forward and let go of the seat release, I do the famous “Cessna butt wiggle” to make sure the seat is securely latched.
Of course, it really doesn’t matter what type of airplane you’re flying—you should always ensure that the seat is securely latched before you start the engine—but it’s the Cessnas that have gotten a reputation for seat slippage. The reality, however, is that properly maintained seats and tracks will not release inadvertently in any make or model.
Anyone who has had an annual done on a pre-90’s single-engine Cessna (and some twins) has seen the line item on the bill: “Seat Track Inspection AD.” In 1987, the FAA issued AD 87-20-03 which required the inspection of the seat tracks, seat rollers, and latching pin. In 2011, the FAA superseded 87-20-03 with AD 2011-10-09. This new AD retains all the inspection criteria from the old AD, but adds a few new items. It also makes a very significant change in the compliance rules. This is a very import change that many pilots and A&Ps haven’t noticed.
87-20-03 required compliance at every annual inspection (for aircraft not used for hire). However, 2011-10-09 has changed that. It reads, “Repetitively thereafter do the actions at intervals not to exceed every 100 hours TIS or every 12 months, whichever occurs first.” If you fly more than 100 hours/year, you will need to comply with the AD’s inspection requirements between annuals.
So, exactly what are the problems that cause the seat to slip? Now keep in mind, we’re only talking about pre-‘90s aircraft. The restart aircraft had a redesigned track system that is far superior.
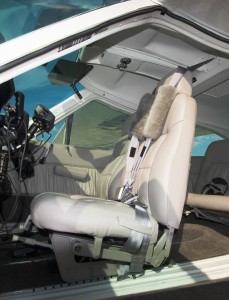
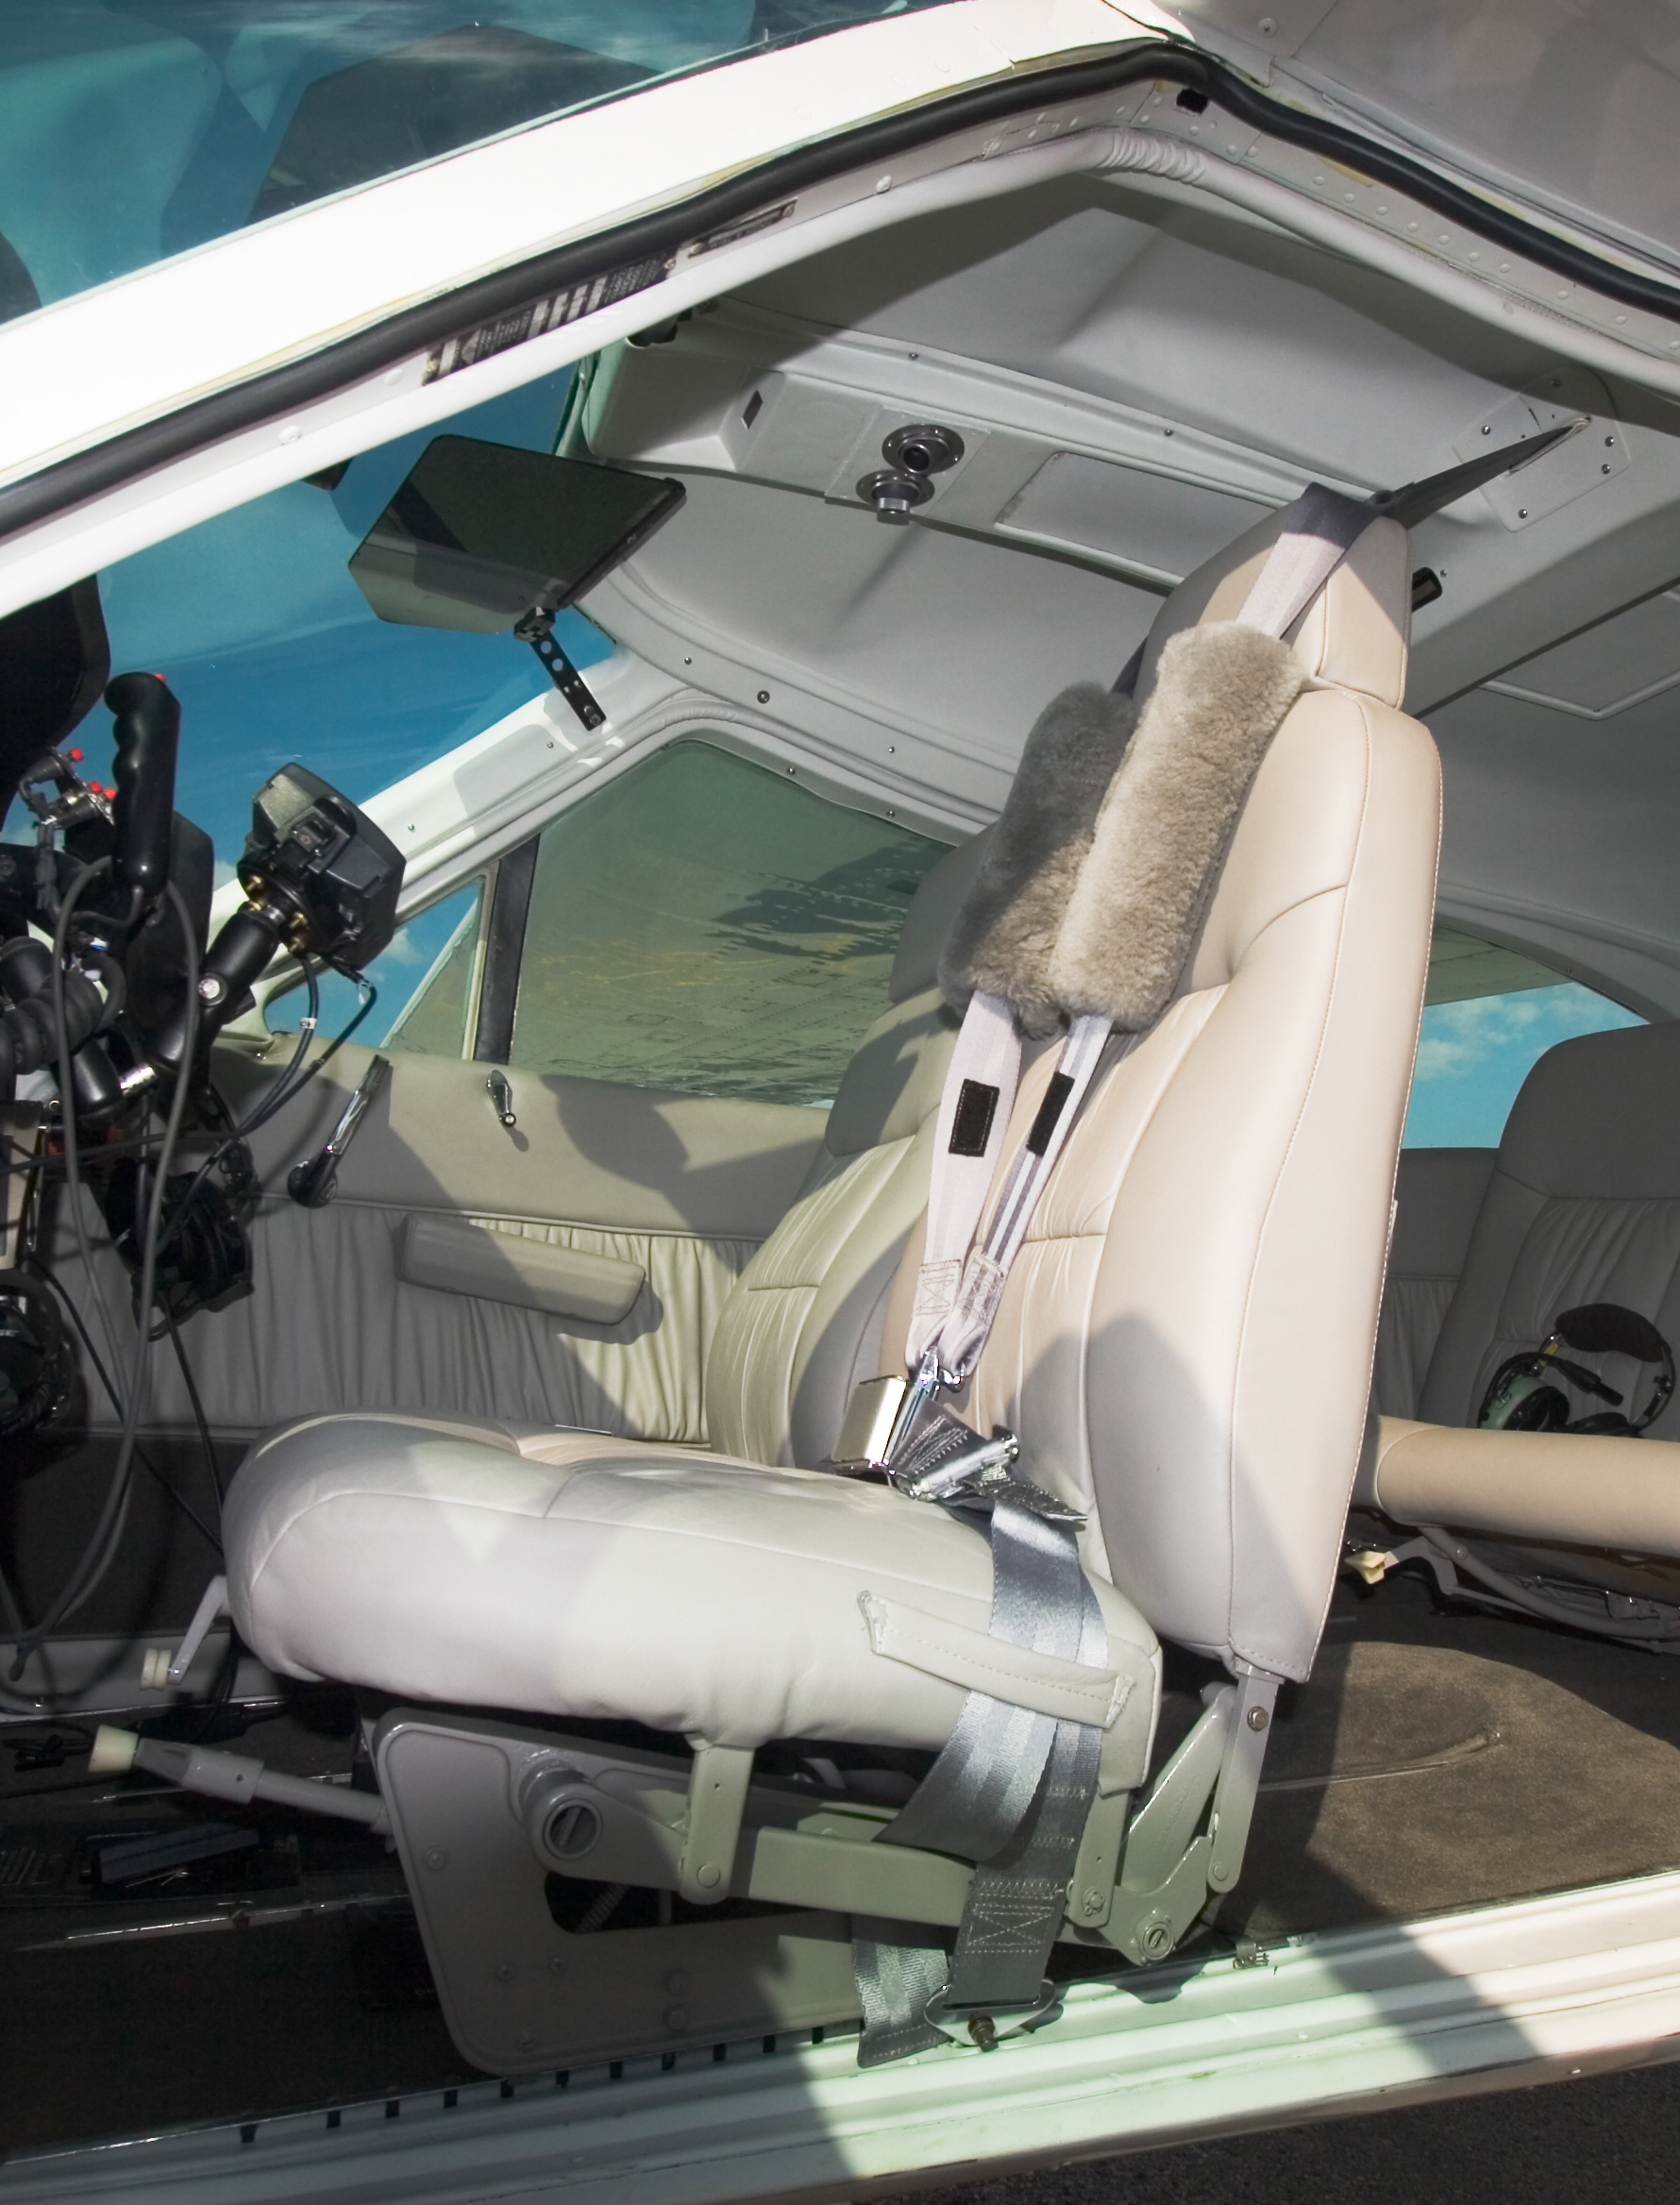
First, let’s look at the anatomy of the seat. Each of the crew seats has four rollers mounted at the bottom of the four legs. These roll along the top of tracks mounted to the cabin floor (two tracks per seat). In order to keep the rollers on the tracks, each roller is attached to two paws that run down the side of the track and hook under the track. Each seat has a latching pin that drops into holes on the top of the track. If everything is in good working order, the paws that hook under the track keep the roller from lifting. As the seat is moved forward and aft, the latching pin rides along the top surface of the track until it drops into a hole.
So here’s where the problems occur. When the pin drops into the hole on the track, it wears on the top edges of the hole. Eventually, the opening of the hole will “bell mouth” into a larger diameter. It’s not the entire hole that increases in diameter; it’s just the top opening. Also, the paw that hooks under the track will wear. As it gets thinner, it will allow the seat to lift up too far and roller to lift off the top of track. This, in turn, allows the latching pin to partially pull out of the hole. If the pin pulls up to a point where the hole is “bell mouthed,” it will allow the pin to completely slide out of the hole. Now the seat is free to slide to back.
So basically, the AD requires the following inspections:
- Rollers for flat spots and wear
- Roller housing and paws that hook under the track for wear
- Tracks for cracks
- Latching pin engagement depth
- Track holes for “bell mouth” wear
The tricky part is measuring the hole’s wear. The AD allows the opening of the hole to be worn to a diameter of .42″. However that needs to me measured at a depth of .020″ from the top surface. This has always been difficult to measure, but finally, after all these years, McFarlane Aviation came up with a really clever go/no go gauge that works at the .020″ depth. This unique tool was specifically designed for checking seat rail wear limits per FAA AD 87-20-03. It measures the actual radius wear near the seat stop holes. Every Cessna mechanic should have one of these gauges! For more information, visit www.mcfarlaneaviation.com.
You need to make sure your A&P/IA takes these inspections seriously and replaces any worn parts. A few thousandth-inch wear can be the cause of a serious disaster.
Ok, you know how we always like back-up and redundancy systems in aviation? Well, once you have the tracks and seat rollers in good working order; you can get Cessna to pay for the installation of a secondary seat stop on the pilot’s seat!
SEB07-5 Rev 5 provides for the installation of a secondary seat stop under the pilot’s and copilot’s seats. It looks a lot like a seatbelt reel attached to the bottom of the seat. The end of the belt is attached to the cabin floor. The reel has a release mechanism that is activated by the same lever the pilot lifts to release the latching pins.
Cessna really wants everyone to install these, so they keep extending the credit expiration date. At this point, they’ll pay to have the stop installed on the pilot’s seat up to December 31, 2014. I’ve installed a number of these and they work great. I recommend everyone have this installed. It’s well worth having a backup when you consider just how serious it is to have the pilot’s seat slip!

