Learn from these three members’ Cessna glareshield installations
Recently two of our members, Kent Kalb and Michael Boland, replaced a sun-faded and worn out Cessna glareshield with new ones. Since I’d done this on my plane about 14 months ago, I was keenly interested in seeing how they did theirs and how theirs would differ from mine.
And after looking at Kent’s and Michael’s glareshield installation photos, I wished that I had waited to do mine! Their projects resulted in glareshields that were much better than mine, and frankly, much better than the OEM glareshields that their planes came with. Because I was so impressed with what our members had done, I felt compelled to get their projects published to a wider audience than our online forum alone could reach.
Additionally, and as a point of reference, I’ve included two photos that I took during the replacement of my windshield and the installation of my glareshield on my Piper Turbo Arrow. This is the story of all three glareshields.
Click on photos for a Cessna glareshield replacement popup slideshow.
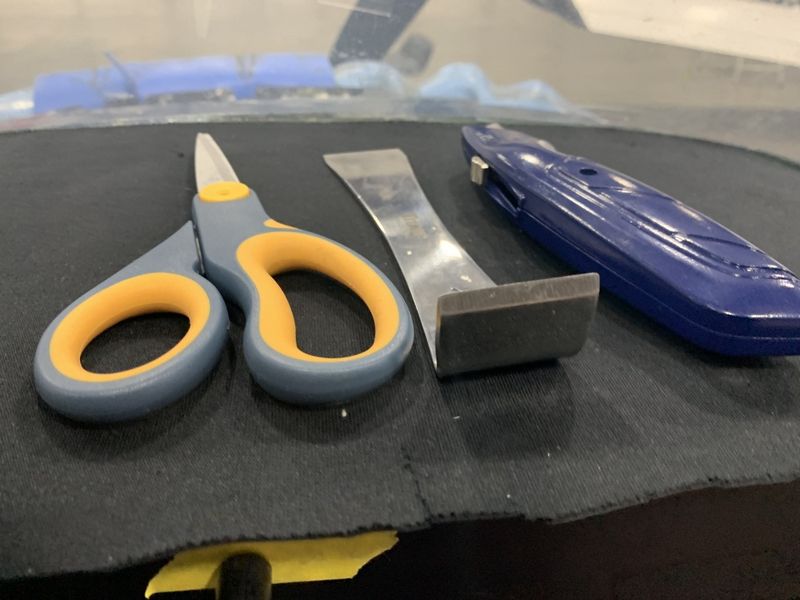
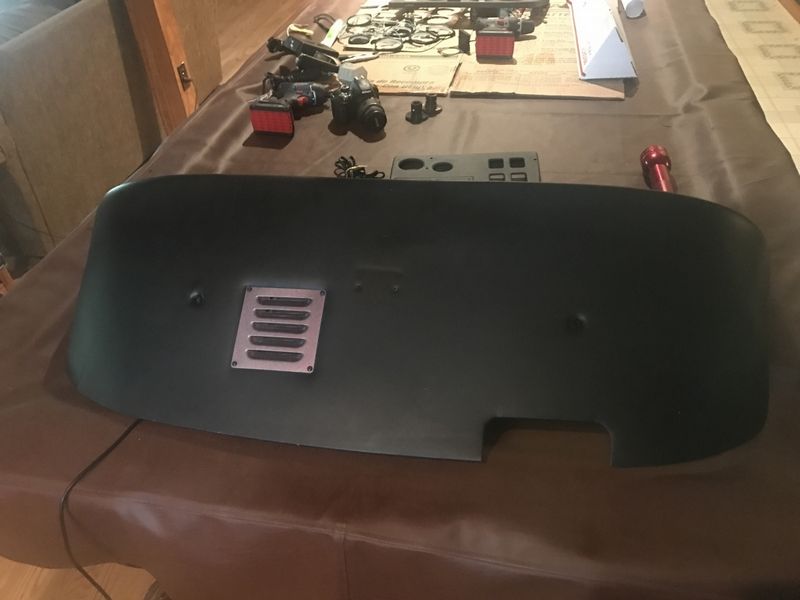
Kent’s glareshield fabric with some of the tools he was using to trim and fit the new Selkirk glareshield. 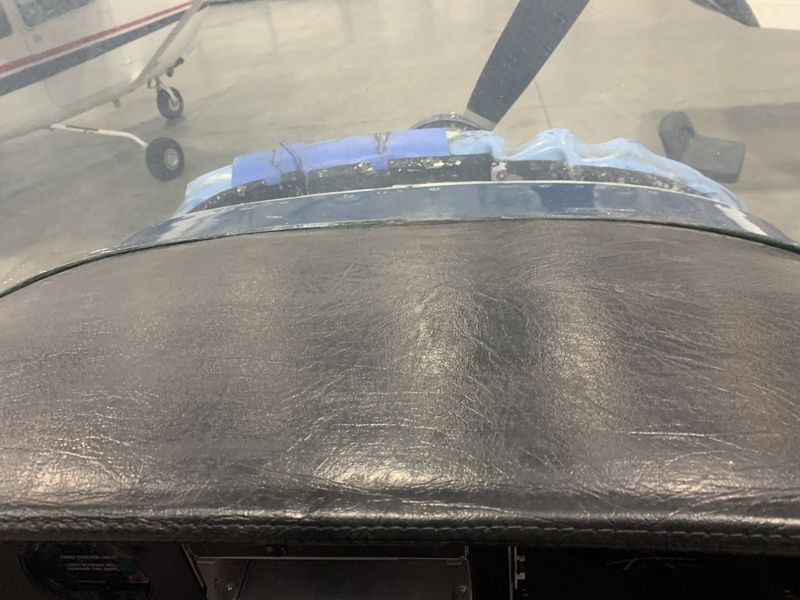
The Selkirk glareshield back out of the plane and the new SCS fabric has been glued on. This is the underside of the glareshield, and the new SCS fabric looks very good. 
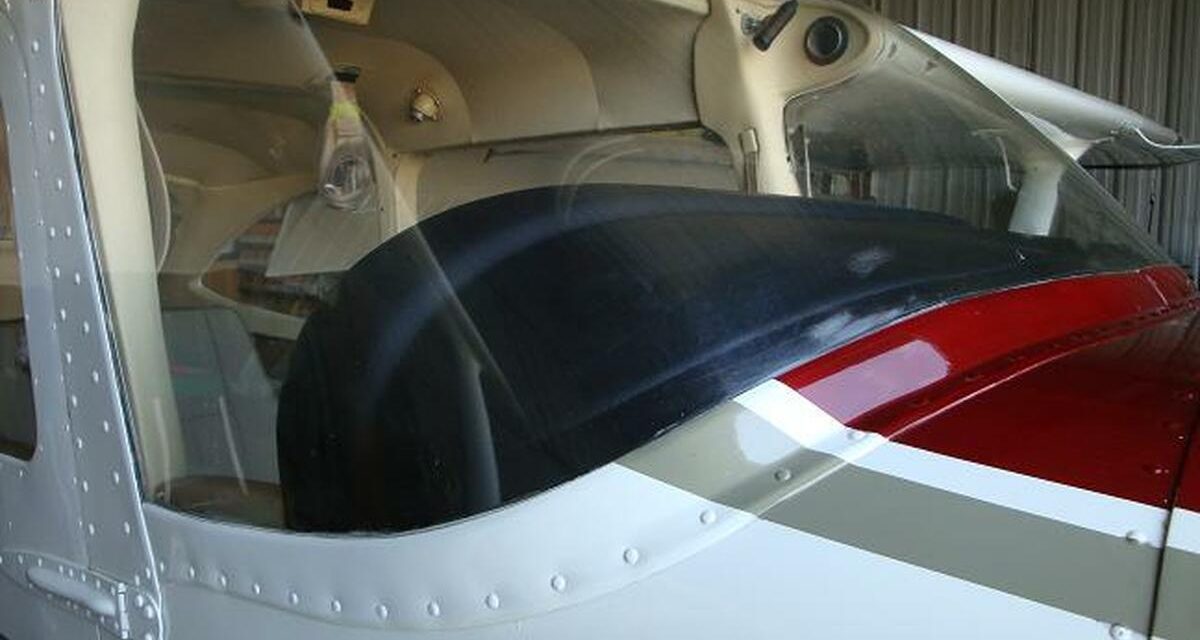
The new glareshield has been cut and trimmed, and he’s checking to see how it fits around the windshield frame. It looks perfect so far! 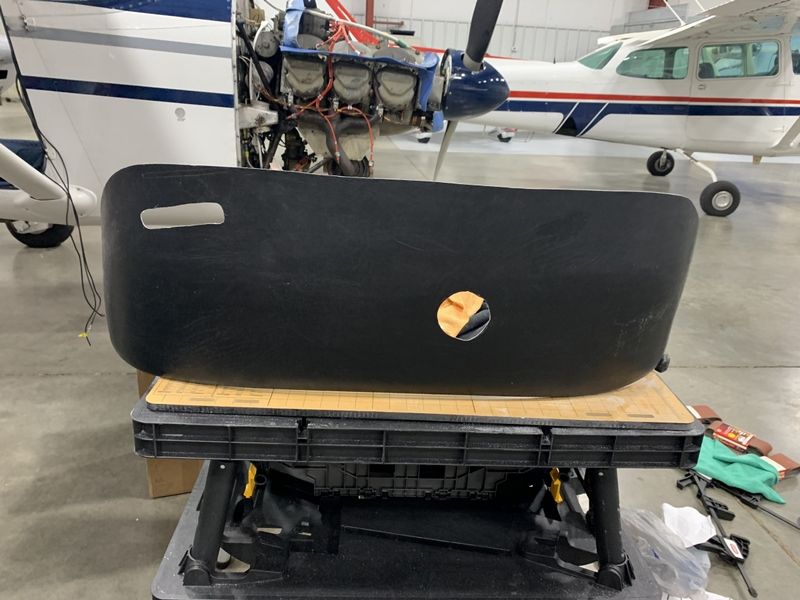
Topside of the new glareshield, with appropriate holes cut for air vents and an avionics vent. He’s in the home stretch on this project. 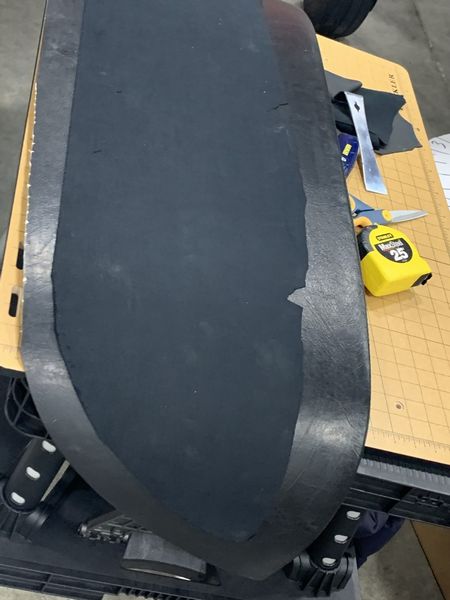
Kent Kalb
1960 Cessna 182C
Kent Kalb owns a 1960 182C and his glareshield has taken a long, hot solar beating over the decades. Since Kent looks out the windshield almost all the time, it was apparent that it was time to replace the glareshield.
Kent purchased replacement products for the fabric from SCS Interiors and the fiberglass semi-rigid (but flexible) glareshield from Selkirk Aviation. The Selkirk website gives photos and a step-by-step tutorial on cutting and trimming the glareshield to fit.
Replacing the windshield and glareshield simultaneously is the easiest way to do this project, but Kent’s windshield was in good shape. So Kent decided to replace the glareshield without touching the windshield, which was much more difficult.
Members get articles this helpful mailed and emailed to them every month. Join Here.
With patience, perseverance, and a Dremel tool, Kent was able to do this project himself with oversight and a bit of professional help from his shop, Warren County Avionics, and Selkirk Aviation. His project photos are included for your perusal!
It took Kent several hours to do his project, and it was well worth it. “The glareshield fabric needs to be a flexible but stable material,” Kent said. “I attempted to use foam board, but it was too rigid. The Drexel tool was excellent for cutting vent openings — the key, in my assessment, is a good template. I love the new glareshield and would do it again in a New York minute!”
Click on photos Cessna glareshield replacement popup slideshow.
Michael Boland
1971 Cessna 172L
Michael Boland owns a 1971 172L and his glareshield was badly in need of replacement, too. However, Michael took a different approach. Michael purchased an Avion Research glareshield. According to Michael, “it slipped right in and fit like a glove. The only thing I had to remove and reinstall was the compass and stock Cessna eyebrow. The Avion Research glareshield is 3 inches longer and includes blue frosted dimmable LED lighting under the eyebrow. Very nice at night!”
While Michael got off easier on the installation process, both plane’s glareshields look terrific. The projects were inexpensive in airplane dollars and relatively easy for any owner to do. If your glareshield needs replacement, look at these photos and you’ll want one, too!
As I stated earlier, I’ve included my glareshield replacement on my Piper Turbo Arrow just so you could see a different process. I’m publishing this because the project is much easier when the windshield is out, and I wanted to emphasize that point. For my airplane, I purchased a yard of black vinyl from Airtex Interiors for this purpose. My shop cut, trimmed, and glued it in place. The end result was very good, too.
While Michael got off easier with the least expense on the installation process, all three planes’ glareshields look terrific. All in all, the projects were very inexpensive (in airplane dollars!) and relatively easy for any owner or shop to do. If your glareshield is in need of replacement, look at these photos and you’ll want one, too!
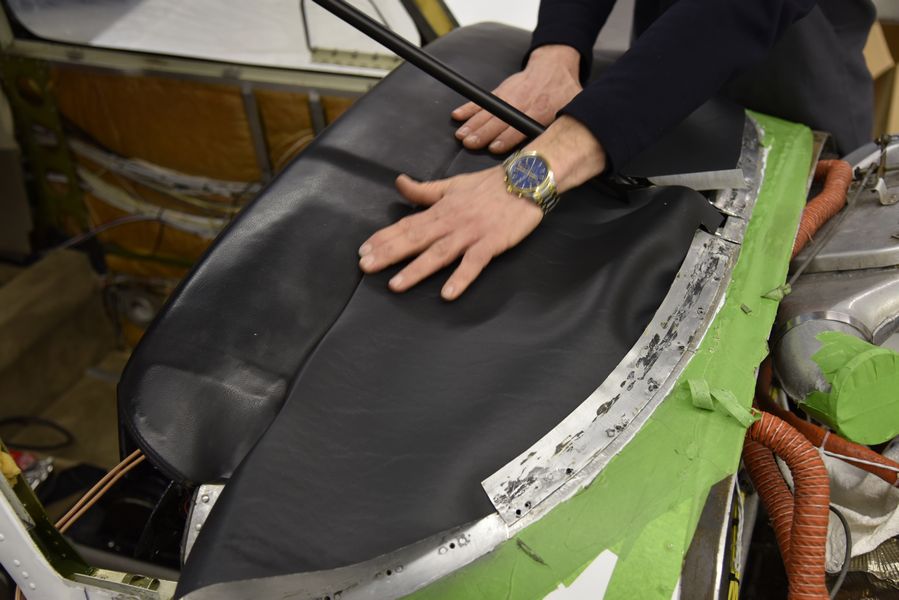
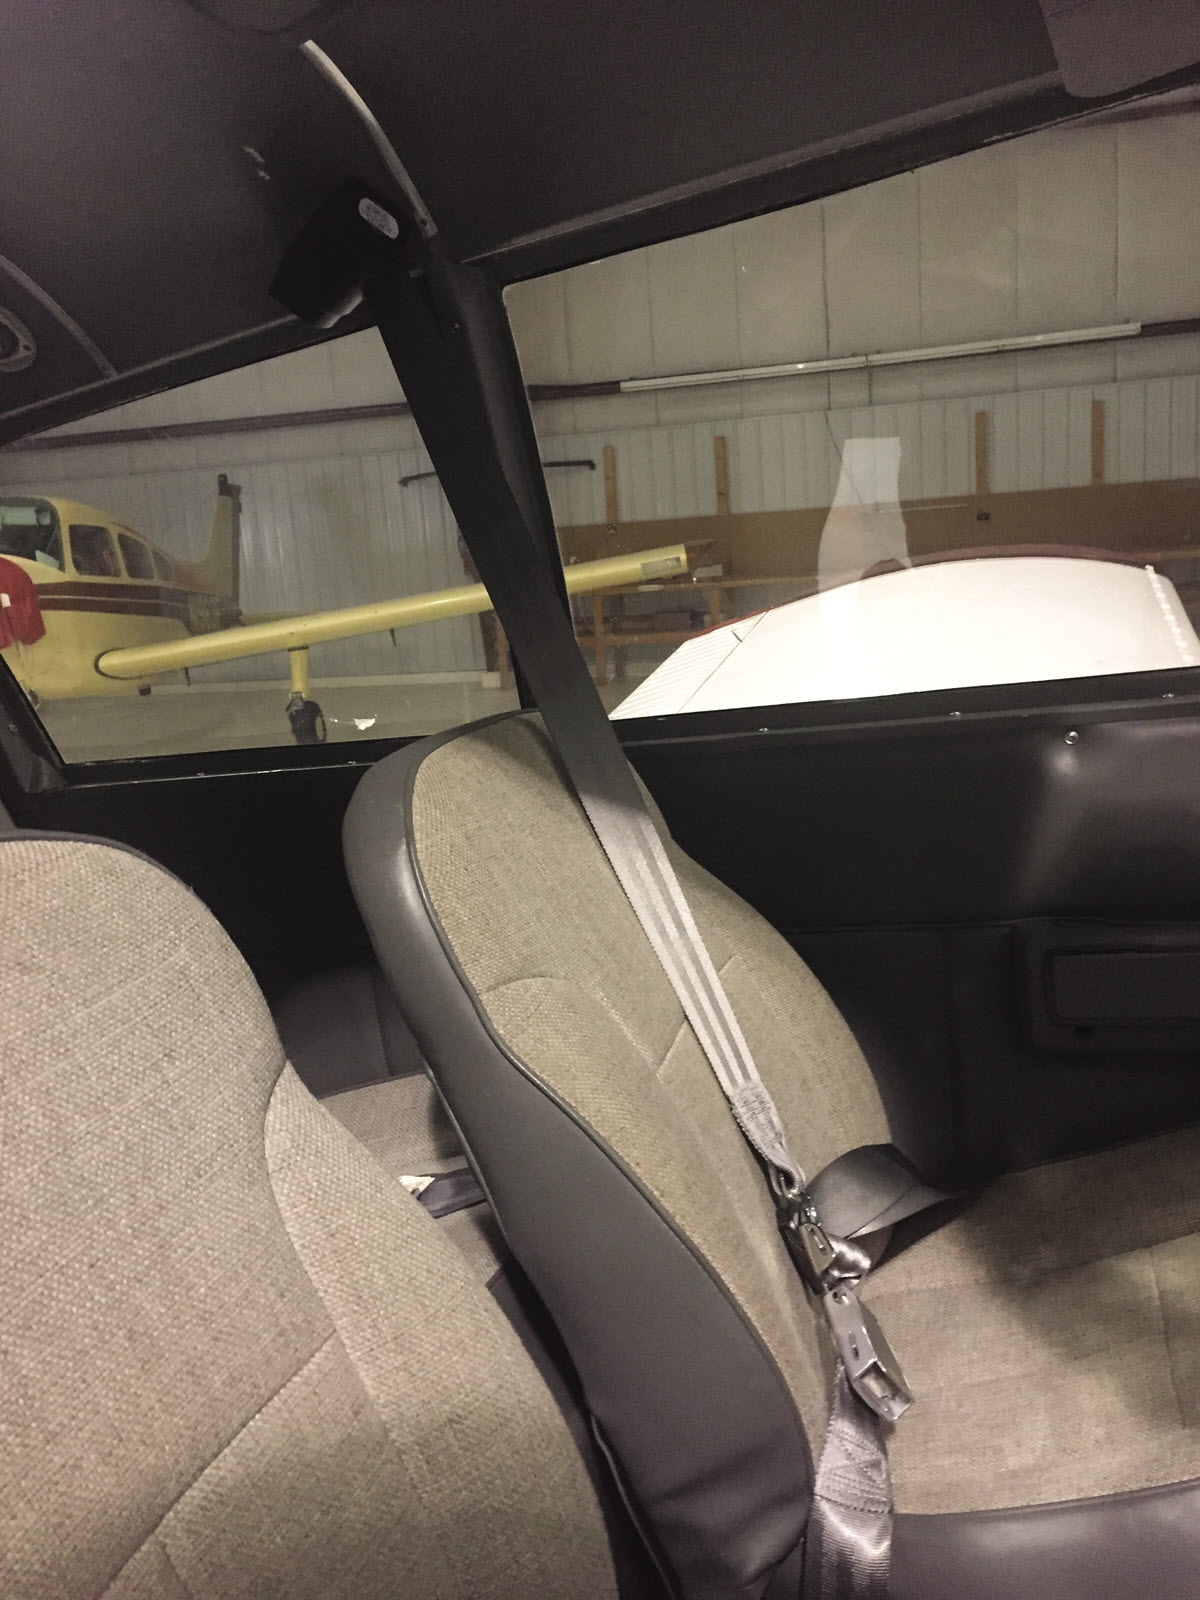
Scott’s Arrow with the windshield out and fabric being cut and trimmed. The old two-piece windshield was removed during this project and a one-piece, double-thickness windshield was being installed. 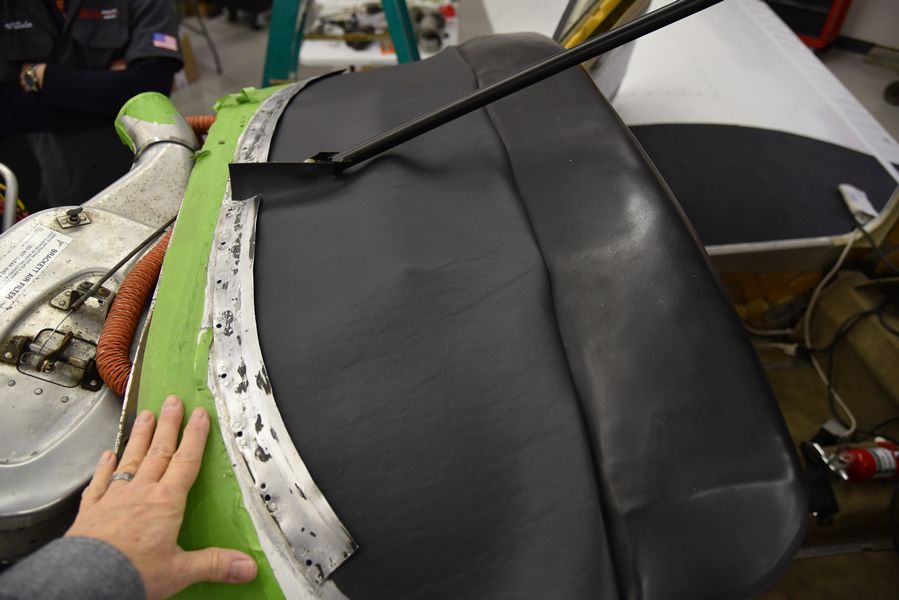
The new glareshield was cut, trimmed, and installed without glue. It looks great and ready to glue. “The original glareshield still looked very good, so we kept it,” Scott said.
Cessna Glareshield Resources
- Avion Research: www.avion.com
- SCS Interiors: scs-interiors.com
- Selkirk Aviation: selkirk-aviation.com
- Airtex Interiors: www.airtexinteriors.com
Members get articles this helpful mailed and emailed to them every month. Join Here.

