By Jim Cavanagh
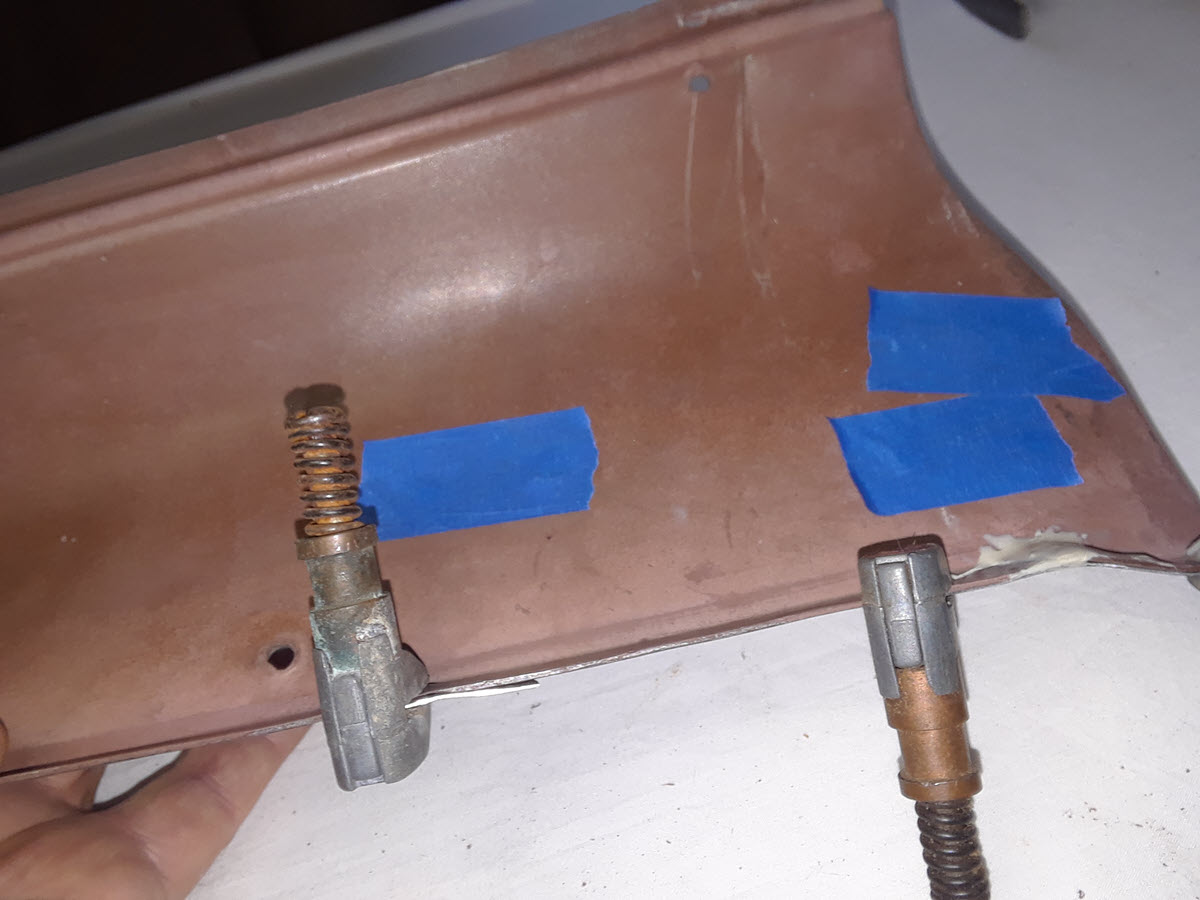
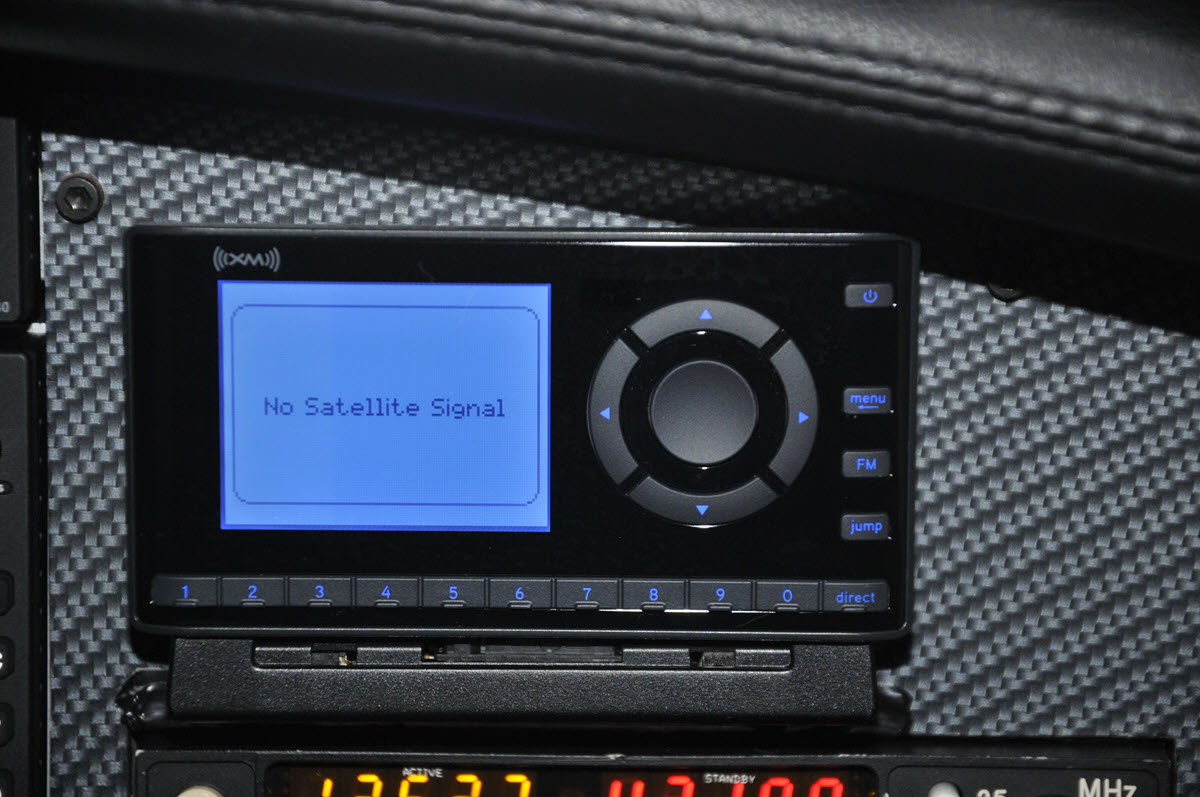
With spring just around the corner, it is time to do a bit of detailing before the real flying season starts. We use these days to take care of little things, and one of the things I always do is check the interior for dirt, grime, and general condition. What I always find are cracks in the plastic pieces, either from age or abuse, and this is the best time to get them taken care of.
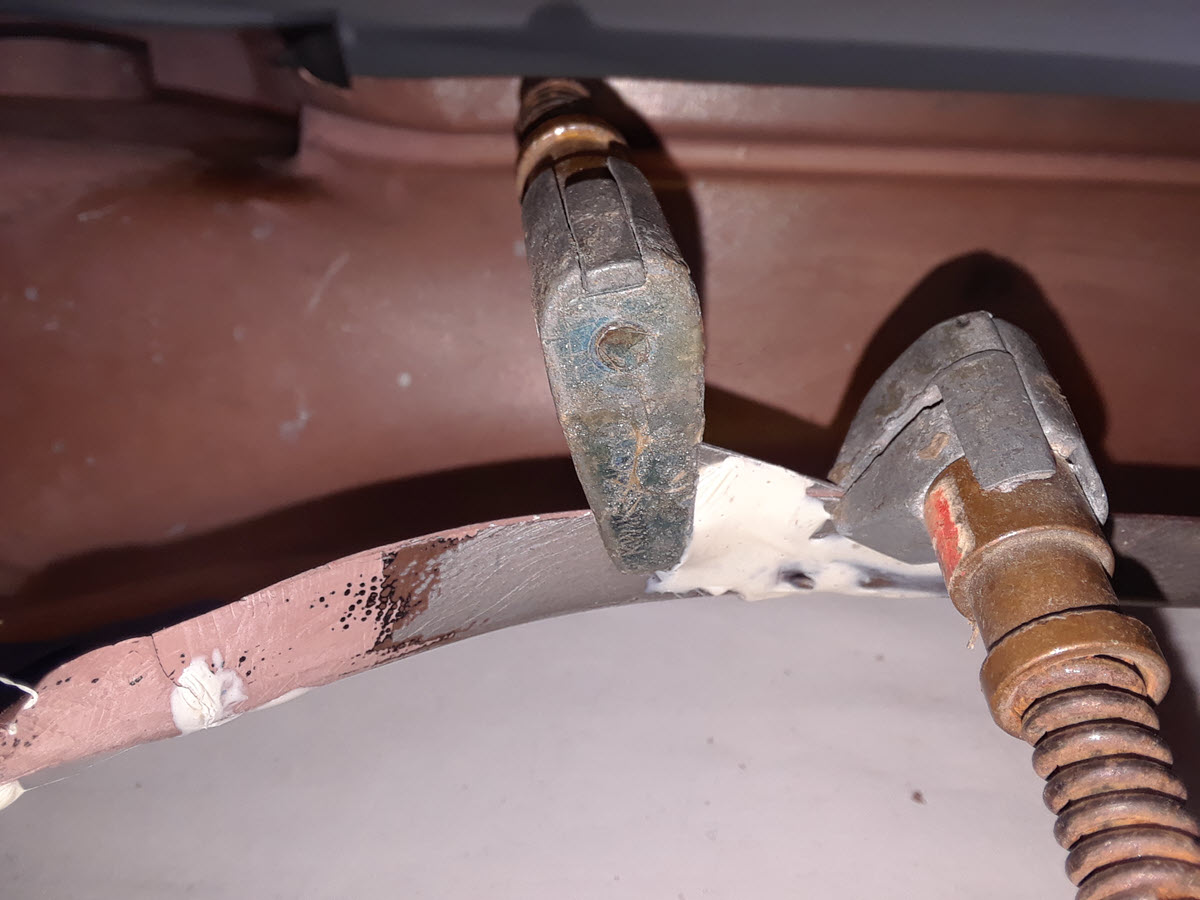
For years I used different glues to repair plastics, both interior and exterior. In general, our airplane plastics are made of a type of ABS plastic, but there is some Kydex and a few other plastics mixed in depending on the properties needed. ABS has been the material of choice for years because it is relatively inexpensive, easy to heat-form, and lasts quite well. It can also be repaired and, depending on the amount of time you want to put into it, can result in a repair that is invisible and actually much stronger than the original part.
How Parts are Made
Our plastic parts are formed by applying a vacuum to a heated sheet of plastic and pulling it down into a mold. I have made simple parts, like a seat back and a cover for an access hole, in my oven at home. All you need is to make a mold, ensure that air can be pulled through the sharp bends, nooks and crannies, and that you don’t pull the plastic too thin. In the old days, Cessna and Piper (all of the OEMs, actually) used minimal thickness plastic sheet to save weight, and the result was often parts that were so thin as to be almost translucent.
These days the plastics guys are using a fairly thick gauge plastic, (.091) that allows for more material to be pulled into the mold. The result is a much more robust part than you would ever see 25 or more years ago.

New or repaired?
We need to mention that before you start trying to repair a bunch of stuff, which is easy and definitely inexpensive, you should consider the labor involved in cleaning, prepping and the actual labor involved in repairing a piece, and comparing this to the price of a new part. Many of the more popular, most often replaced parts have come down a lot in price and are quite reasonable. Everybody knows about Plane Plastics, which was the leader in the price declines, but Knots 2U, Texas Aeroplastics, and PAST are offering great parts at very fair prices, too.
Sure, you might need something like a porthole trim for a pressurized Mooney Mustang or a console cover for a Wing Derringer that are such rare airplanes no one has any molds, and these will be a bit pricey. All one-off or custom parts will be.
But Cessna parts are pretty much everyday items, and within these are parts that sell by the score. When you have a plastic part that needs repair, you can go to the local auto parts store and buy plastic repair kits all day long. There are dozens of them out there, ranging from $10 all the way up to the very expensive custom repair kits sold for commercial airliners and pro upholstery shops. I have used them all and, from being both an owner and a writer who has done a ton of How To articles, I have wheedled it down to my favorite methods and personal tricks.
Let’s do this
First of all, you have to use the right glue for the plastic, and there are many, many types of plastic. I repaired a bonnet on a John Deere Lawn tractor after months of tracking down its type of plastic, and then finding the ONLY epoxy adhesive that works on this type of plastic. The glue was $40, but the new bonnet was $270.
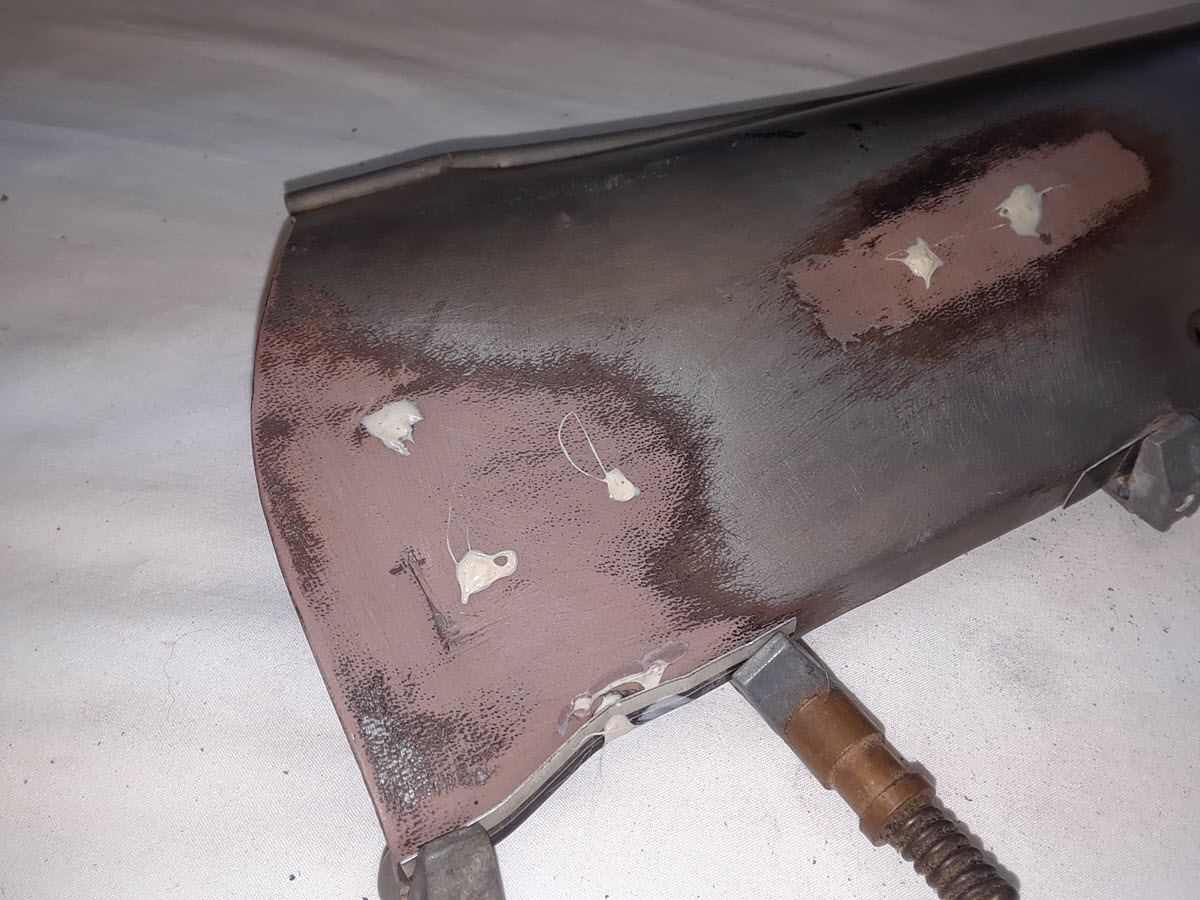
For aircraft plastic, I used to take scrapings off of the edges of parts and mix them with acetone to form a glue, but Mark Seaver of Plane Plastics gave me a kit to try with a bag of ABS chips, sticks, and an airtight can. Put as much plastic into the can as you think will fill your repair and add MEK.
Directions say to let it set for 8 hours, so I mix it the night before I plan on doing the work. The result is a liquid plastic, the exact same stuff that is in your plane. The solvent (MEK) in the plastic will melt into the existing plastic readily. I was pleasantly surprised the first time I did this after years of agonizing over the slow melting process. Patience is a virtue in plastic repairs.
The rest of this article can be seen only by paid members who are logged in.Have a website login already? Log in and start reading now.
Never created a website login before? Find your Customer Number (it’s on your mailing label) and register here.
JOIN HERE
Still have questions? Contact us here.
