
By Jim “Griff” Griffin
Maybe you just purchased an airplane and want to customize the interior. Maybe you repainted the exterior of the plane and the interior colors no longer match. Or maybe you just want to get rid of the 1970s look that was popular when “The Brady Bunch” was prime time. No matter what the reason, a new high-quality aircraft interior will provide years of comfort for you and your passengers, make flying more enjoyable, and will improve the value of your airplane.
Interior options
Prior to beginning an interior replacement, it is a good idea to do some research, because there are numerous options to choose from:
- Do-it-yourself (DIY) from scratch.
- Purchase a DIY interior kit and install it yourself.
- Purchase an interior kit and have it installed by a shop or professional.
- Have a shop perform all the work.
This article will only focus on the DIY options (Nos. 1 and 2) above.
In options 1 and 2, you perform the labor, while with 3 and 4, the extent of your labor only involves a few wrist and finger muscles to write a check. In all fairness, you’re going to write a check no matter which option you choose, but the checks for options 3 and 4 will be larger because you’ll be paying for the hourly labor in addition to materials. Speaking of checks, the average cost for a do-it-yourself, four-seat airplane interior is currently somewhere around $6,000-$8,000 depending on options. Larger aircraft will be more expensive, as will an interior outfitted in leather.
Follow the rules
Since we are dealing with certified aircraft, it is important to know the regulations. Before beginning the project, your decision-making process should include ensuring the materials meet FAR specs. The flammability and burn standards for aircraft and interior components can be found under sections 23.853, 25.853, 27.853, and 29.853 of the FAR. The regulations are similar but differ by the type of aircraft. Products utilized in the construction of an aircraft interior must comply with the applicable FAR section, and there is an appendix within each FAR containing appropriate burn and flammability requirements. If you choose to have a shop do your interior project, ensure that their materials comply with regulations and that they provide certifications for your logbooks.
Option 1 – Do it yourself from scratch
This is a very ambitious undertaking, but it can be done. If you already have the skills and equipment to take on this project, you’re way ahead of most of us. Purchase bulk material, glues, cushion, fabric, webbing, etc. from a vendor that includes the burn certifications, and you will save a lot of time, money, and paperwork later in the project. You will be tasked with creating your own patterns, sewing, gluing, and finishing all the parts. However, you will have complete control of the final product and may take pride in your project when completed. Once you build side panels and sew the upholstery, the remainder of the interior replacement is very similar to Option 2.
Option 2 – Purchase a DIY interior kit
There are numerous vendors that supply interior kits including COO partner Aviation Creations and Airtex, which is the best-known provider. Before choosing a vendor, read reviews regarding their products and their support. Also know your airplane’s configuration ahead of time, as well as your vision of the finished product. Options like headrests, high back seats, rear bench or bucket seats, and map pockets will all come into play when you place your order. Have your airplane’s serial number handy.
I highly recommend ordering a sample card from the vendors ahead of time. The card contains samples of vinyl, cloth, leather, and carpet in different colors and textures for you to choose. If leather or vinyl is too cold for you in the winter or too hot and sticky in the summer, you may want to install a cloth interior. Cloth will breathe nicely, but it is hard to beat the feel, durability, and beauty of a leather interior. Vendors will gladly assist you with the design, and are very open about what works and what to avoid. Ultimately, the design of your interior including colors, patterns, and materials is entirely up to you.
Labor
Once you have your materials, whether purchased or handmade by you, you’ll get to work putting it to use. The process is essentially the same whether you chose Option 1 or Option 2.
Disassembly: Remove the old plastic trim, side panels, carpet, seat upholstery, and headliner, but do not throw any of it out yet.
You’ll see why shortly.
Seats: Strip the old upholstery, cushions, and webbing from your seats, and start with bare seat frames. A bare frame gives you an opportunity to inspect for cracks, breaks, or gussets that have failed. If the frame is bent, it will need to be straightened. If the frame is cracked, it will need to be welded or replaced.
Once the frame is ready, cut and glue the webbing to the seat frame, followed by fitting and gluing the cushions to the webbing. Most of the glues used for interiors are contact cements. After applying contact cement, let it dry or “tack up” prior to adhering the pieces together. You only have one attempt because once the pieces touch, they bond very tightly. Work slowly and follow the instructions on the glue container.
Next, fit the upholstery over the cushion and secure. The fabric on the seat backs may be secured with Velcro, a hidden stitch, or a plastic seat back, while the seat bottom fabric generally attaches to the seat frame with hog rings. If you don’t own a set of hog ring pliers, purchase one from your upholstery kit vendor. Pro tip: Doubling up the fabric prior to piercing with the hog ring increases the strength of the connection and helps prevent tearing.
Side panels: The new side panels will require cutting openings for air vents, intercom jacks, door handles, fuel tank selector, etc. Fit and measure numerous times before you cut. Remember when I said not to throw away the old interior parts yet? Here’s where they come in handy. Sometimes you will fit, measure, and cut, while in other cases the old side panel makes a perfect template.
Headliner: Installing the headliner is not exceedingly difficult but can be time-consuming. It is a good idea to have a helper when installing the headliner. Headliners come in different materials (I prefer wool) and generally attach with contact cement. It’s important that the headliner bonds to a clean surface. First, clean off the old glue using acetone or MEK. Be sure to wear personal protective equipment and ventilate the cabin well. Then fit and attach the headliner so it is taut but not drum-tight. Many parts mount through the headliner, and once it’s in place, those mounting points will be hidden. Take pictures and measurements from reference points inside the airplane prior to installing the new headliner, and you’ll have an easier time locating the mounting points. If all else fails, use the old headliner as a template to help find mounting points.
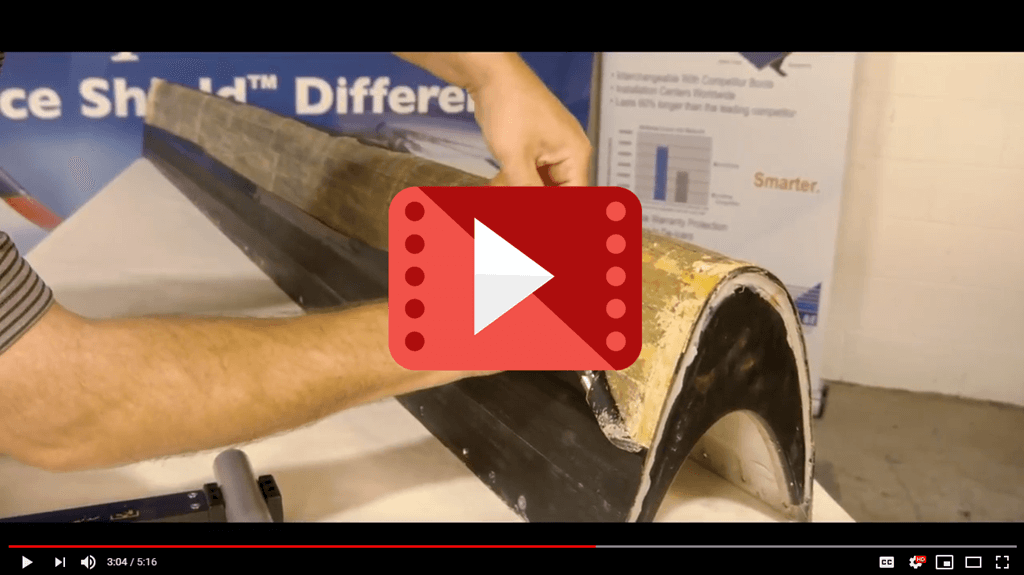
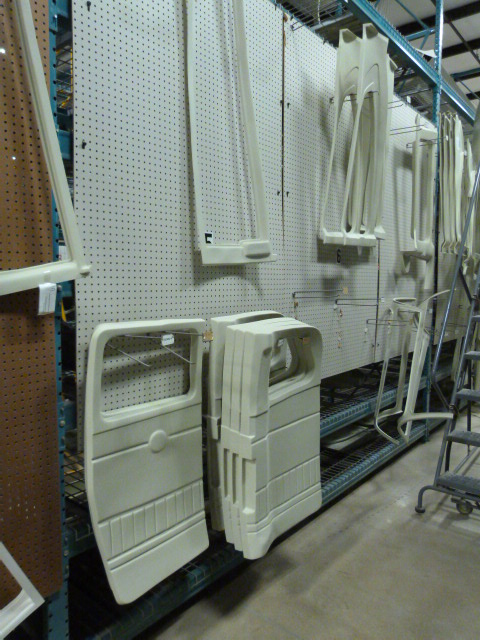
Plastic trim: Like the upholstery, plastic trim is available through many vendors. There may be numerous variants of a plastic part, even for the same model of aircraft, so confirm you received the correct parts by comparing the new pieces to the ones removed during disassembly. Those old parts are becoming more useful by the minute! The trim pieces are manufactured slightly oversized, which allows you to custom fit them to your aircraft. Fit and trim by removing small amounts of plastic using your favorite tool. I used a razor blade and shaved small amounts off the plastic until it fit perfectly, but you should use the tools you are most comfortable with (e.g., a sander or Dremel tool). Repeat trimming and assembling until all the parts fit correctly. Occasionally, a molded part may not fit properly. You may return the part to the vendor or re-form the part using a heat gun. If you choose to re-form a part, you’re going to void the warranty. For a small tweak, it may save you some time, but if the part is seriously deformed, return it to the manufacturer. If you purchase plastic trim pieces from different vendors, there will be variations in the color. To make all your parts match in color, first purchase a can of plastic dye. SEM Products makes an excellent plastic dye, and it may be purchased at most automotive parts stores. I prefer the ease of a spray can, but it also comes in brush-on. Finish fitting all the trim pieces to your satisfaction. Then remove all the plastic pieces from the airplane, clean them, and lay them out. Apply the dye like spray paint, following the directions on the can. Allow to dry and reinstall. All the trim pieces will match in color, and because it’s a dye, it won’t peel or flake off.
Carpet: When replacing the carpet, first clean off any old glue or adhesives using chemicals or heat. Wear your protective gear and ventilate the cabin. The best chemical glue removers seem to be acetone, MEK, or adhesive remover. Use plastic scrapers and a lot of elbow grease. A small brass brush may be helpful as well. Do not use a toothbrush (the chemicals will quickly melt it) or a wire brush as it may be harsh on the aluminum. If using a heat gun, use phenolic scrapers instead of plastic. The heat could melt plastic scrapers. Apply heat gently to the area to soften the glue, and scrape until clean. Once the floor is clean, you may apply sound deadener beneath the carpet, or glue the carpet directly to the floor. A very popular option is to secure the carpet to the floor with Velcro. The carpet may then be easily removed and reattached for annuals, cleaning, etc.
Misc.: While the side panels and headliner are removed is a great time to perform wiring upgrades, install insulation or sound deadener, or remove and buff (or replace) windows, but those topics can all be covered in separate articles.
You and your passengers will appreciate the comfort of the new seats, especially on long trips. Better comfort means less fidgeting and less fatigue. As a pilot, less fatigue means you’ll be more focused on your job — flying the plane. Blue skies!
Click on a picture to start a slideshow.

Back seat with the old console top right. 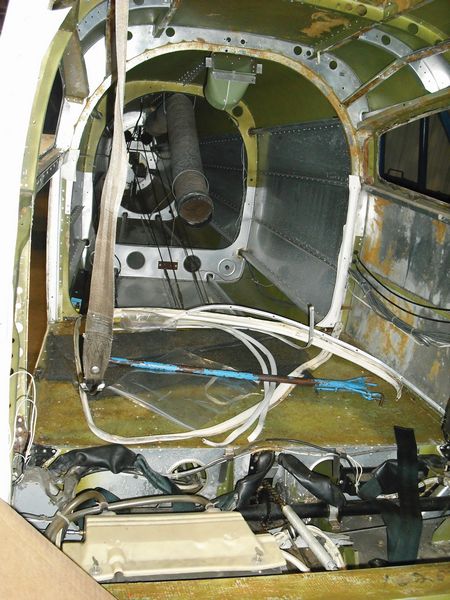
Empennage – Before 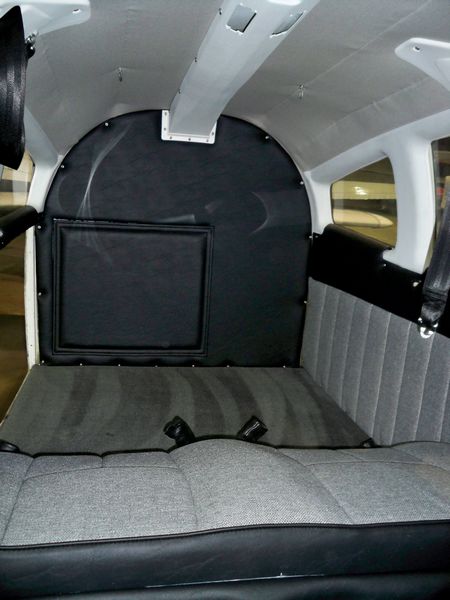
Empennage – After. 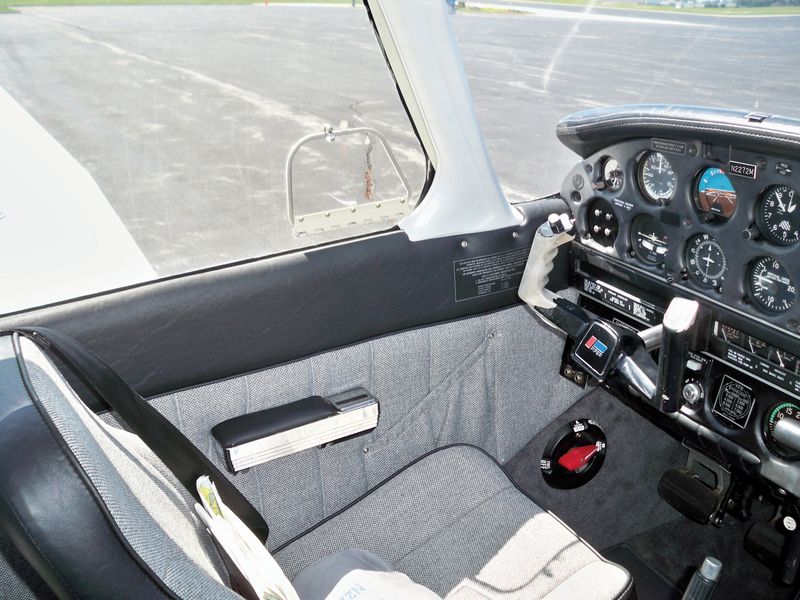
Completed cockpit! 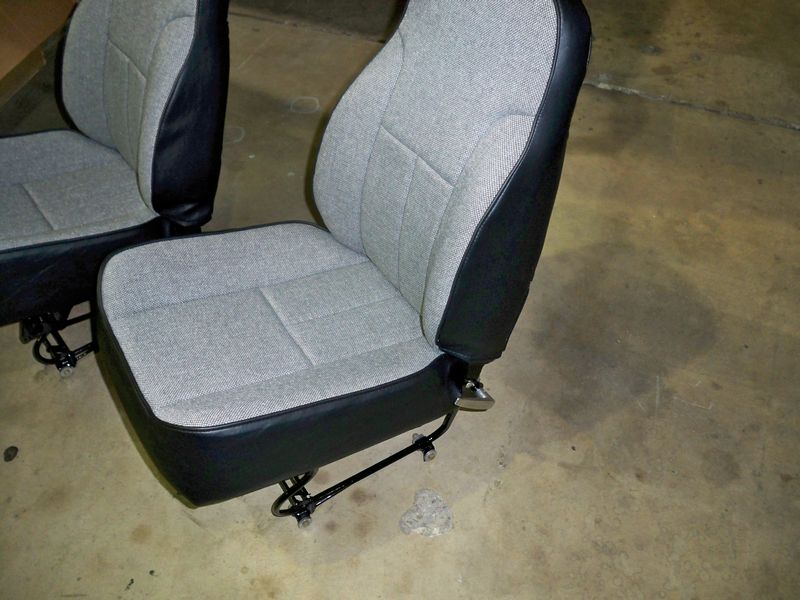
Seats – After. 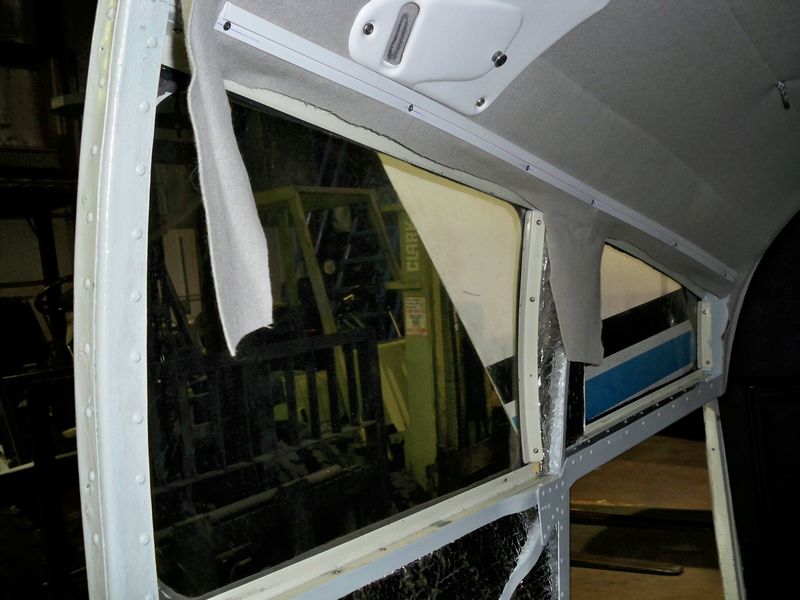
Headliner installed. 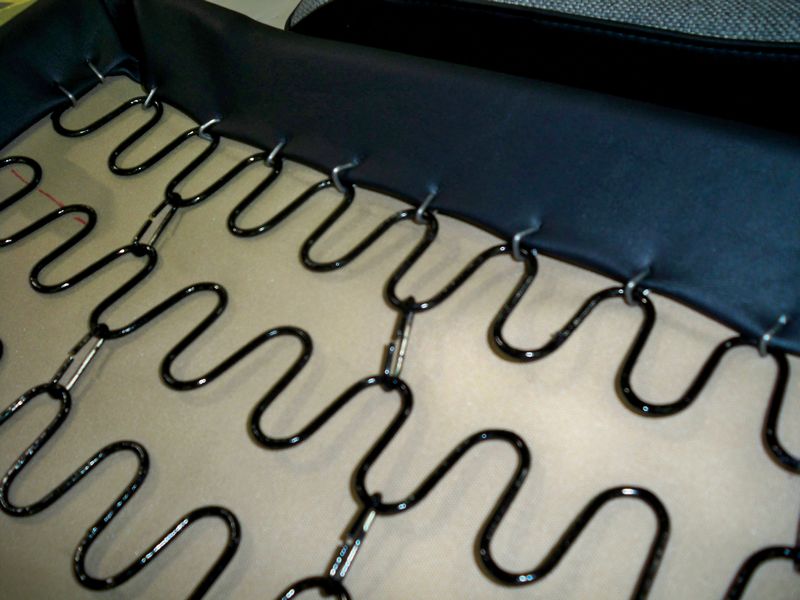
Hog ring detail. 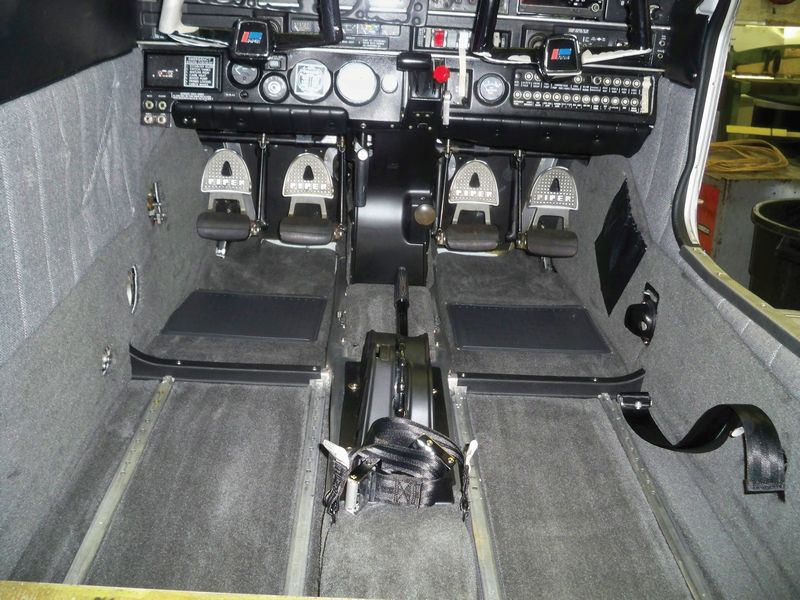
Looking forward from the back – in progress. 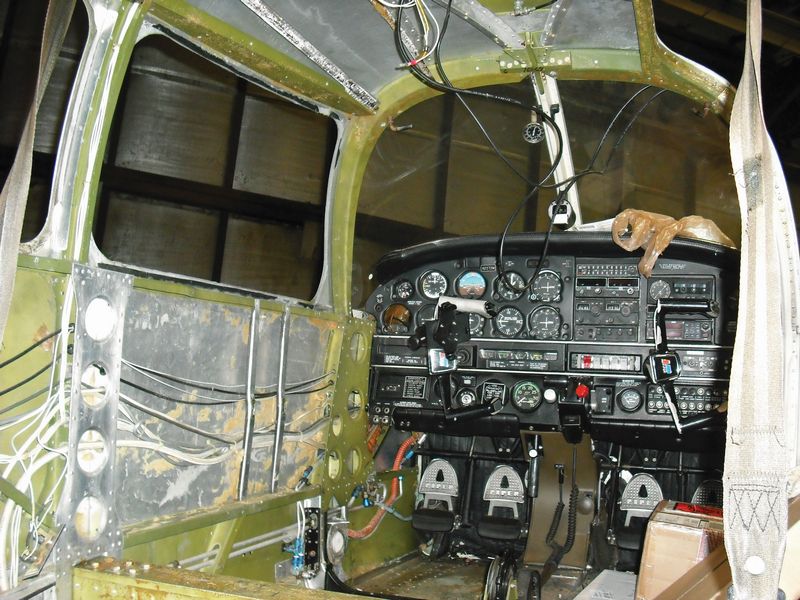
Looking forward from the back – Before. 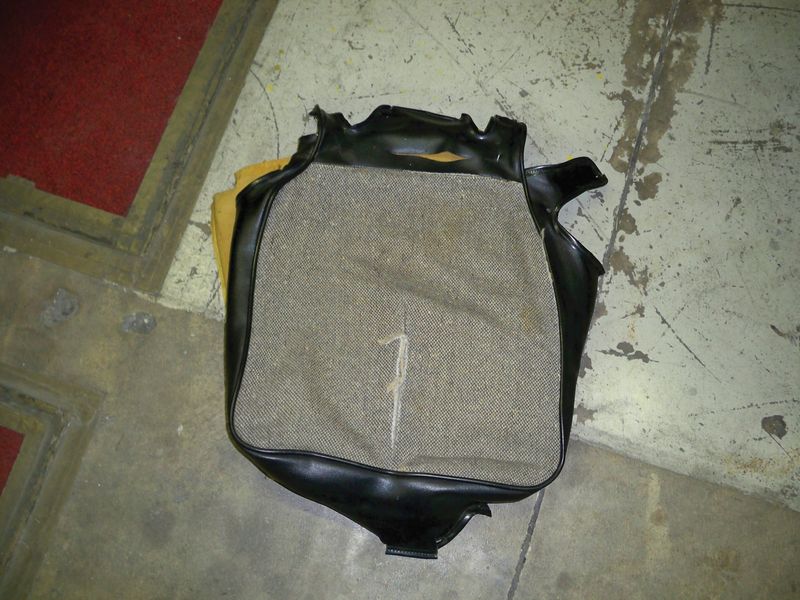
Old front seat bottom. 
Old rear bench. 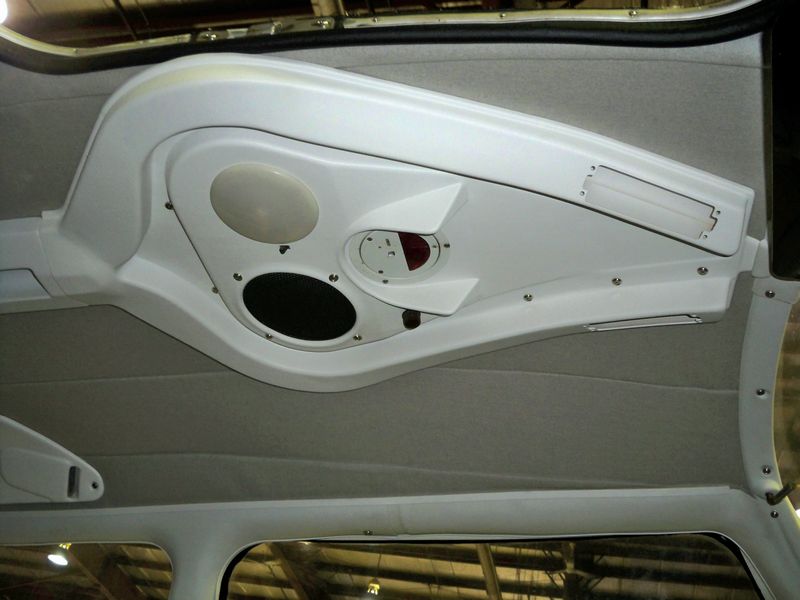
Overhead console – New. 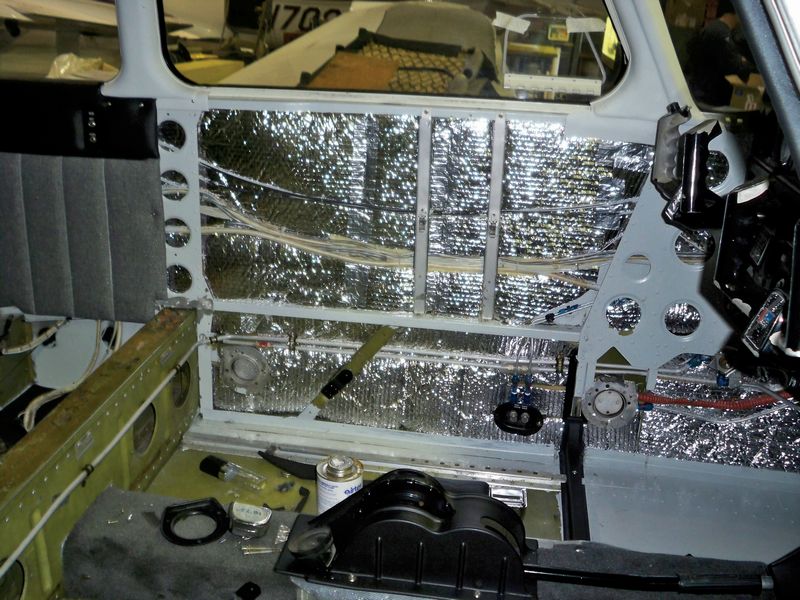
Pilot side seat – Before. 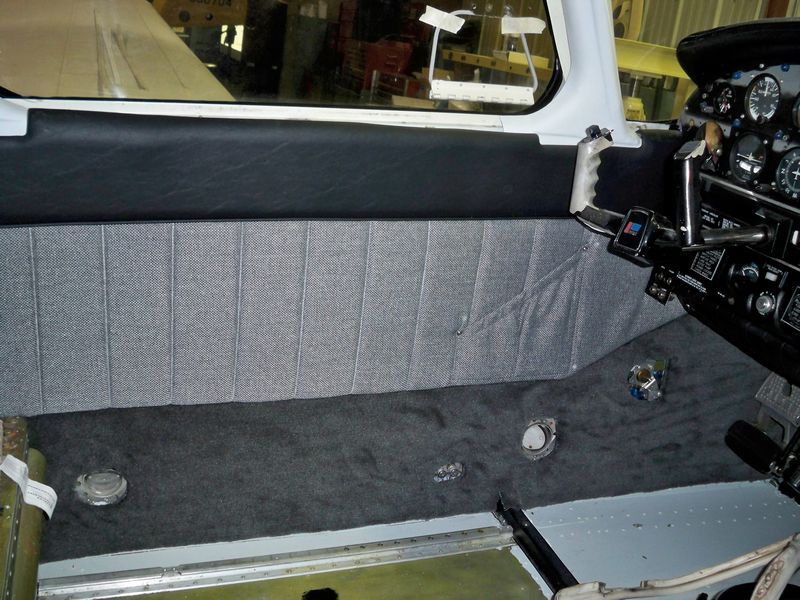
Pilot side seat – After. 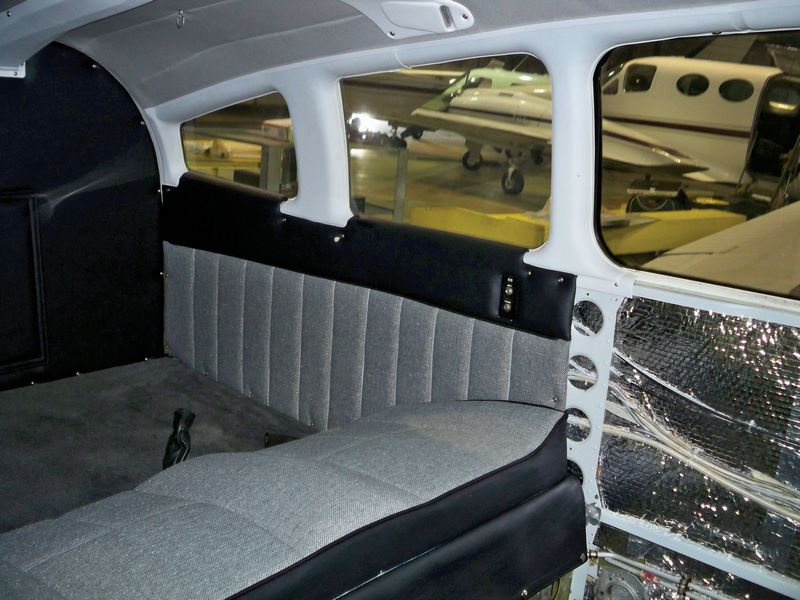
Side panel – After. 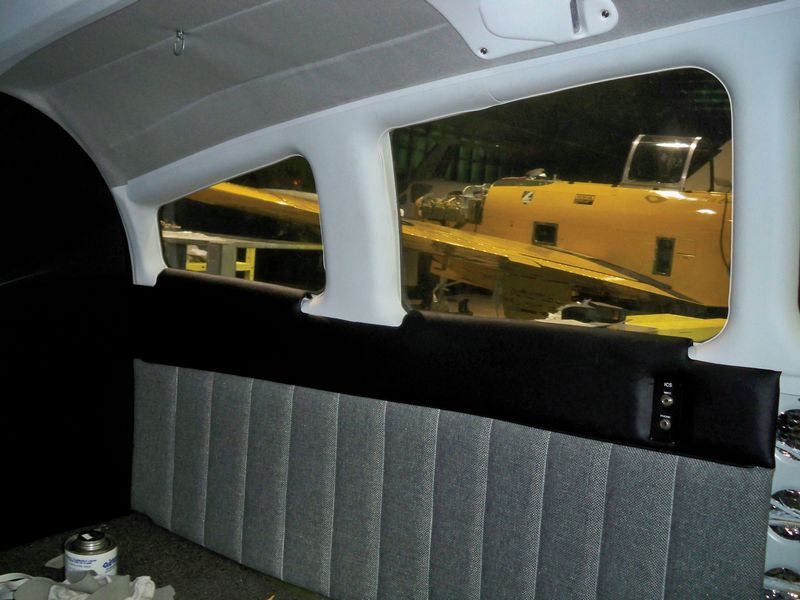
Side panel – After.
Jim “Griff” Griffin is an electronic engineer/IT professional based in the Chicago area. He has extensive automotive and aircraft experience and is well-versed in engines as well as body work and paint. Jim has been an aircraft owner for 23 years and currently owns a 1978 Piper PA-28-161 Warrior II on which he has performed full restoration including engine replacement, interior, engine controls, windows, etc. Jim has been president of the Schaumburg Pilot’s Association for 16-plus years and is a member of the Pilot’s Technical Advisory Committee for the Village of Schaumburg DOT.
