With Sportsman STOL Upgrade
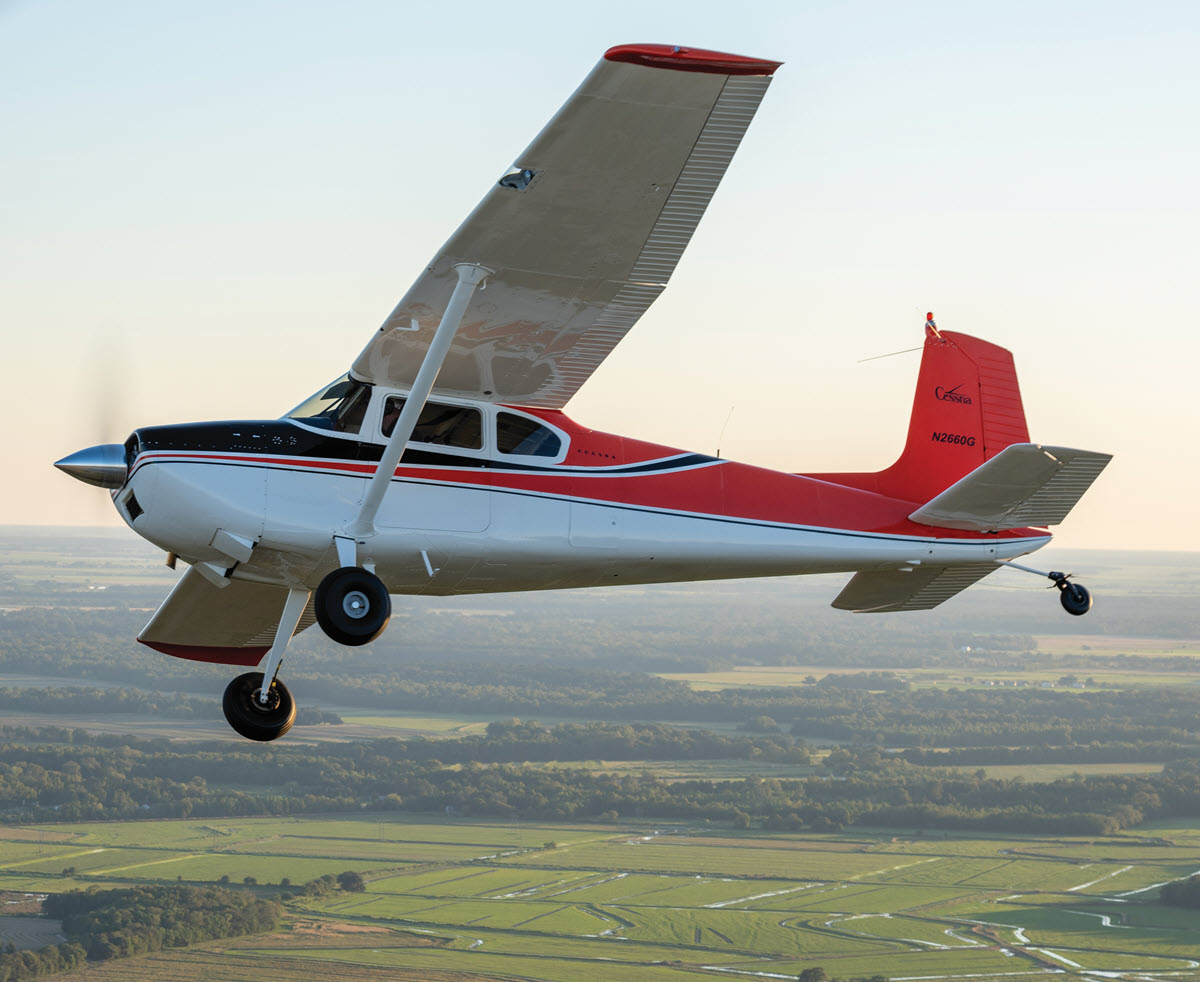
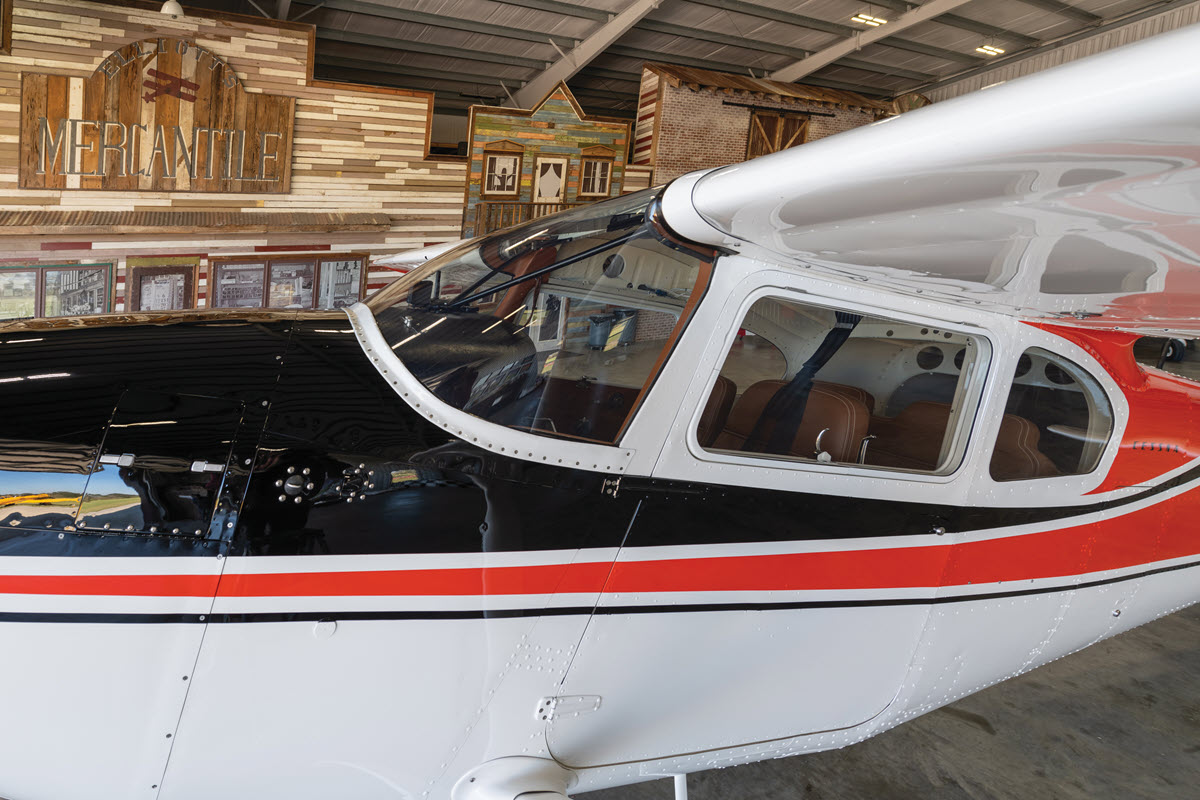
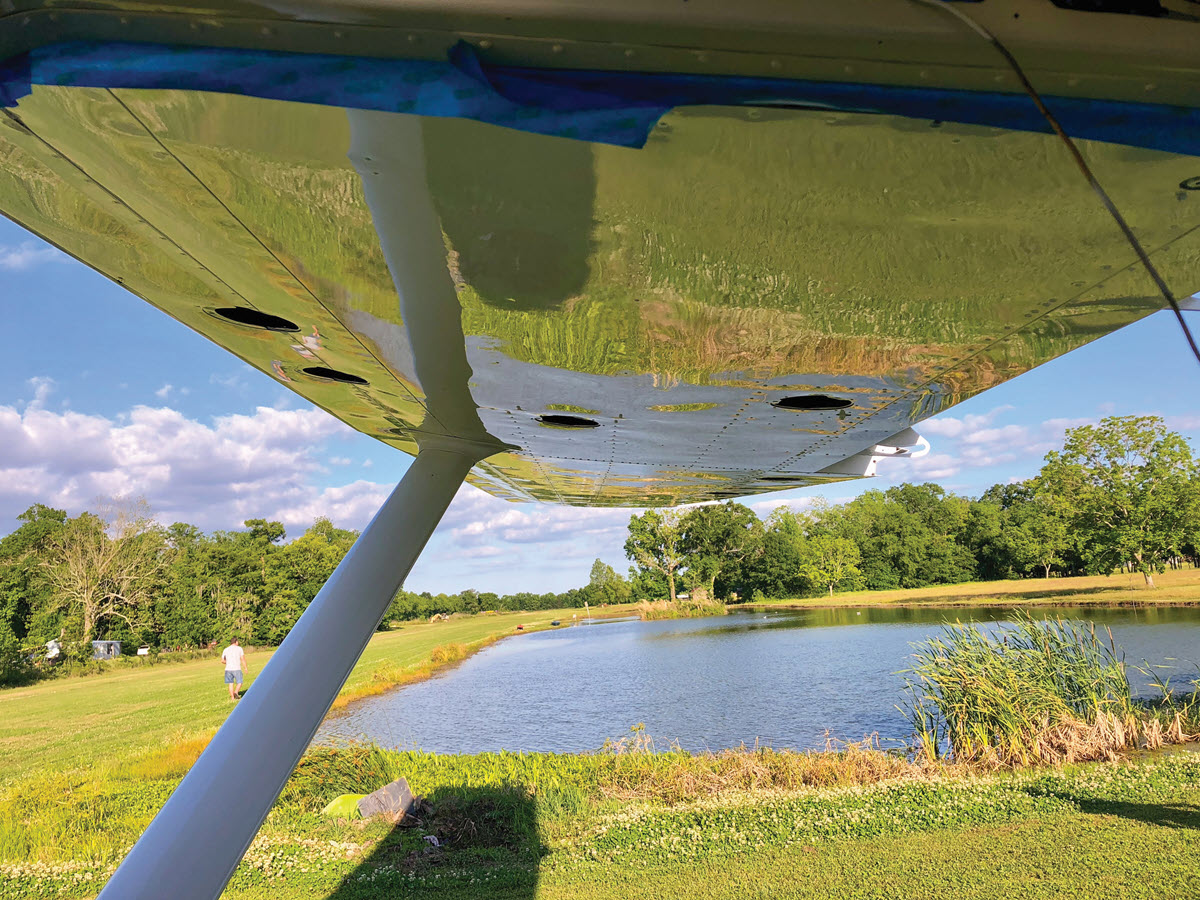
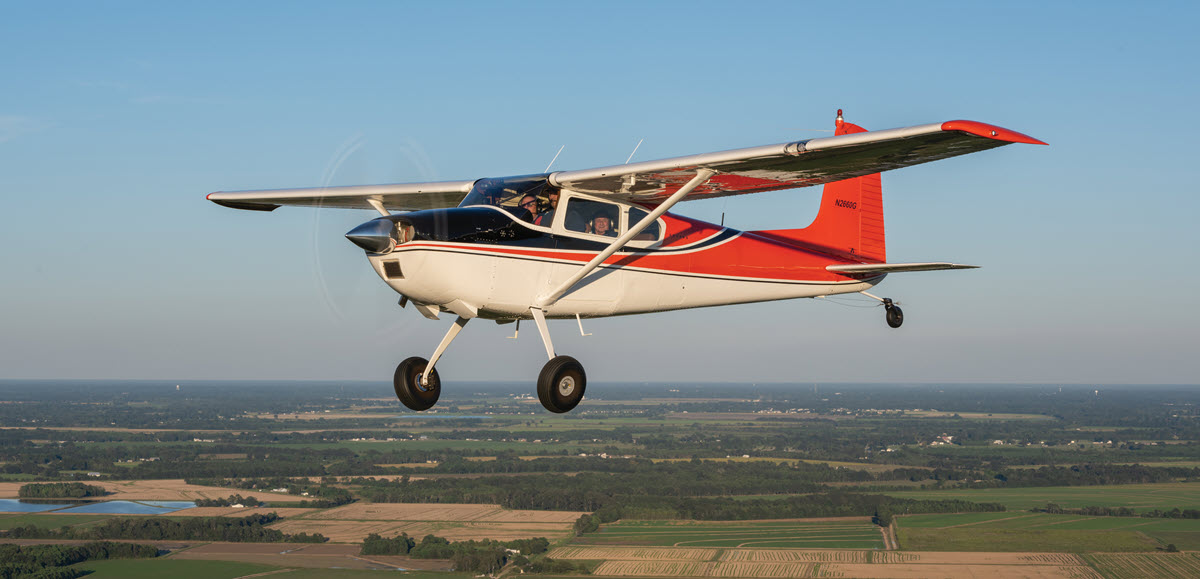
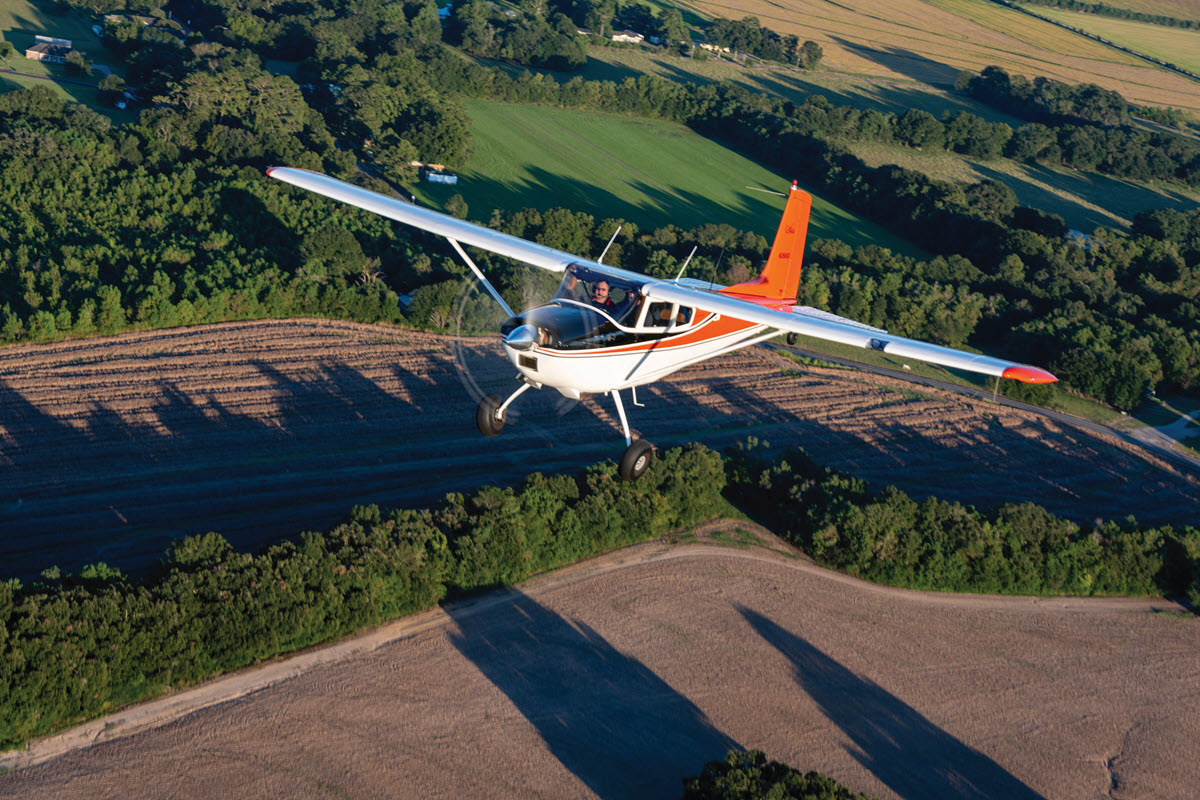
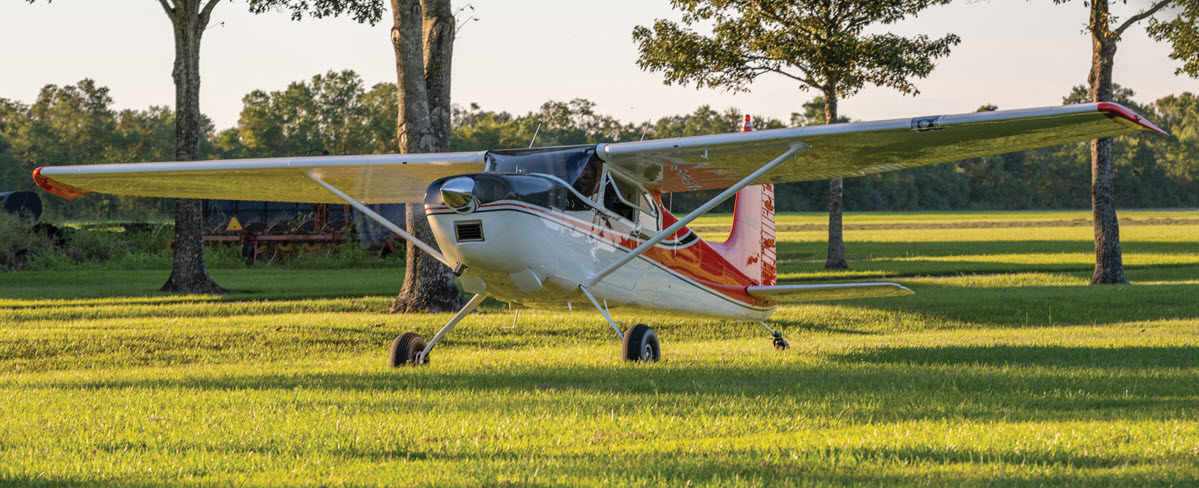
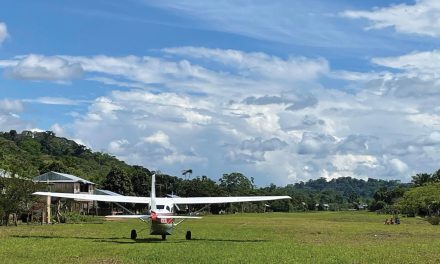
Blaine Pridgen’s 1959 182B tailwheel conversion is ideal for the backcountry grass airstrips that he and his friends frequent in his home state of Louisiana. The traildragger’s increased prop clearance and oversize Alaskan bush tires are better suited for these unimproved strips. His 182 wasn’t built with a tailwheel, of course. Although N2660G came off the factory floor with tricycle gear, along the way, it was converted to conventional gear. Although it now has a tailwheel configuration, the FAA lists it as a C182. The conversion doesn’t change its type listing.
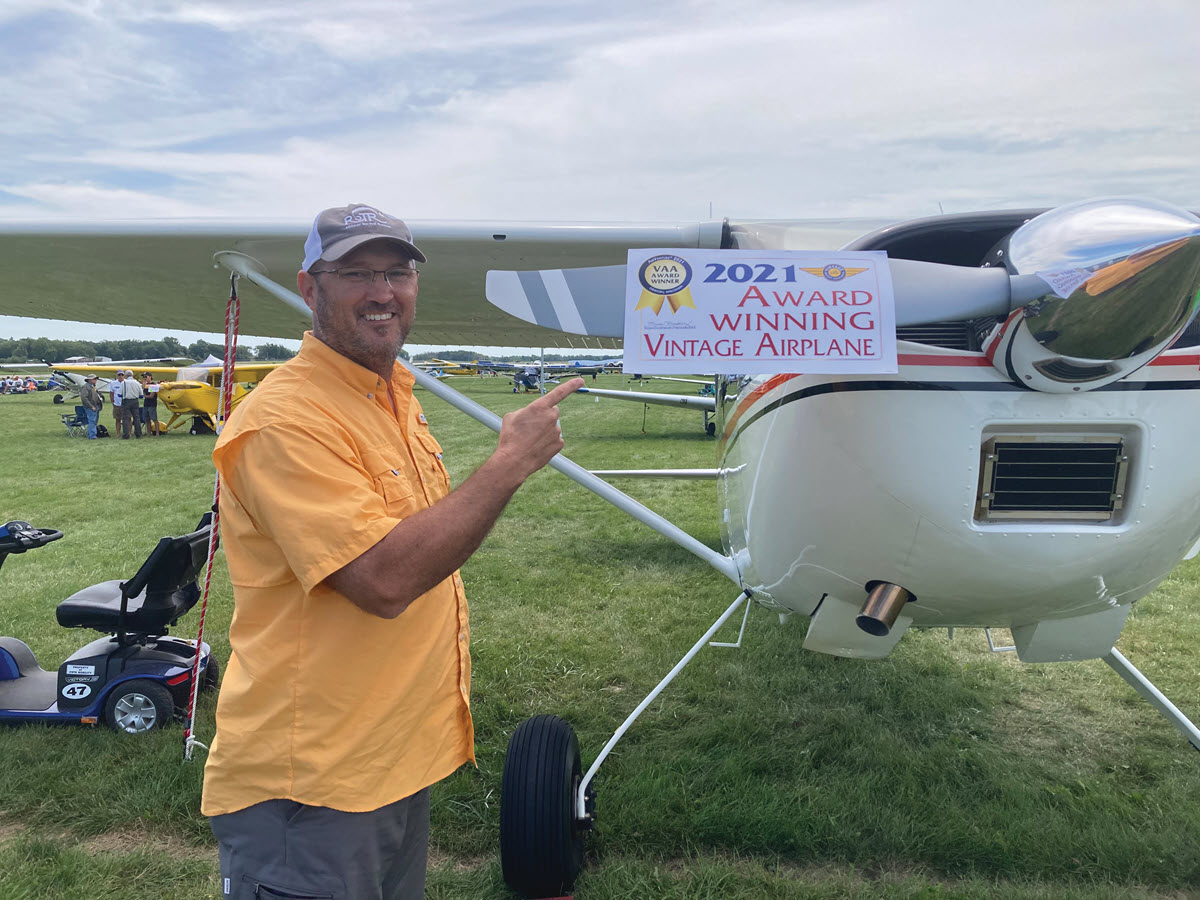
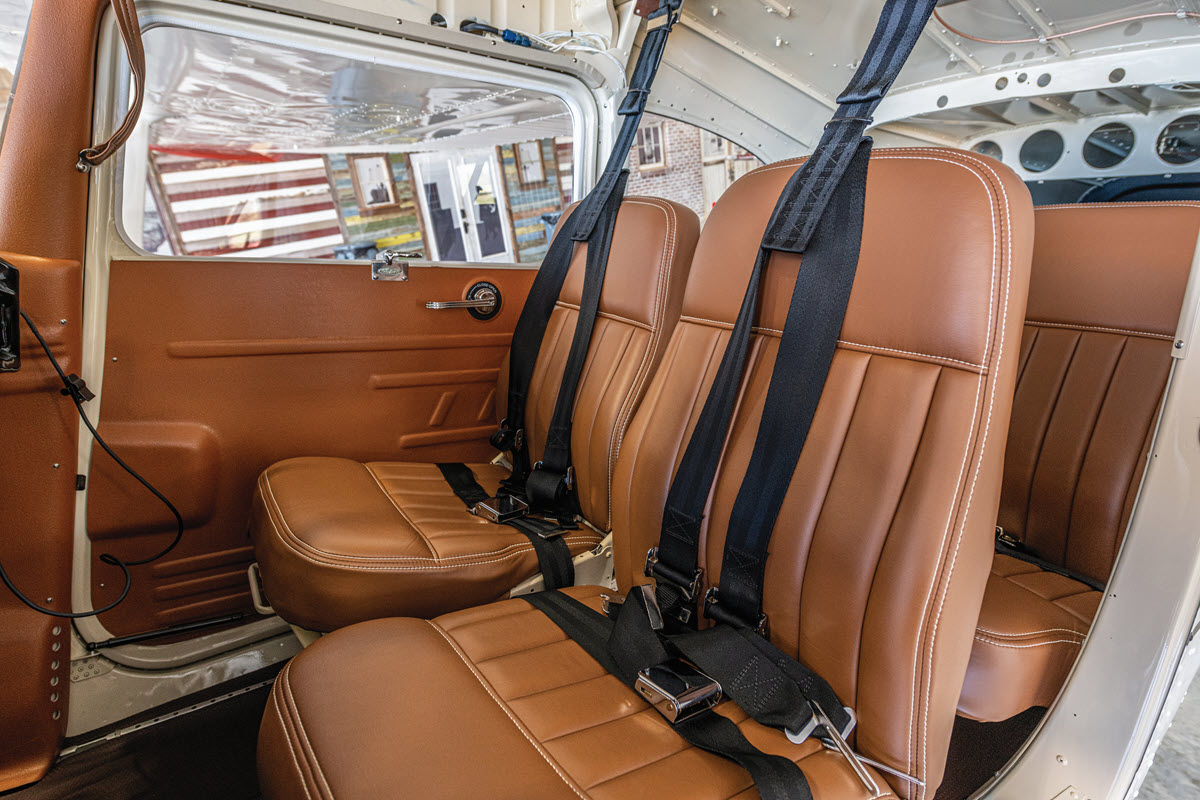
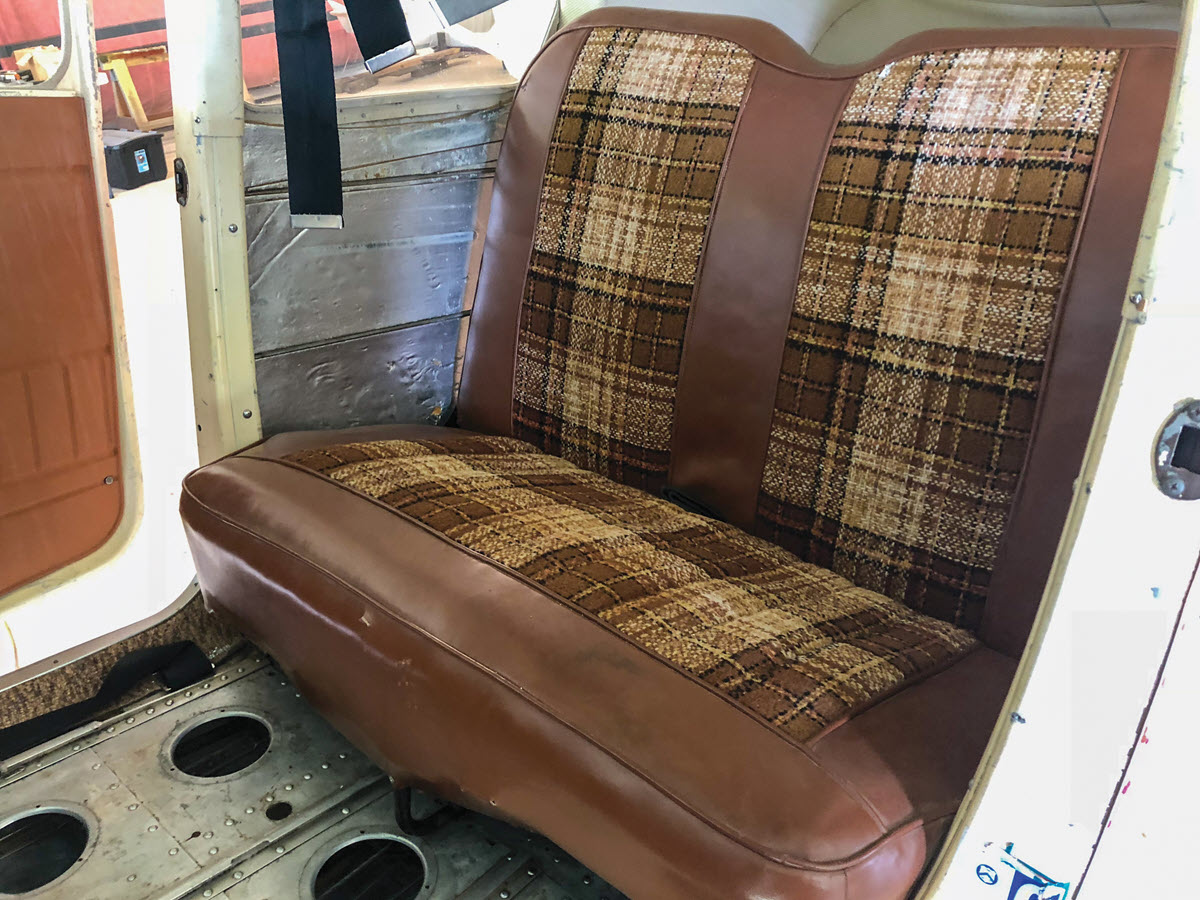
It took a while for Blaine to find the aircraft he was looking for. When he spotted the plane online nearly five years ago, he knew it was just what he wanted. “I always liked the way the 180 flew and its utility capabilities. It’s crucial to be able to land and take off on grass strips. I wanted a plane that could carry four people as well.” Although it was technically a 182, it had the features Blaine needed, so he finalized the sale at Benson Municipal Airport in Arizona in May 2018 and, with that, set off on a series of upgrades, including avionics, autopilot, exterior paint, interior restoration, an Alaskan bush tailwheel, and other miscellaneous improvements, such as a Sportsman STOL kit, which is the first thing he tackled.
The Science Behind the Sportsman STOL Upgrade
According to Stene Aviation (steneaviation.com), which sells the Sportsman STOL, “The Sportsman STOL wing cuff is a state-of-the-art modification originally designed by Lockheed Skunkworks to increase light plane utility and safety by increasing the wings efficiency and resistance to stalls and spins. The Sportsman STOL is not just a lip on the bottom, but is a re-engineered airfoil. The aim of the Sportsman STOL modification is to improve aerodynamics and enhance aircraft performance and safety.”
The Sportsman STOL Upgrade “FAQs” section of the Stene Aviation website explains how its aerodynamic design works. “The Sportsman extends and droops the leading edge, without modifying the radius, therefore modifying the camber of the wing and adding over 4 square feet of area to the wing.
“The stall becomes a mush rather than the classic break in pitch of a non-modified aircraft. This allows controllability of the aircraft all the way through stall with reduced altitude loss over the non-modified aircraft.”
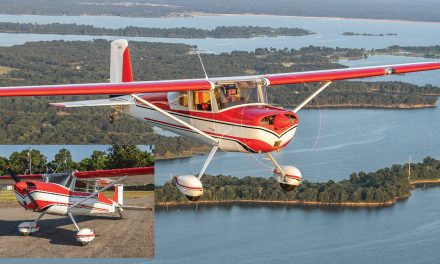
The Sportsman STOL upgrade improves backcountry capabilities by giving it better control at slower speeds and enabling more lift and lower stall characteristics for takeoffs and landings on short grass strips, the kind Blaine prefers. While vortex generators (VGs) can also produce some of the same effects, Blaine felt that the STOL kit would produce better results for his purposes, so he removed the VGs that were already on his 182. “It had the vortex generators on it when I first got it. But I had a buddy who was from Alaska who had just put a STOL kit on a 170 and he liked the performance of it, so I decided to go with a STOL, too.”


“cuff” on the leading edge.

for painting.

better control at slower speeds and enabling more lift and lower stall characteristics for takeoffs and landings on short grass strips, the kind Blaine prefers.
The Sportsman STOL Overview
The Sportsman STOL kit costs $2,520 and includes “inboard composite fairing, new leading edge skins, transition blocks, new landing light lens assembly (applicable models), aileron gap seals (except for 206/207), all rivets, composite wingtips, installation drawings, instructions, and STC paperwork.”
Since an STOL installation is considered major work, it requires an FAA 337 form to be completed and filed. The upgrade changes weight and balance, adding 15 pounds at 22”.
Like many owners, Blaine chose to do the STOL project himself, supervised by an A&P/IA because so much of the labor is relatively unskilled, time-consuming work such as drilling and riveting. Blaine had two friends assist him but, even with that, he estimates it took more than 40 hours, which is consistent with Sportsman’s estimates for those doing the STOL upgrade for the first time and that experienced installers can do the job in 30 to 40 hours.
“The job was fairly easy. It was straightforward,” Blaine said. “Their instructions and their tech support are really helpful. They’re really good people to deal with.” He said the hardest part of the project and what took the longest was cutting out the holes for the cabin air vents and making sure they were in the right spot. He mentioned that there are many helpful videos online too. Blaine did suggest having someone with sheet metal skills to help, as there are places where sections need to be cut and trimmed to fit.
| Engine | Continental O-470-L | Landing Over 50 ft Obstacle | 1,310 ft |
| Horsepower | 230 | Rate of Climb | 1,030 fpm |
| Top Speed | 167mph (145 kts) | Ceiling | 20,000 ft |
| Cruise Speed | 161mph (140 kts) | Doors | 2 |
| Fuel Capacity | 65 gal | Seats | 4 |
| Range | 685 miles (@ Economy Cruise) | Electrical | 12v |
| Gross Weight | 2,650 lbs | Dimensions (approx.) | |
| Empty Weight | 1,621 lbs | Cabin Width (at shoulder) | 42 in. |
| Avg. Useful Load | 1,029 lbs | Length | 25 ft, 1-¾ in. |
| Takeoff Ground Roll | 555 feet | Height | 9 ft., 9 in. |
| Takeoff Over 50 ft Obstacle | 1,080 ft | Wingspan | 36 ft. |
| Landing Ground Roll | 560 feet |
These are the specs for a 1959 Cessna 182B. Every vintage airplane is now different; do not use these specs to plan a flight. Also note that these specs vary from the plane featured in this article because its gear was changed from tricycle gear to conventional gear. All data taken from the Standard Catalog of Cessna Single-Engine Aircraft (JP Media LLC).
Sportsman STOL Installation Summary
The following isn’t an all-inclusive list of every step. A more detailed explanation of the process can be found on the Stene Aviation website. Complete instructions, including diagrams, come with the purchase of the kit.
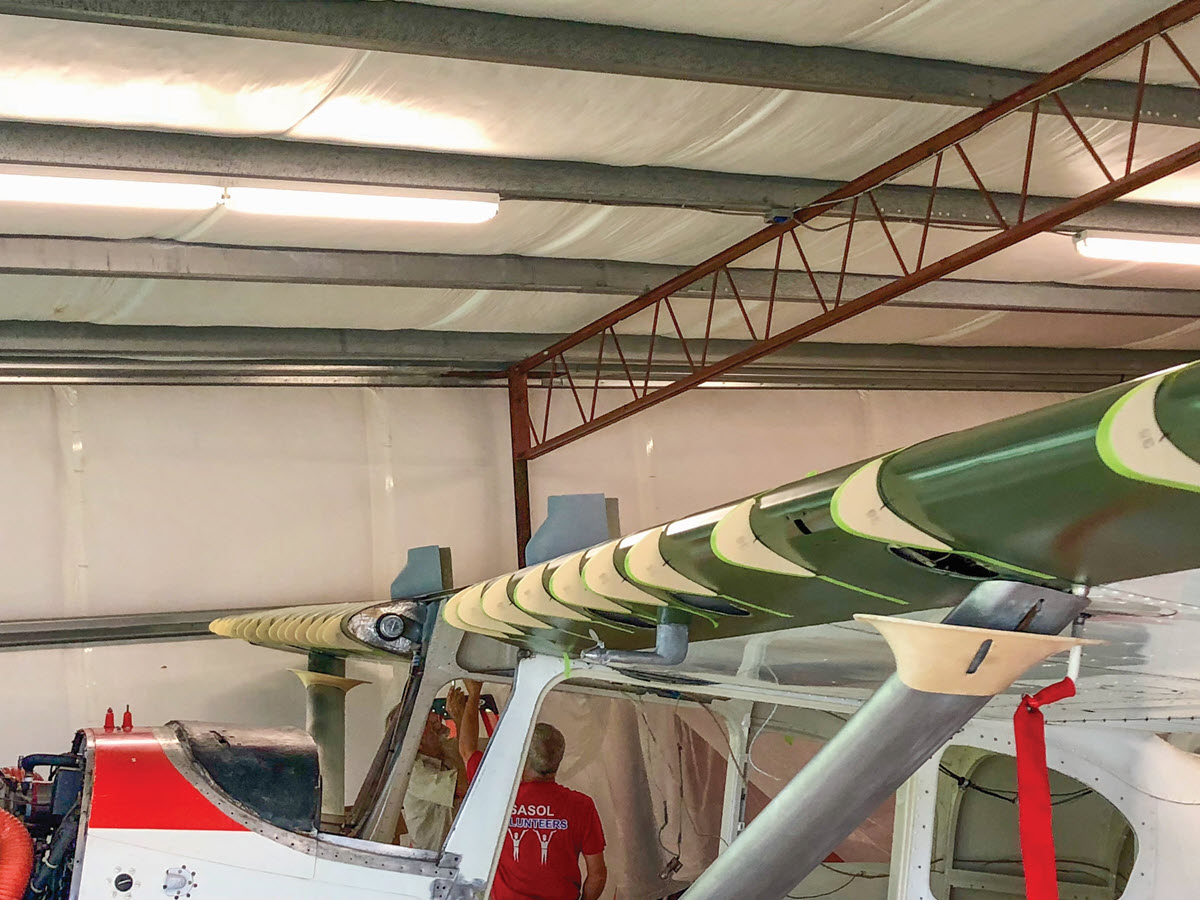
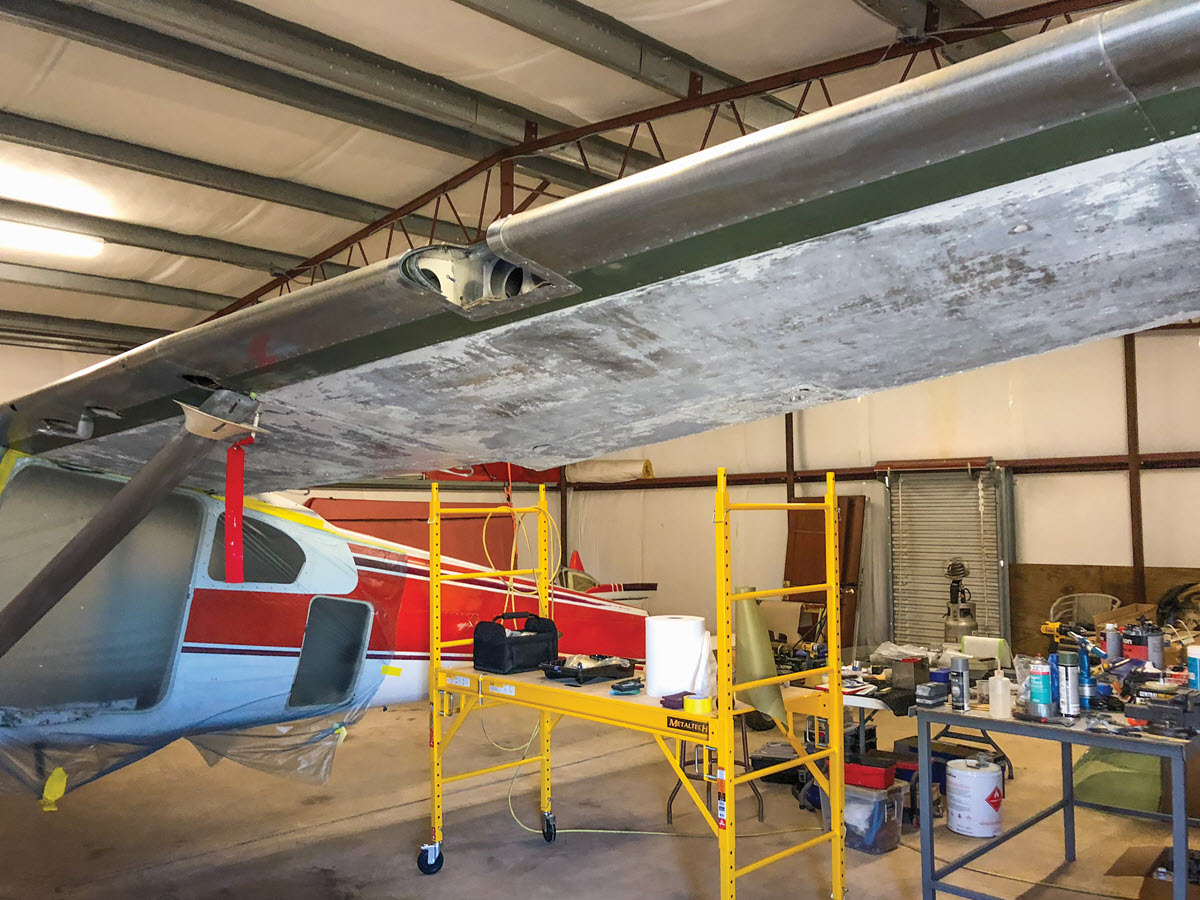
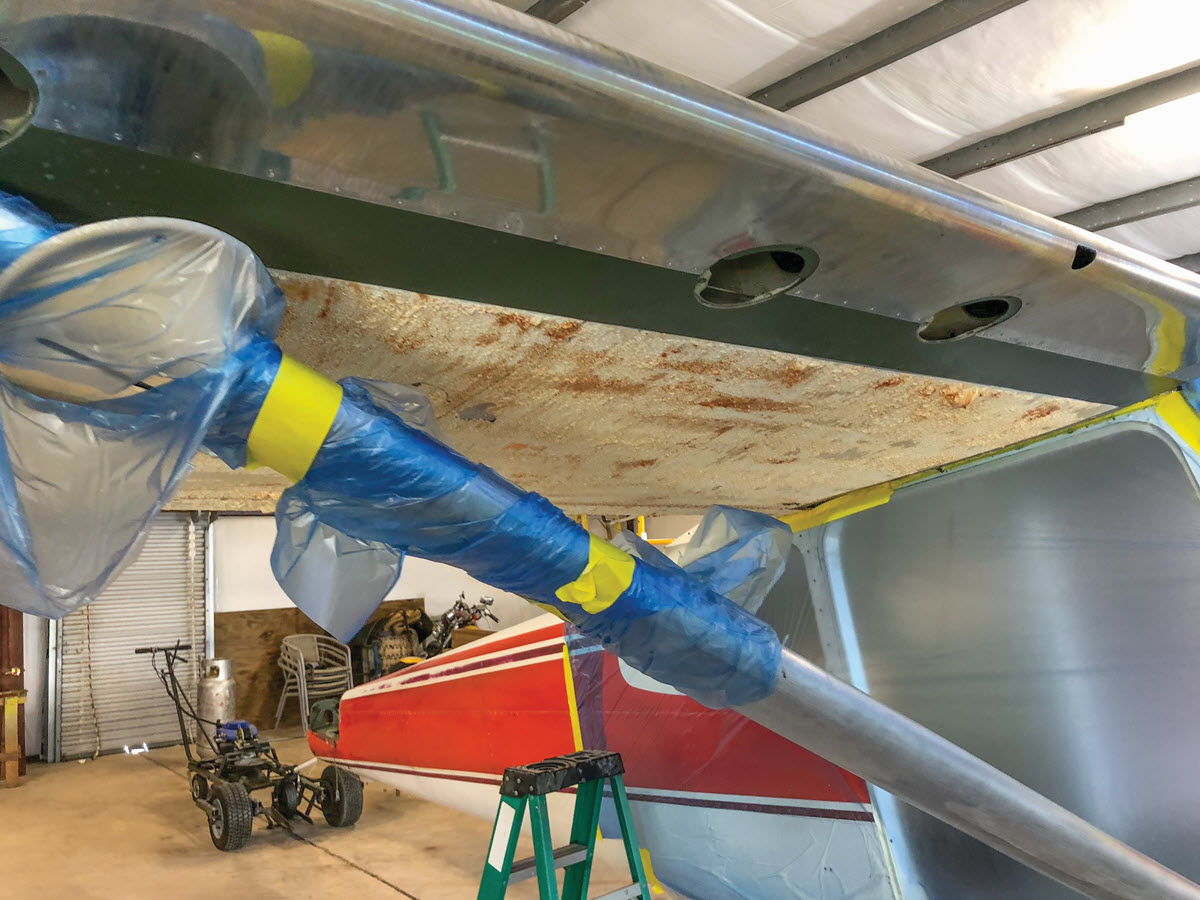
- Blaine and his assistants began the upgrade by removing a number of components: the wing tips, landing light cover, stall switch, inspection plates, and wing root fairings.
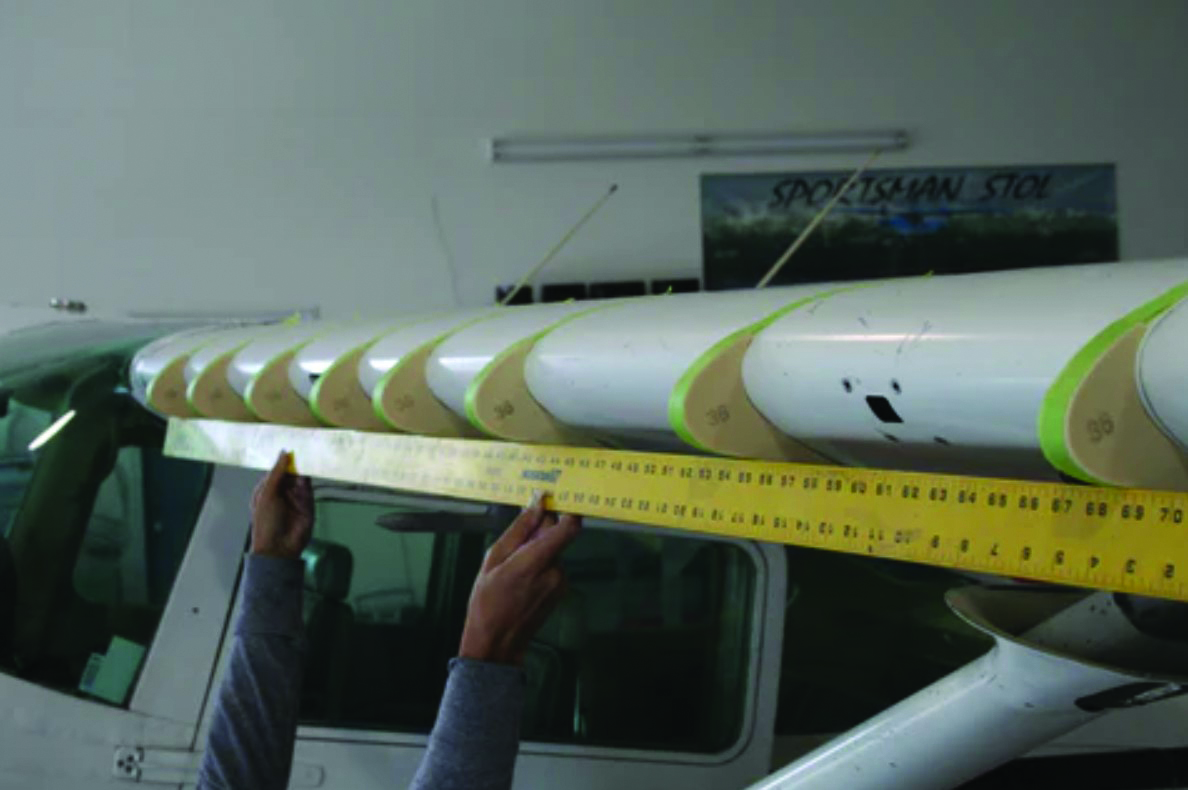
- Next, they marked the “stations,” or the positions, of the contoured foam blocks that form the new airfoil shape on the leading edge.
- Using the supplied airfoil templates to ensure proper placement of the foam blocks, they used masking tape to temporarily attach the foam blocks to the leading edge. Next, they checked the alignment of the blocks with a long straightedge before gluing each in place.
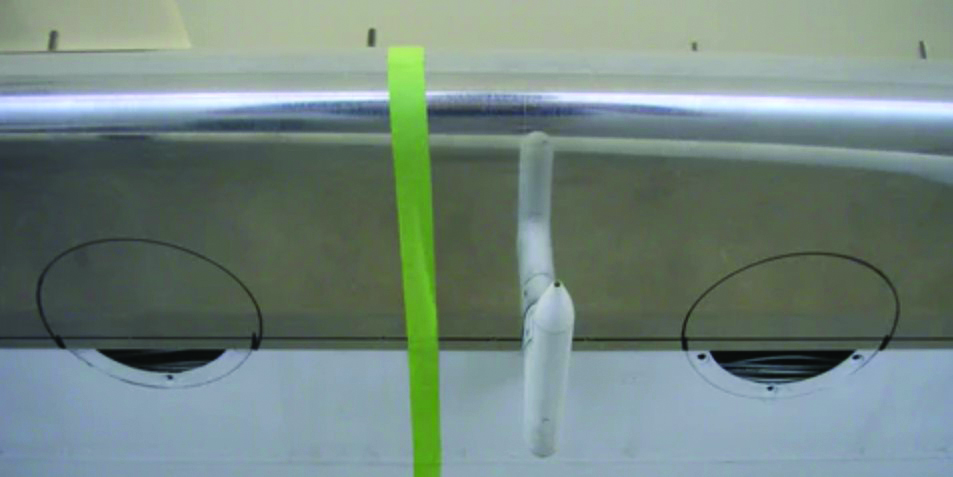
- While waiting 24 hours for the glue to dry, they added flap gap seals to reduce high pressure air pushing up through the flap gap. This upgrade, included with the kit, significantly increases aerodynamic efficiency
RESOURCES
More STOL options and research.
WingX STOL
www.wingxstol.com
See ad on page 31.
Stene Aviation
www.steneaviation.com
See ad on page 31.
Blaine has been pleased with the STOL upgrade as it gives him the flight characteristics he likes. But doing the installation does take a significant commitment of time and effort. “It’s a lot of measurement. It just takes time. You can’t be in a hurry to do it,” Blaine said. For those who would rather have a shop do the work, Stene offers that service. The company’s website states, “Our average installation is approximately 27 to 32 hours charged at our shop hourly rate.”
Select a photo to open a pop-up slide show


