By Elizabeth Gibbs
Photographs by Lyle Jansma
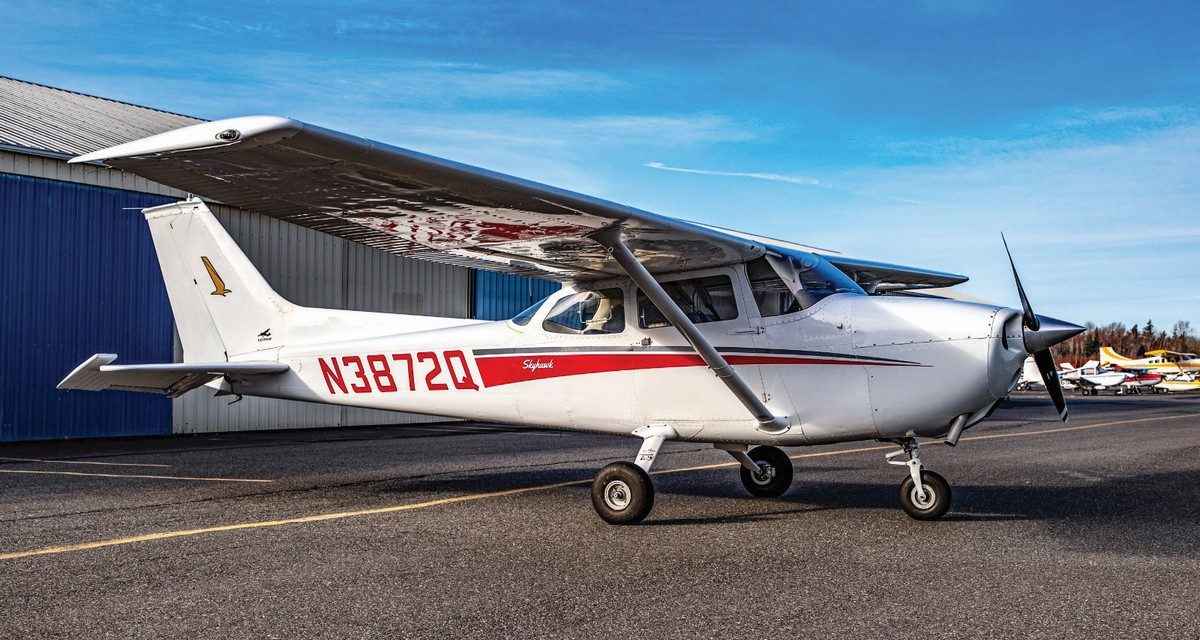
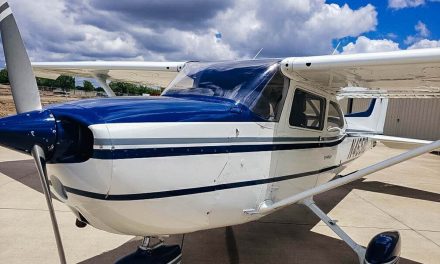
The July 2021 issue included a story chronicling the purchase and restoration of our 1971 Cessna 172L Dorothy. Since that article was released, Lyle Jansma and I have continued the work on our old girl. We breathed a little bit of new life into her mid-time engine in the form of four new cylinders through a RAM 160-hp upgrade, as well as a Power Flow exhaust. We also freshened up the exterior by removing the old vinyl stripes and adding a newer, sleeker design in the colors we had always pictured her in. Believe it or not, between all of this I was still able to enjoy 100 hours of flight time in 2021.
In the process of restoring Dorothy, we have been subject to more than a few “while we’re at it” moments. When the interior is out, the avionics removed, and the cowl off, there is no better time than to add in a few little extras that will upgrade your experience as an aircraft owner. I wanted to share a few of the upgrades and solutions we discovered along the way to making Dorothy our dream plane.
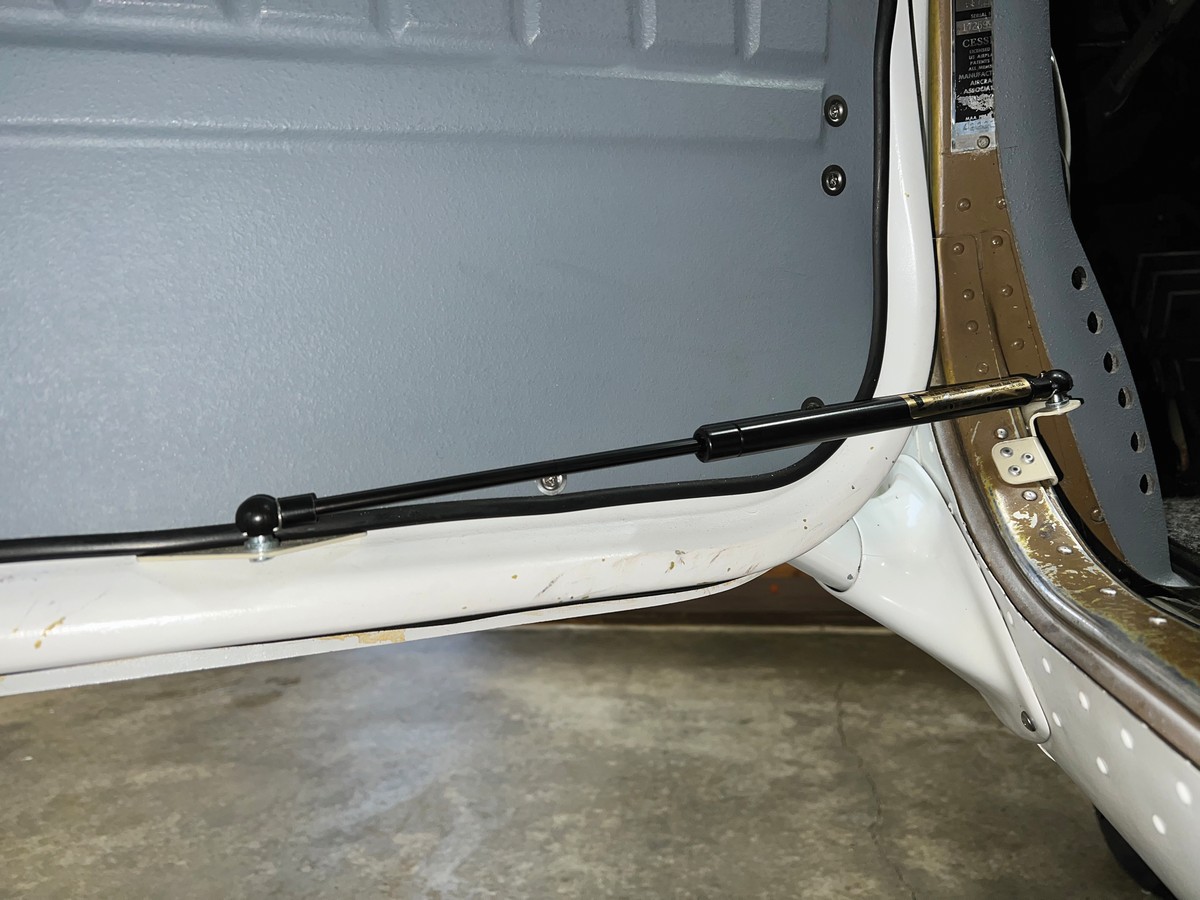
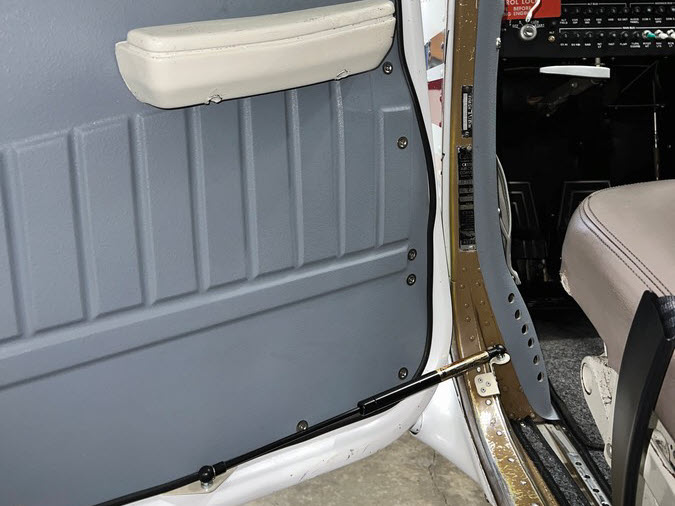
1. Door Steward
Cessna doors have a bit of a reputation, and we struggled for the first couple of years that we had Dorothy, with the doors swinging open and closed with only the gentlest of breezes. With each slam into the already fragile stopper peg mounted on the wing, we cringed.
We found a solution in the Door Steward. One of my favorite upgrades, the Door Steward works by attaching a gas strut to two brackets — one riveted to the door and one to the airframe. Once you open the door, the Door Steward will open the door slowly and hold it open for you. It can withstand a decent breeze and prevents the door from slamming one way or the other. A set for both doors will run you under $500 on Aircraft Spruce, and the installation takes only a couple of hours.
Visit aircraftspruce.com and search for “door steward Cessna.”
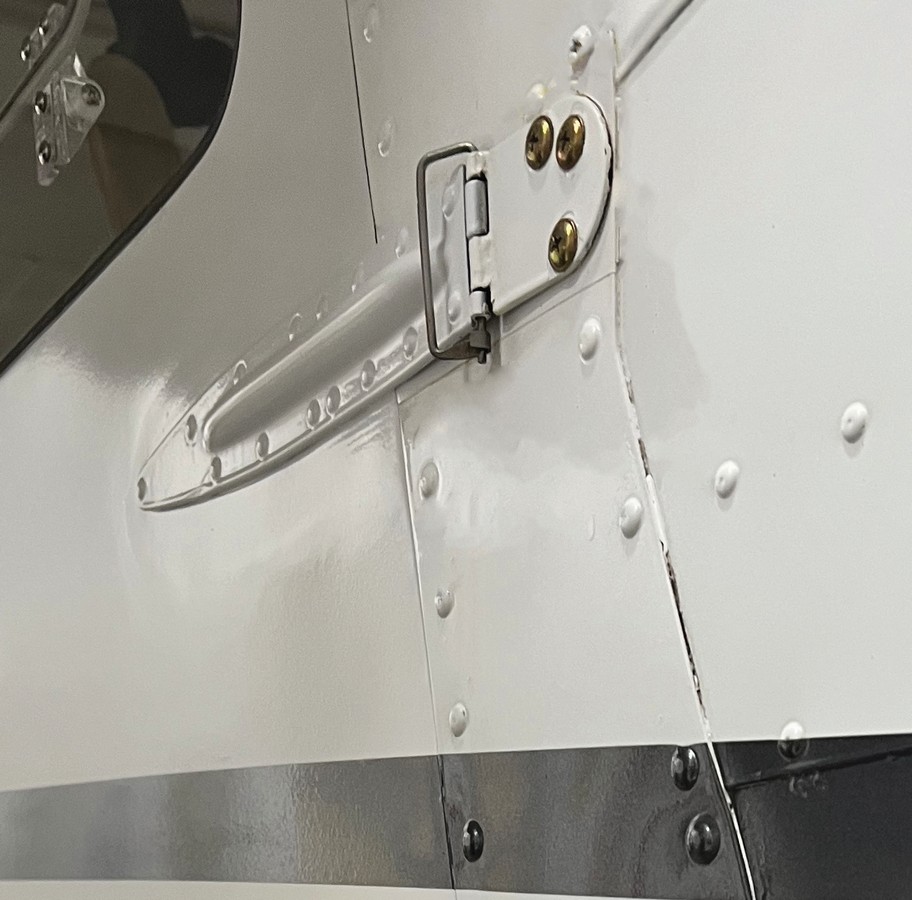
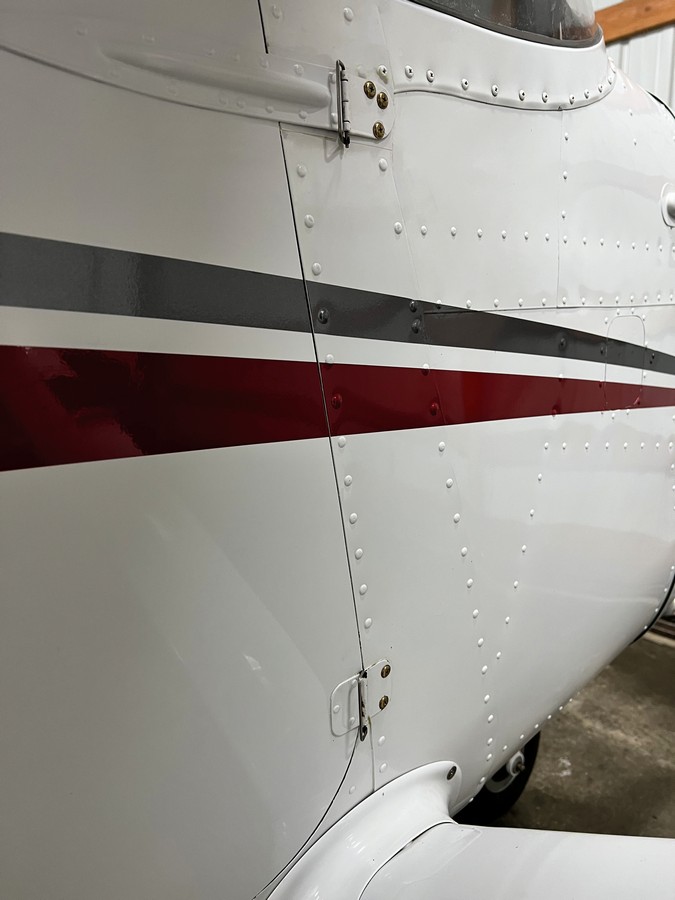
2. McFarlane Door Hinge Pins
The door hinges in our 1971 172L came to us as they did out of the factory, with a pin affixing the two sides of the hinge together that was not easily removable. This design makes it so that effectively, the only way to remove the doors is to unbolt the hinges from the airframe side. This involves removing interior panels, and someone with patience and high aptitude for not dropping nuts and washers, to accomplish the task.
Some people may never need to take the doors off their airplane, but if you’re assisting with the maintenance of your Cessna, especially during a large project or upgrade, then taking the doors off makes everything so much easier.
McFarlane makes a kit of removable door hinge pins that makes door removal so quick and easy that fumbling around doors during maintenance will never be a problem again. All that is required is to grind off the end of the existing pin, tap it out gently, then slide in the McFarlane replacement. They clasp closed and stay secure. We’ve been flying with these for three years and never had an issue.
www.mcfarlaneaviation.com/products/category/door-hinges-parts/description
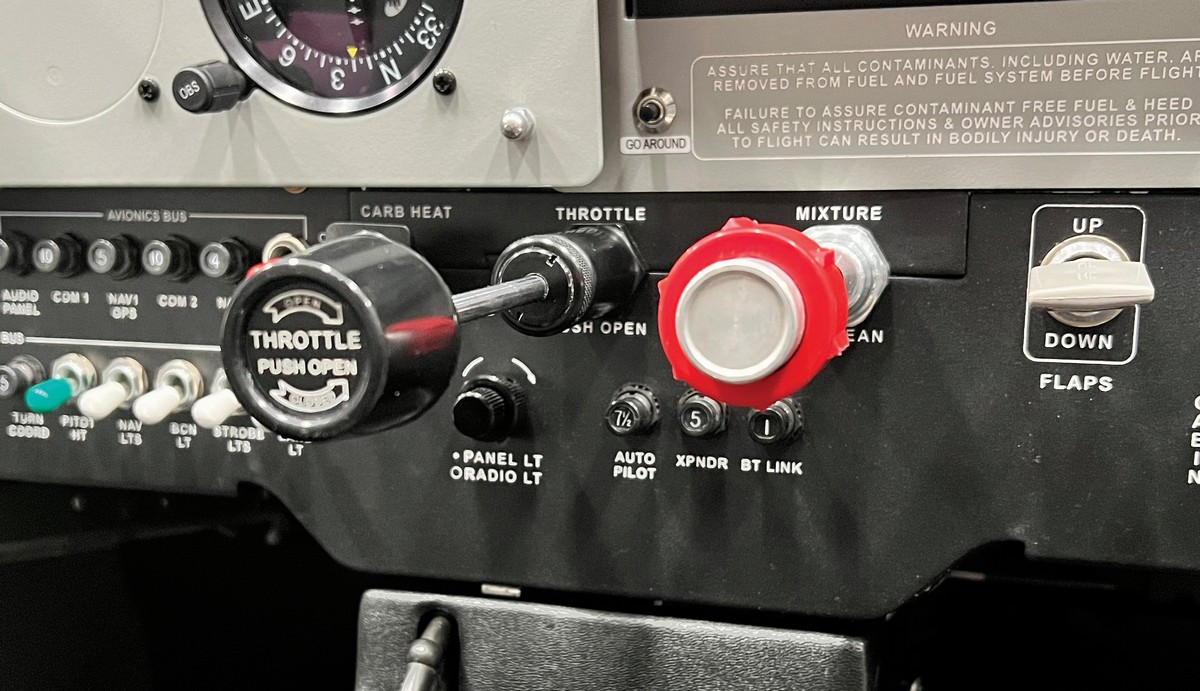
3. Vernier Throttle
The McFarlane PMAed Vernier Throttle is perfect for cruise flight. This design is relatively new for certified aircraft in the last few years, and it became available for Cessna 172s abou the same time we were installing our autopilot. If a throttle cable upgrade is in your future, consider this one. It maintains all the functions of a normal throttle cable, with one addition. Once in level cruise flight, tighten down the friction lock, and then you are able to make small adjustments in power settings by turning the knob.
Unlike vernier mixture cables, which require a button press to release, a bit of pressure can override the friction lock to add or reduce power quickly as needed.
Once the friction lock is undone, the throttle operates normally. The added ability to dial in the perfect power setting is helpful, especially when flying with an autopilot.
www.mcfarlaneaviation.com/products/category/vernier-assist-throttle-controls

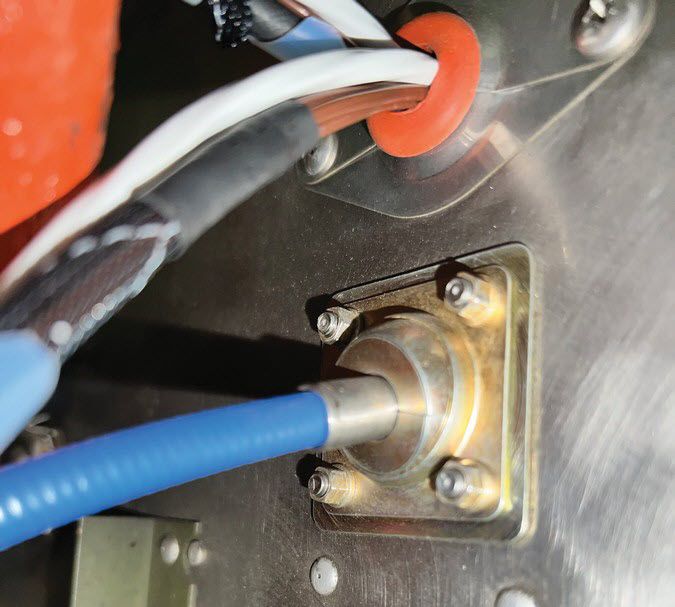
4. Doubletee Firewall Fittings
This is a product that under normal operation you probably won’t see or notice, but it is something that I would recommend to anyone replacing any cable that runs through the firewall.
Prior to installing our Vernier Throttle, we had installed a standard McFarlane throttle cable. After barely 100 hours of flight time, we realized that the firewall had cut through the metal shield protecting the throttle cable. Searching for a way to protect our investment in new engine cables, we discovered Doubletee Products and their line of firewall fittings. These fittings consist of steel balls that clamp around the cable and allow it to swivel for the best fit. Depending on the fitting you choose, it can either be held in place by nuts that sandwich the ball to the firewall or two pressure plates fastened together through the firewall. We installed these around our throttle, mixture, carb heat, and cabin heat cables to protect both the cables and the firewall.
www.doubleteeproducts.com
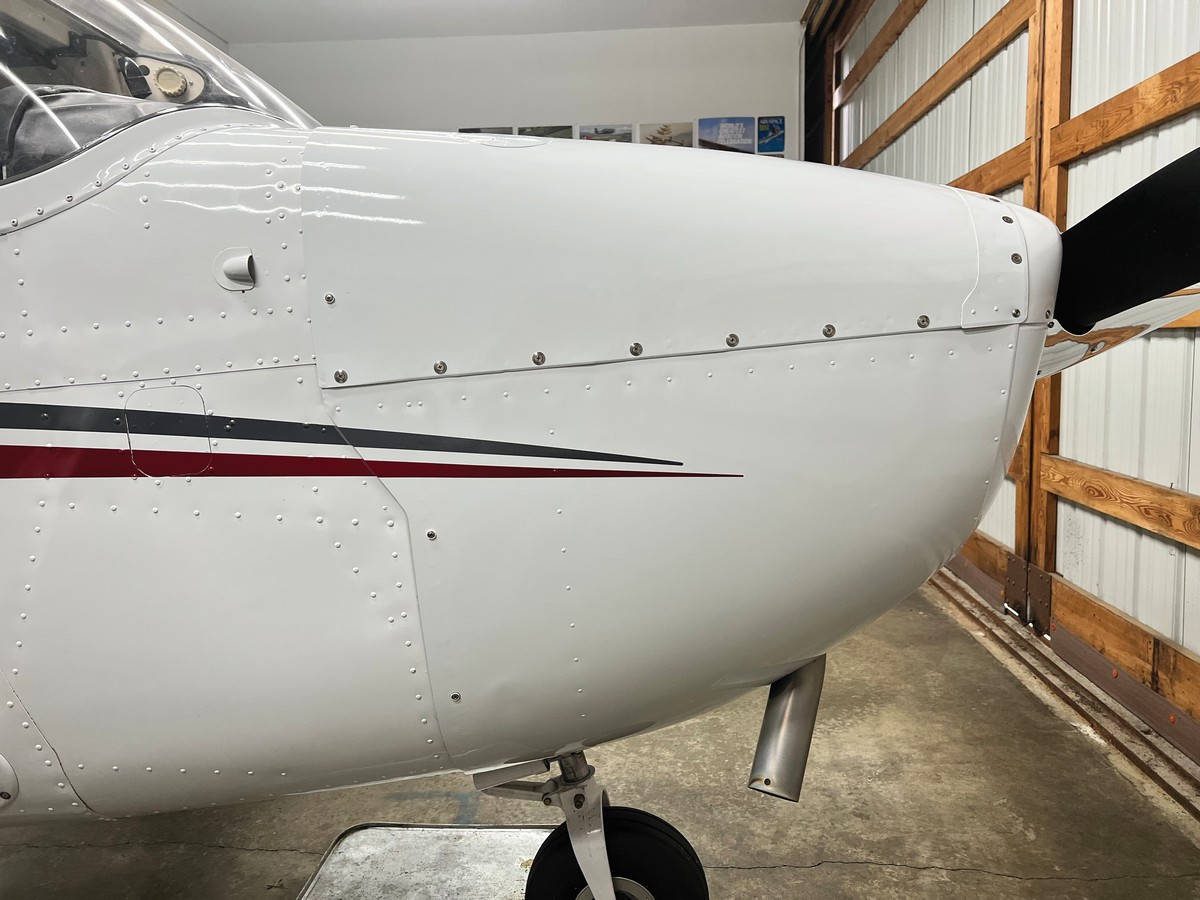
5. Skybolt Cowl Fasteners
After three years of doing our own maintenance and projects, removing the cowl had become a dreaded task. The side fasteners that held our top and bottom cowls together were still old school — screws that screwed into floating nuts. At least one of the nuts was gone, causing us to reach through the battery door and hand-wrench a nut onto a screw each time.
Then we discovered the Skybolt Cowl Fastener conversion kit. We opted to start with the side-only kit, replacing all those old screws and floating nuts that secured the top and bottom cowl together. This upgrade is highly recommended for any Cessna — they will pay for themselves in time savings of removing and reinstalling the cowl.
A kit contains grommets, snap rings, and receptacles, and is available for the firewall side to replace your old Southco fasteners or along the sides only.
skybolt.com
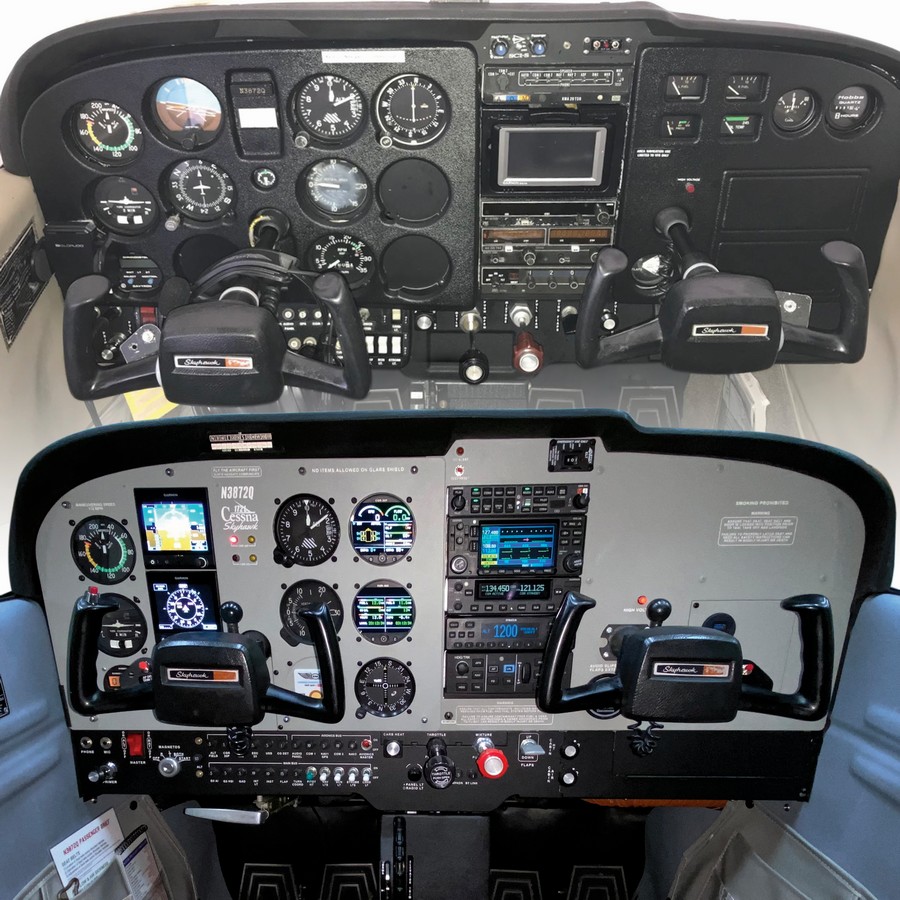
6. Instrument Panel Overlay
With so many avionics on the market to give legacy Cessnas a modern look, nothing finishes off that modern look quite like an aluminum instrument panel overlay. Replacing the old plastic from both upper and lower panels can make an old airplane look brand new on the inside. The argument could be made that simply replacing the tired old plastic with a new cover is more cost-effective, but it is not as durable in the long run, and they are much more difficult to customize. The custom instrument panel in our 172 allowed us to flush mount our Garmin G5s and gives a clean, modern look.
Editor’s Note: This overlay is a custom, owner-produced part, though it may be available via a PMA in the near future. We’ll update this product’s availability in coming issues.
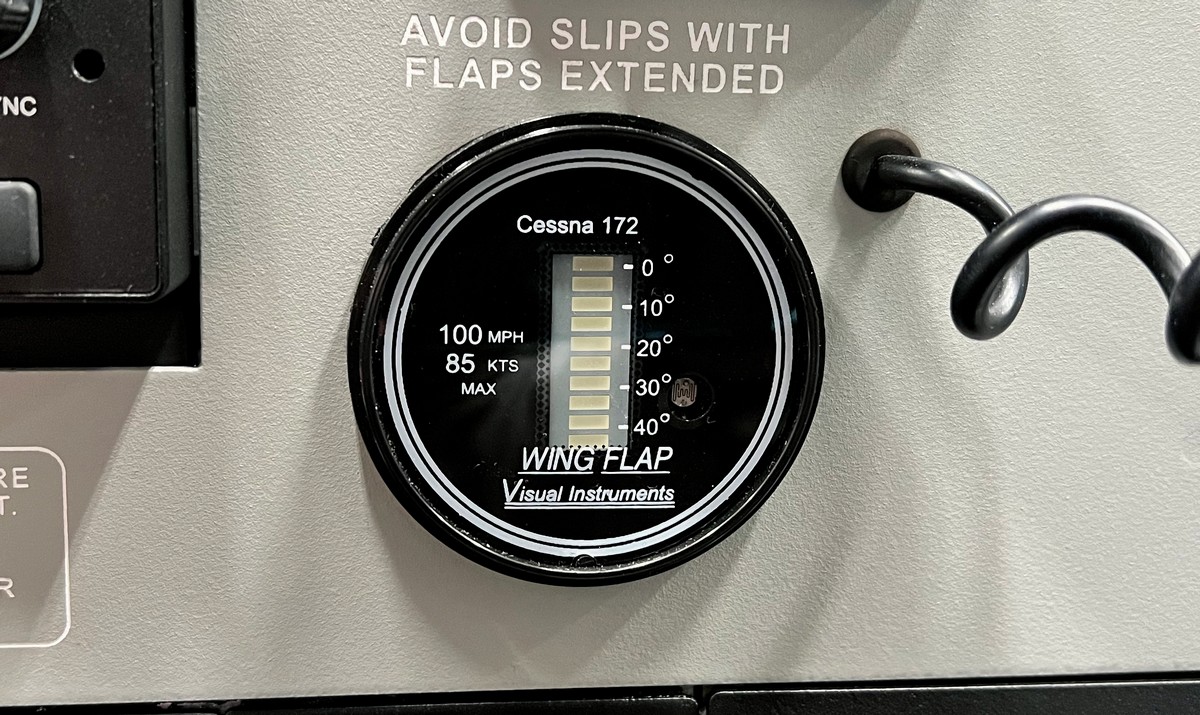
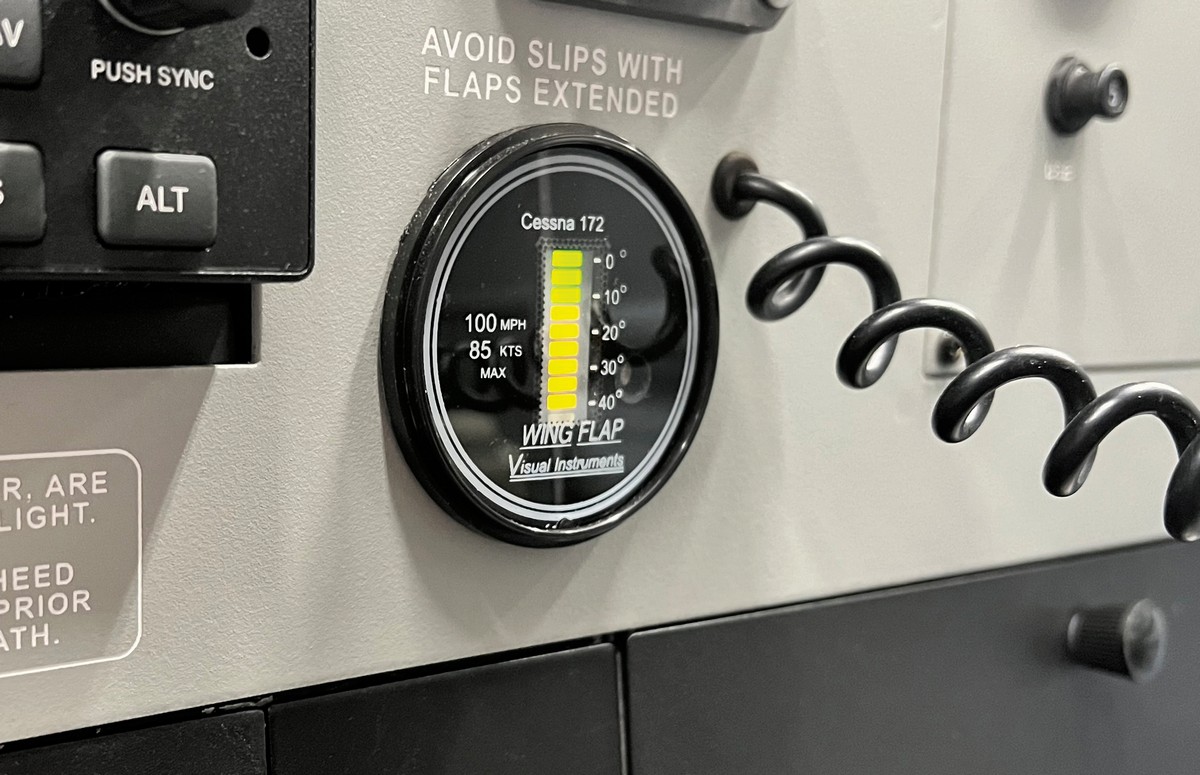
7. Visual Instruments Flap Position Indicator
This one may not be for those on a budget, but it’s worth the investment if you can afford it. The Visual Instruments Flap Position Indicator is a replacement for the old-style Cessna round flap indicator, first used with the introduction of electric flaps in Cessnas. In addition to a replacement gauge, Visual Instruments also offers a replacement for the sending unit from which the gauge gets its information.
The updated sending unit combines a sealed potentio-meter and an aluminum arm which attaches to the flap pulley. The original sending unit was not sealed, which often lead to corrosion of the wires, and was connected to the flap pulley via a thin wire rod.
Installation of the new sending unit is simple, as is installation of the instrument. We ended up installing this in our 172 after the original sending unit broke. It is $1,000 for both the sender and the gauge, a significant discount from attempting to buy both original Cessna versions new. The sender and gauge can also be purchased separately for $500 each. This kit is also available for Cessna 182s as well.
In addition to more accurate readings, the digital instrument employs lights to indicate flap position, which makes it immensely more visible at night.
www.visualinstruments.com/flap-indicator.html
8. Electronics International USB-6A
As part of our major upgrade, we opted to install Electronics International CGR-30 P&C Primary engine gauge replacements. As an accessory to this, we added the EI USB-6A to our panel. Fitting in a standard 2.25-inch instrument hole, this gadget contains a whopping five USB ports. The three center ports are intended initially as USB access points for the CGR-30 engine monitors, with two charging ports on the sides. However, if you are simply looking for a whole bunch of USB ports, you can convert the three center ports to provide power.
The two ports on the side are enough to charge an iPad while using Foreflight, where the center three will keep it powered without charging. While there are a whole lot of uses for this charger, the two biggest bonuses are that there is no panel alteration required to install it, as it fits in a standard small hole.
And the price is nearly half that of other dedicated USB chargers ($195 at www.iflyei.com/product/usb-6a)
These upgrades have all not only enhanced our experience flying our 172, but also have benefited our experience as owners. Whether it’s making maintenance easier or simply upgrading old technology to new, if you install any of these in your Cessna, you won’t regret it!


