 Under the Cowling
Don’t Discount the Double-check!
A few years ago, a Cessna 421 went to a busy repair shop for what should’ve been a simple oil change. After the procedure was supposedly “done,” both engines seized due to loss of oil while the plane was on the taxi run. Why? The mechanics had neglected to install the new oil filters after removing the old ones! Moreover, the engines should have been run for a short time then inspected for leaks before a flight was ever attempted.
Anytime an airplane has undergone even the most routine maintenance, the pilot that flies it next should try—as much as is practicable—to check behind the mechanic that performed the work.
Sometimes, especially in busy shops like the one mentioned above, people working on top of each other can assume that the other guy completed a task that, in reality, was never done.
Thankfully, that 421 never became airborne. Nonetheless, I know firsthand of similar needless repairs and several serious accidents that could have been prevented by a simple double-check of the items that had been worked on.
Once an annual or periodic inspection has been completed, the airplane should be gone over with a fine tooth comb. There are several things to check for and most don’t require as much of an intensive look as what is done on a “normal” preflight.
The Post-annual Preflight:
Logbooks – Owners need to look over the logbooks after an annual and be sure that the current airframe, engine, and propeller books have all been endorsed. Also, make sure that all the former logbooks, 337s, and AD logs are accounted for. A significant amount of an airplane’s value is tied up in having complete logbooks and clear recordkeeping of all maintenance and alterations performed since it was first manufactured.
Covers and Fairings – On the first preflight, the pilot should check closely to be sure that all inspection covers, fairings, and tips have all the hardware installed. Check the wingtips to be sure all screws have been re-installed. High-wing aircraft will require a ladder to inspect the top surfaces of the wings and vertical tail surfaces.
Control Surfaces – Each control surface should be moved slowly from stop to stop to check for binding or rubbing from a cable that is not seated in a pulley or a tool that could have been accidentally left in a compartment and is now rubbing on a cable. Check aileron rod ends to ensure the jam nuts are secure. The hinges and rod ends should be inspected for hardware installation and lubrication as well.
Landing Gear – The landing gear needs to be inspected for proper strut inflation and for hydraulic leaks in struts or actuators. All attachments should be checked for cotter key installation or proper safeties. If they are visible, the wheel assembly cotter keys should also be inspected.
Cowling – Inspect the cowling fasteners for tightness and security. The top cowling on Piper airplanes should be inspected to be sure the two pins in the front are inserted properly into the receptacles on the bottom cowling. If the pins are not seated properly, the top cowl will try to lift and bend back in flight causing lots of cracks in the fiberglass. It takes an inspection of the back of the receptacle with a mirror and flashlight to be sure the pins are seated.
Cockpit – Look under the instrument panel to make sure there are no wire bundles or radio racks blocking movement of the control column. (I once knew an owner who totaled his airplane because of such an oversight. As he tried to flare out on landing, the plane’s elevator travel was restricted by a radio rack that his local avionics shop had improperly installed. Fortunately, he walked away; but this was something that he should have caught on his pre-flight and run-up, so he had to absorb the cost of repairs himself).
Check the fuel selector to be sure it moves freely and falls in all the detents. Make sure the handle is properly fastened to the shaft as well. Any fuel smells should be investigated. Also be sure the seats are on the tracks and that the seat stops are installed.
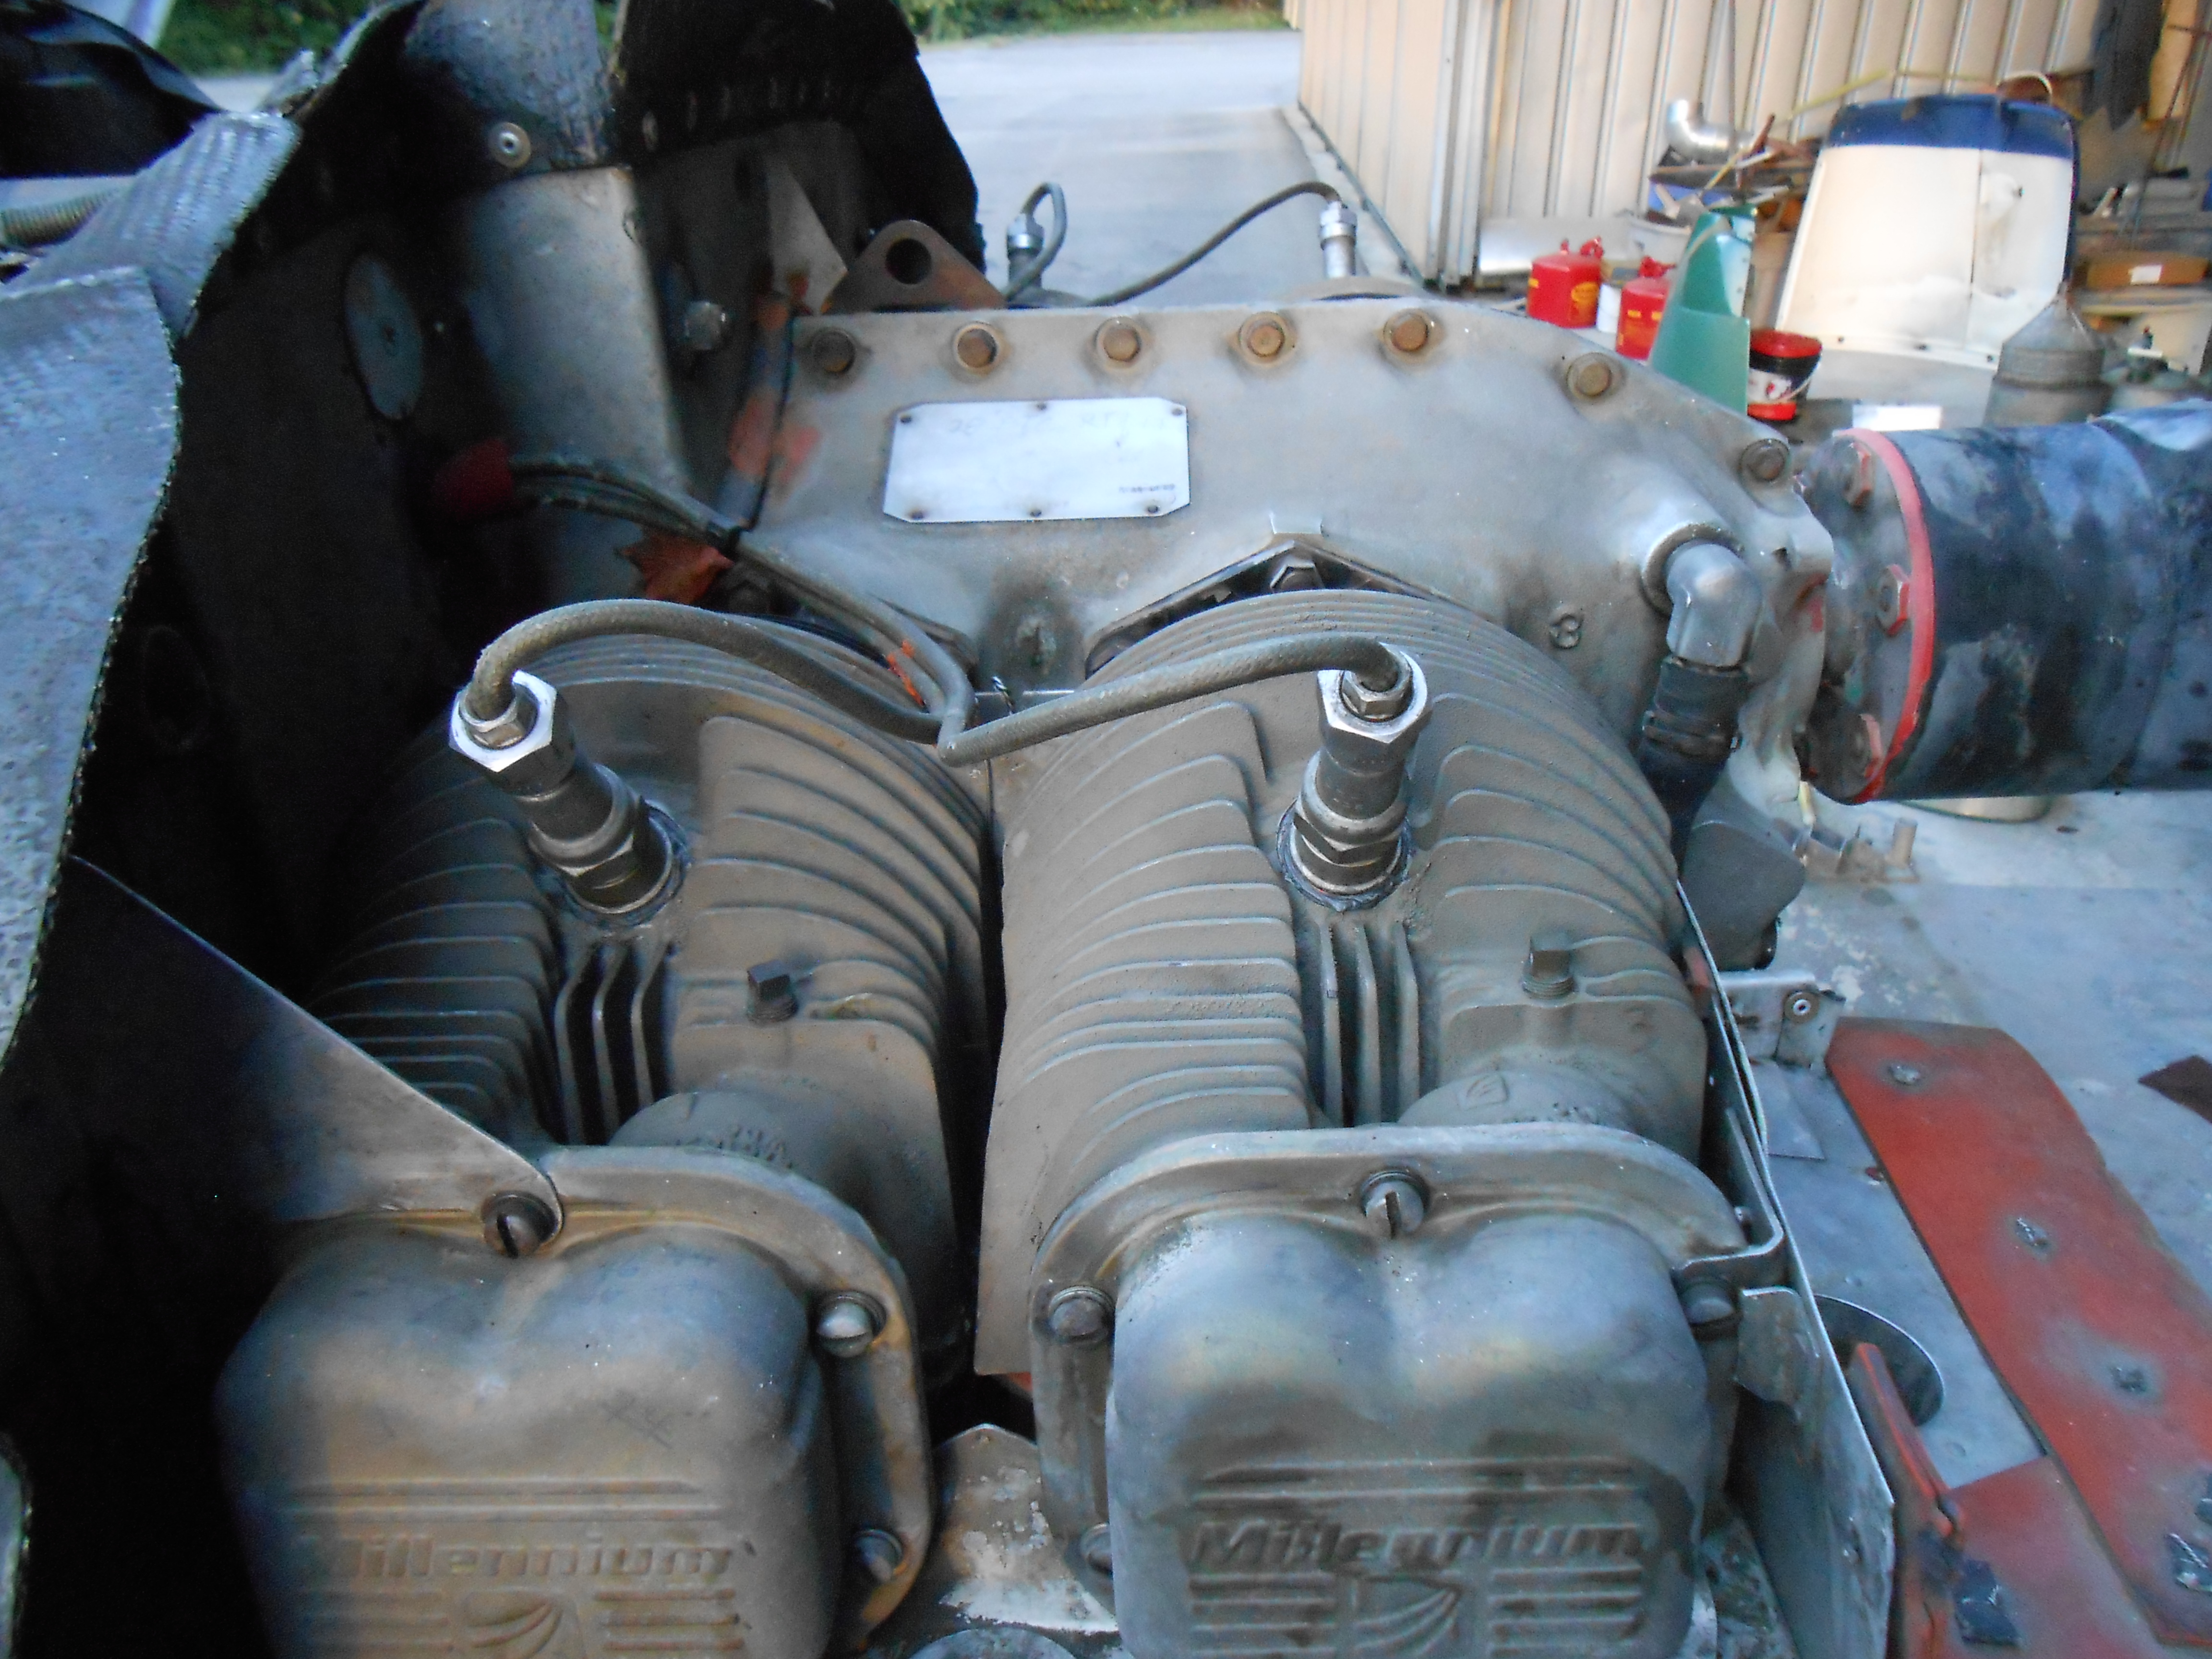
Engine – Obviously, the engine should receive a very thorough inspection.
- Remove the top cowling (unless it is totally impractical to do so) and check all spark plug leads for tightness.
- Look at the fuel strainer and check it for security and proper safety. (The lower cowling on Pipers can hang on the petcock for the fuel strainer and cause the fuel bowl to leak under pressure. It’s a good idea to have someone turn on the pump while someone else watches the strainer to check for any leaks).
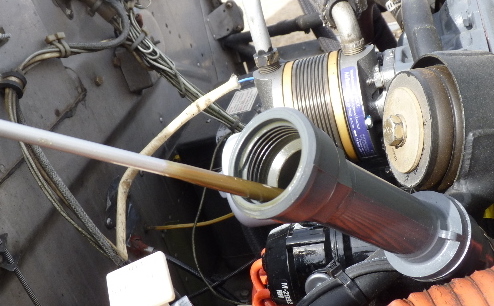
- Inspect the oil filter and screen to be sure they are tight and saftied. Also make sure the oil drain is closed and locked and that the oil level is correct. The carburetor or fuel servo cable attachments should be inspected for security as well.
- Examine all exhaust and intake attachments for any missing hardware and check that all scat hoses are connected.
The Run-up:
Once the prefight has been completed, the run-up should also be thorough.
- The flight controls should be carefully observed for correct direction of movement. If any cable changes took place, it’s not unheard of to have them rigged backwards!
- Check oil pressure and temperatures to be sure they are all in the normal range.
- Check the ammeter for excessive charge rate or for a discharge.
- Turn on all avionics and electronics to ensure they are functioning correctly.
- Listen carefully for any abnormal noises or anomalies when performing the magneto, carburetor heat, and propeller checks.
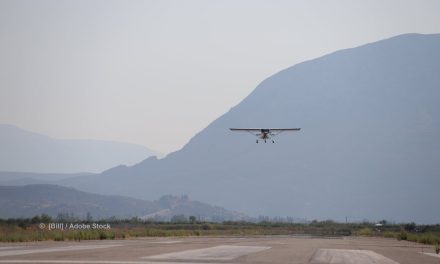
The Test Flight:
The first flight should be considered a “test flight” with no unnecessary passengers. It should also be performed during day VFR conditions. Once the airplane has an uneventful first flight after maintenance one will feel much better about taking a trip or hauling passengers.

